BlueStacks is a popular Android emulator that allows users to run Android apps on their Windows or Mac computers. However, many users report experiencing BlueStacks crashing and freezes while using BlueStacks. This article will examine the common causes of BlueStacks crashing and provide troubleshooting tips to help resolve the issue.
1. Adjust BlueStacks Settings
One of the most common reasons for BlueStacks crashing is incorrect allocation of CPU cores and RAM. Here are the steps to optimize BlueStacks settings to prevent crashes:
- Open BlueStacks and click on the Settings gear icon in the bottom right corner.

- In the Performance tab, set the following recommended settings:
- CPU: 4 Cores
- RAM: 4GB
- Graphics Engine: Performance
- Graphics Renderer: OpenGL

- Click on Save and restart BlueStacks. The optimized settings will prevent resource conflicts that can cause crashing.

2. Update Graphics Drivers
Outdated graphics drivers often lead to conflicts and crashes in games and apps. Follow these steps to update your graphics drivers:
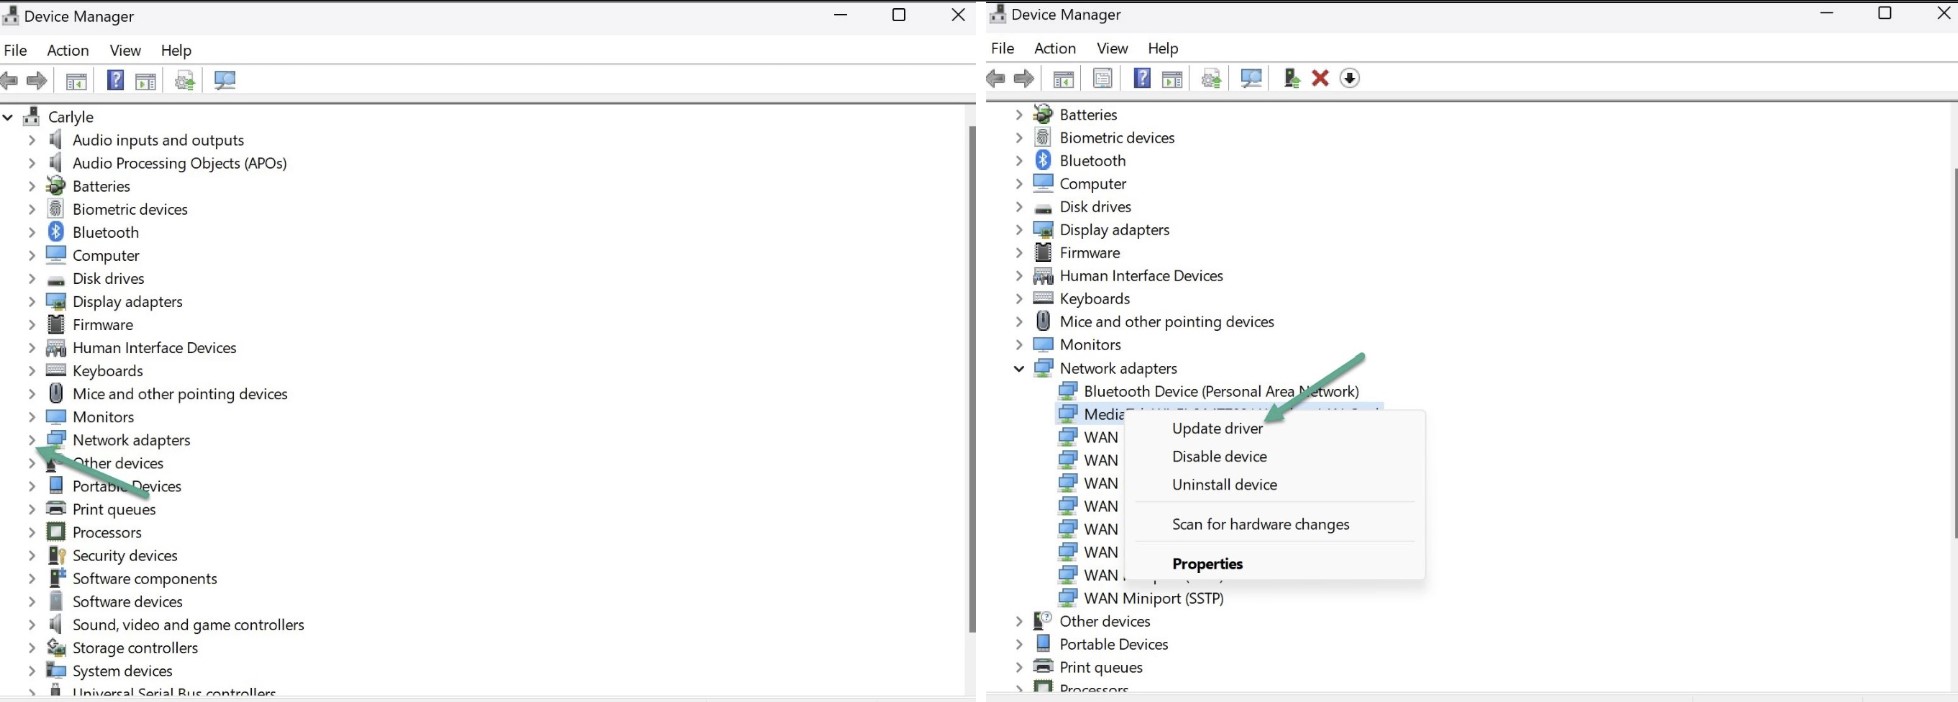
- Open Device Manager.

- Expand Display Adapters and right click on your graphics card driver and select Update driver.

- Choose to automatically search for updated drivers.

Install the latest driver offered and restart your PC. Updating to the newest graphics drivers will resolve potential conflicts with BlueStacks.
3. Close Background Apps
Too many apps running in the background takes up system resources that BlueStacks needs to run properly. You can close other apps as follows:
- Press Ctrl + Shift + Esc to open Task Manager.
- Select any unnecessary background apps and click on ‘End task’.
- Restart BlueStacks and check if crashes still occur.
Freeing up resources by closing other apps prevents competition for resources that lead to BlueStacks crashes.
4. Turn Off Antivirus Software
Antivirus software like AVG and Avast can sometimes detect BlueStacks activities as suspicious and lead to conflicts. Temporarily turning off your antivirus can determine if it is causing the crashes:
- Open Programs and Features in Control Panel.
- Right click on your antivirus program and select ‘Uninstall’.
- Restart your PC and check if BlueStacks crashes stop occurring.
Turning off antivirus shields eliminates potential conflicts that cause crashing issues with BlueStacks.
5. Enable Virtualization
Virtualization allows BlueStacks to efficiently utilize your computer’s resources. If virtualization is disabled in your BIOS, it can cause crashes. Here’s how to enable it:
- Restart your computer and press the BIOS key (F2, F10 or Del) to enter BIOS setup.
- Navigate to Configuration and enable Intel Virtualization Technology or AMD-V depending on your CPU.
- Save changes and restart your PC.
Enabling virtualization provides the resources BlueStacks requires to function smoothly without crashes.
6. Reinstall BlueStacks
If crashes persist, a clean reinstall of BlueStacks might be required:
- Uninstall BlueStacks completely from Control Panel.
- Restart your PC and download the latest BlueStacks version from the official website.
- Run the installer and follow the on-screen prompts to install BlueStacks.
A fresh install eliminates any corrupted files that could be causing crashes in the current BlueStacks installation.
7. Restore Previous System Restore Point
Reverting to a system restore point when BlueStacks was working properly can resolve software conflicts:
- Type ‘rstrui’ in the Windows search bar and open System Restore.
- Choose a restore point before you started facing BlueStacks crashes.
- Follow the prompts to restore your PC to the restore point.
Restoring to an earlier system state often fixes software errors that are leading to BlueStacks crashes.