Is your Google Chrome browser slow and laggy on Windows 10? You’re not alone. Many Windows 10 users complain of sluggish performance, long load times, and input delays with Chrome.
The good news is, there are several ways to speed up and optimize Chrome on Windows 10. In this guide, we’ll cover the fixes for Google Chrome Slow On Windows 10 issue.
Outdated Chrome Version Causes Performance Issues
Keeping Chrome up-to-date is one of the easiest ways to maintain speed and prevent bugs.
Google releases new versions of Chrome every 6 weeks that include security updates and performance enhancements. Over time, the browser can get bogged down if you don’t install the latest updates.
Here’s how to update Google Chrome:
- Click the 3-dot menu in the top right.
- Go to Help > About Google Chrome. This will check for updates.
- If an update is available, click Relaunch.
Chrome will then download the latest version and optimize itself for best performance.
Too Many Tabs Open Consumes Resources
Chrome is known to be resource-intensive, especially if you have too many tabs open. Each tab runs in a separate process and consumes memory and CPU.
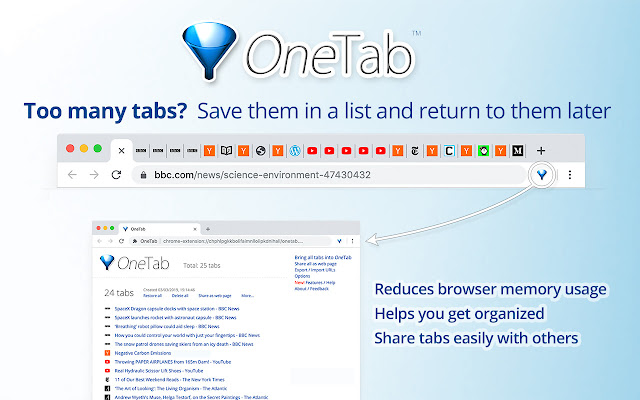
Try closing tabs you aren’t using to free up system resources and speed things up. You can also install extensions like OneTab to help manage open tabs.
Pro Tip: Use keyboard shortcuts Ctrl + W to close the current tab, and Ctrl + Shift + T to reopen closed tabs if needed.
Disable Unnecessary Extensions
Browser extensions add functionality but also use extra memory and processor power. Too many extensions can bog down Chrome and cause lag.
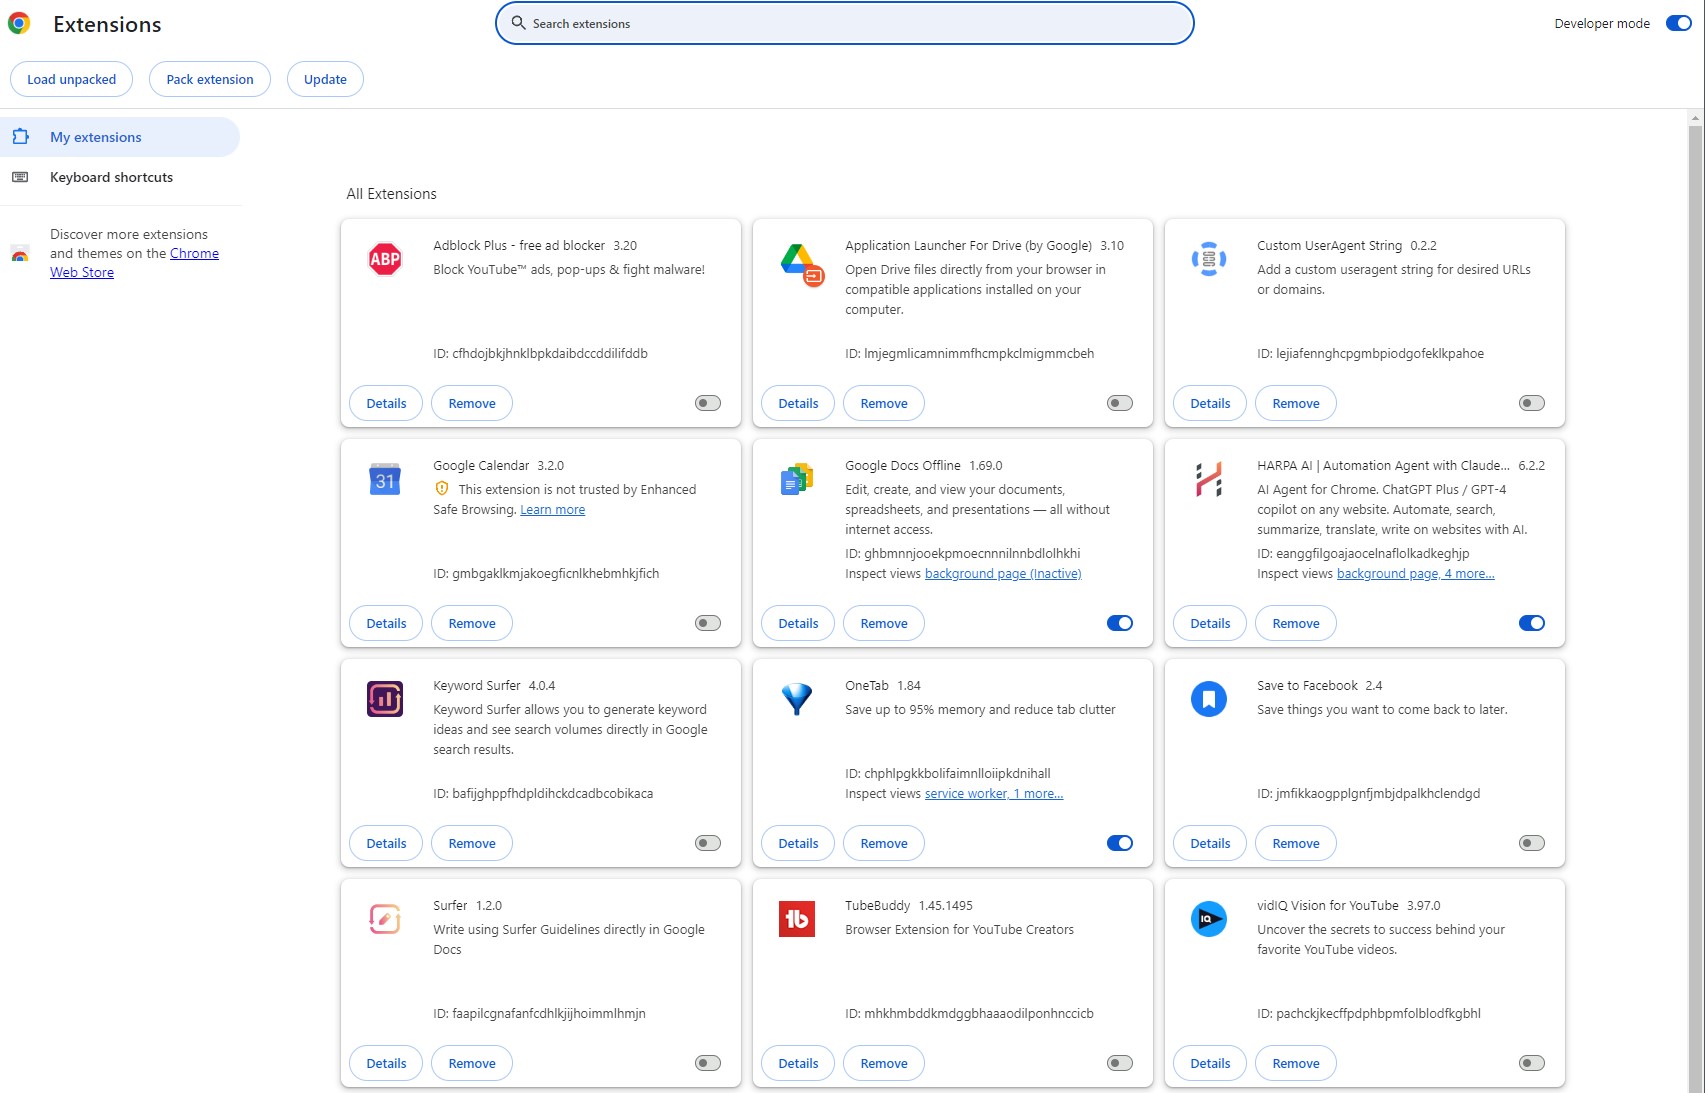
Disable extensions you don’t really need:
- Click the 3-dot menu > More Tools > Extensions.
- Toggle off extensions you want to disable.
- Restart Chrome.
This prevents unnecessary extensions from running at startup and saves resources.
Reset Chrome to Default Settings
Sometimes misconfigured or corrupt settings can cause Chrome to slow down. Resetting to factory defaults often improves speed and stability.
To reset Chrome settings:
- Go to Settings > Advanced > Reset and clean up.
- Click Restore settings to their original defaults.
Chrome will restore settings and remove problematic customizations. Make sure to sync your bookmarks first so you don’t lose them.
Use Chrome Cleanup Tool
Malware and other harmful software can infect your system and slow things down. Chrome has a built-in cleanup utility that can scan and remove malware.
To run it:
- Go to Settings > Advanced > Reset and clean up.
- Click Clean up computer.
- Click Find to scan for malware and remove anything dangerous.
This helps purge any nasty software bogging down your system and Chrome.
Update Graphics Drivers
Outdated graphics drivers can cause rendering issues and interface lag in Chrome. Make sure your GPU drivers are fully updated:
- Press Windows Key + R and type
devmgmt.mscto open Device Manager. - Expand Display adapters and right-click your GPU.
- Select Update driver. Windows will search and install the latest driver.
Newer GPU drivers optimize Chrome’s hardware acceleration for smoother scrolling and video playback.
Disable Hardware Acceleration
Hardware acceleration uses your GPU to offload some browser processes for better efficiency. However, it can also cause problems on some systems.
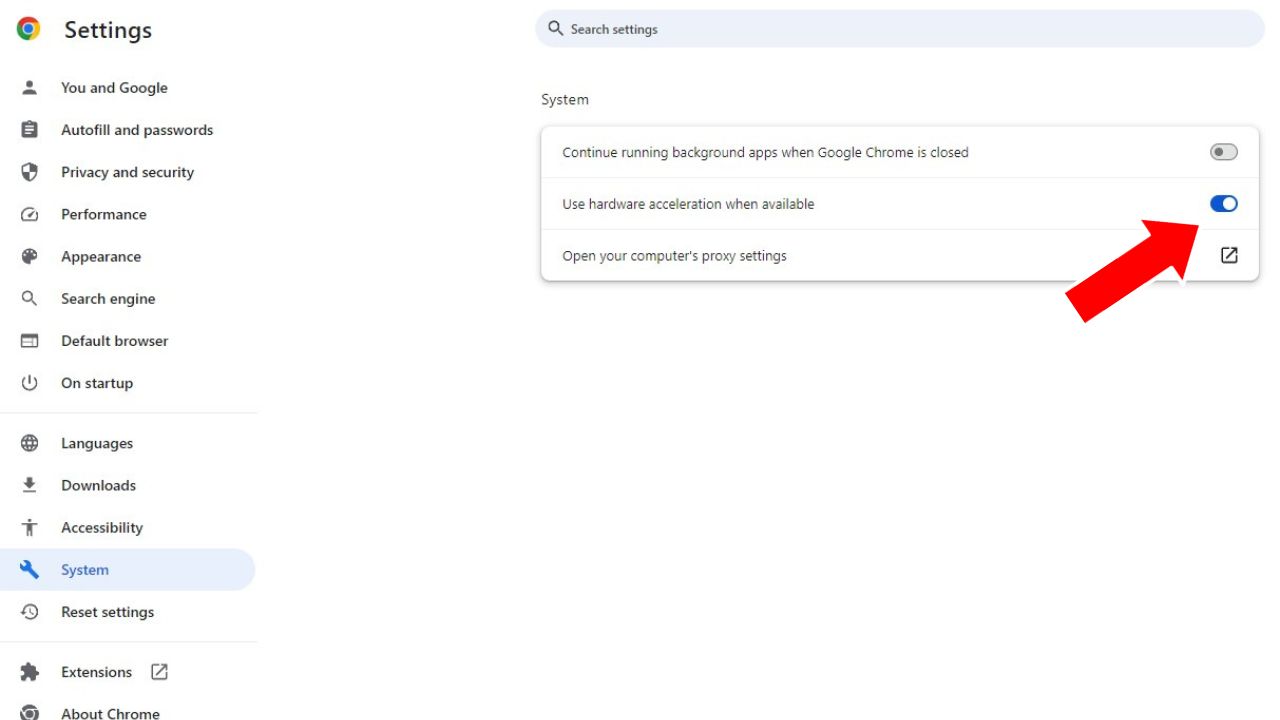
You can try disabling it as a troubleshooting step:
- Go to Settings > Advanced > System.
- Turn off Use hardware acceleration when available.
See if that stabilizes performance. Re-enable it if you don’t notice improvements.
Clear Browsing Data and Cache
Large amounts of cached data and browsing history can slow down Chrome over time. Clearing it out helps speed up page loads.
To clear browsing data:
- Click the 3-dot menu > Settings > Privacy and security.
- Click Clear browsing data.
- SelectCached images and files and Browsing history.
- Click Clear data.
Chrome will now re-cache fresh data for faster performance.
Scan for Malware with Antivirus
As mentioned before, malware infections can seriously bog down Chrome and your whole system. Run a full antivirus scan to detect and remove any malicious software.
Windows Security works well enough, but advanced options like Malwarebytes do an even better job of finding and eliminating hard-to-detect threats.
Add a Performance Boosting Extension
While too many extensions can slow down Chrome, some are specifically designed to speed it up. For example:
- The Great Suspender suspends unused tabs to free up memory.
- uBlock Origin efficiently blocks ads and trackers.
- Momentum adds a memory-saving start page.
Close Background Apps
Other software running in the background eats up RAM and CPU cycles needed by Chrome. Use Ctrl + Shift + Esc to open Task Manager and end any unnecessary processes.
Also disable startup programs you don’t need. Press Win + R and type shell:startup to view and manage apps set to launch at boot.
Upgrade to an SSD
If your Windows 10 PC uses a traditional hard disk drive (HDD), upgrading to a solid state drive (SSD) can seriously speed up Chrome and overall system performance.
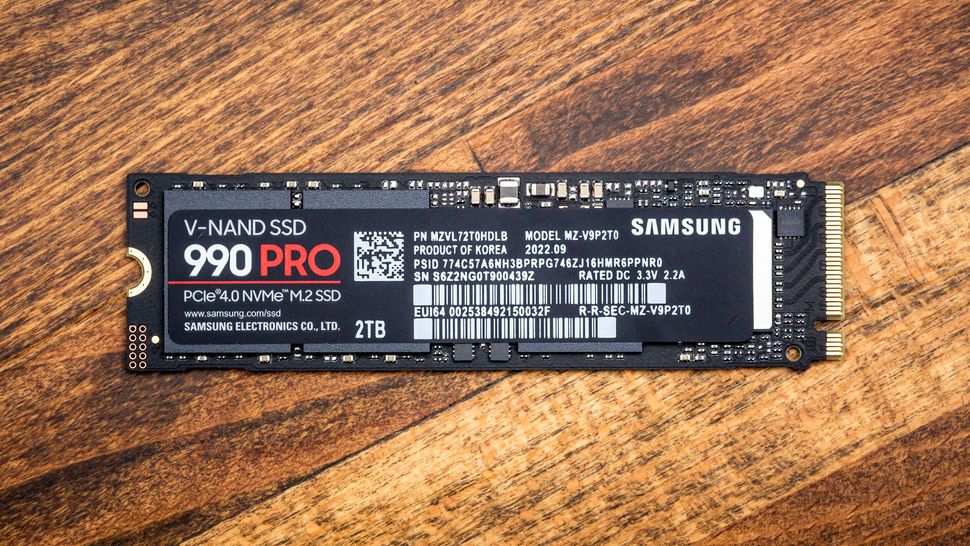
SSDs have much faster read/write speeds compared to HDDs. This improves boot times and app launch speeds dramatically. Clone your existing drive to an SSD or do a clean Windows reinstall on the new SSD.
Add More RAM
Another way to speed up Chrome and Windows is to add more RAM. Check your system memory usage under Task Manager’s Performance tab.
Consistently high usage over 70-80% indicates you need more RAM. Adding another 4GB, 8GB or 16GB DDR4 stick will improve multitasking and allow Chrome to run more efficiently.
Do a Clean Install of Windows
If your Windows 10 installation has become bloated and corrupted over time, doing a clean reinstall can revitalize performance.
Back up your data and choose Reset this PC under Windows Settings. Alternatively, you can boot from a Windows 10 USB installer drive and do a completely clean install.
This will give you a fresh Windows optimized for maximum speed, including Chrome.
Switch to a Lighter Browser
If Chrome is still slow even after trying these troubleshooting steps, consider switching to a lighter web browser like Firefox or Microsoft Edge.
Both are less resource intensive than Chrome yet still support extensions and synchronization. Give one a try for a week to see if it solves your lag and freezing issues.
Final Thoughts
There are many possible causes of a slow, laggy Google Chrome browser in Windows 10, but thankfully many solutions too.
By keeping Chrome updated, limiting tabs, managing extensions, resetting settings, optimizing hardware and system resources, and troubleshooting malware infections, you can restore fast and responsive Chrome performance.
Follow the tips outlined in this guide and your Chrome browsing experience on Windows will be drastically improved.