Encountering the frustrating ‘MSI Gaming App not opening’ issue can disrupt your gaming experience and hinder your enjoyment. Understanding the root causes and implementing effective solutions is crucial to resume uninterrupted gaming sessions. In this comprehensive guide, we’ll explore practical strategies and troubleshooting methods to resolve the MSI Gaming App’s unresponsive behavior and ensure seamless functionality.
How To Fix MSI Gaming App Not Opening Issue
Before performing the recommended troubleshooting steps for this particular problem I suggest that you try restarting your computer first. This will refresh the operating system as well as remove corrupt temporary data and is quite effective in fixing most software related issues.
There are several factors that can cause this particular problem ranging from a bug in the software to an outdated driver. Listed below are the recommended troubleshooting steps you need to do to fix this problem.
1. Update MSI Gaming App

If you are using an outdated version of the app then this could cause certain issues, especially if your computer just installed a new Windows update. To make sure that the problem is not caused by compatibility issues you should uninstall the app then install the latest version of it which you can download from the official website.
- Click on the Start button then click on the gear icon in order to open settings.
- Click on Apps to immediately open a list of all installed programs on your PC.
- Find the MSI Gaming Center and click on Uninstall.
- Click Finish when the uninstaller completes the process and restart your computer.
- Go to https://www.msi.com/support#support_download
- Navigate under the Select Your Product screen in order to search for your laptop or Desktop computer.
- Enter all relevant information about your setup until you reach the support page for your device. Click the Download button at the left-side menu and navigate to the Utility Scroll down until you reach the MSI Gaming App entry.
- Click the red download icon next to its name in order to initiate the downloading process. Locate the file in the Downloads folder, right-click on it, and choose to Extract Run the installer and follow the instructions on-screen.
Check if the MSI Gaming app not opening issue still occurs.
2. Run as an administrator

There are instances when a software will need an elevated permission to run properly. Try running the game as an administrator then check if the issue still occurs.
- Locate the MSI gaming app and change its properties by right-clicking its entry either on the Desktop, the Start menu or the Search results window and choose Properties. Navigate to the Compatibility tab in the Properties window and check the box next to the Run this program as an administrator option before applying the changes.
- Make sure you confirm any dialogs which may appear for you to confirm with admin privileges and MSI Gaming App should launch with admin privileges from now on. Open it by double-clicking its icon
Check if the MSI gaming app not launching issue still persists.
3. Reinstall Microsoft Visual C++ Redistributable

If you have a corrupted version of the Microsoft Visual C++ redistributable then this could be what’s causing the problem. Try reinstalling this software then see if this helps.
- Click on the Start button then click on the gear icon in order to open settings.
- Click on Apps to immediately open a list of all installed programs on your PC.
- Find the Microsoft Visual C++ Redistributable Package and click on Uninstall after clicking it once. You might notice that there are several different versions of the utility. You will need to make note of them and repeat the uninstalling process for each one of them.
- Click Finish when the uninstaller finishes with the process and repeat the uninstalling process for all versions of the Visual C++ Package.
- Go to https://support.microsoft.com/en-us/help/2977003/the-latest-supported-visual-c-downloads.
- Select the version you want to download and choose the download according to your processor (32-bit or 64-bit).
- Locate the file you just downloaded in the Windows folder, run it, and follow the instructions on-screen in order to install the Microsoft Visual C++ Redistributable Package.
- Click on the Start button then click on the gear icon in order to open settings.
- Click on Apps to immediately open a list of all installed programs on your PC.
- Find the MSI Gaming Center and click on Uninstall.
- Click Finish when the uninstaller completes the process and restart your computer.
- Go to https://www.msi.com/support#support_download
- Navigate under the Select Your Product screen in order to search for your laptop or Desktop computer.
- Enter all relevant information about your setup until you reach the support page for your device. Click the Download button at the left-side menu and navigate to the Utility Scroll down until you reach the MSI Gaming App entry.
- Click the red download icon next to its name in order to initiate the downloading process. Locate the file in the Downloads folder, right-click on it, and choose to Extract Run the installer and follow the instructions on-screen.
Check if the MSI gaming app problem still occurs.
4. Reinstall the driver

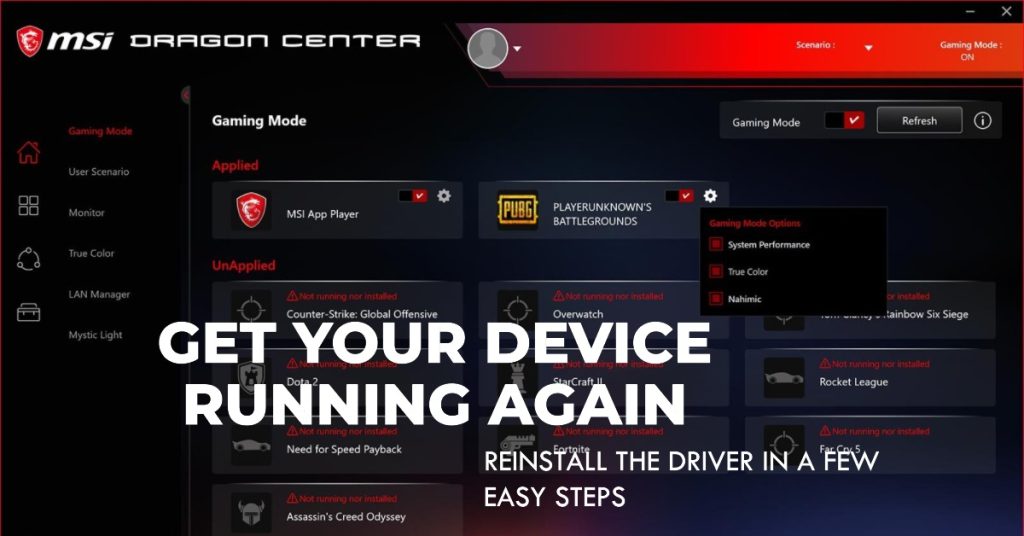
In case you are getting and error message that prompts you to reinstall or update a particular driver then you should do this as this might be what’s triggering the problem.
- Type Run on the search bar . Select Run, the Run dialog box will appear.
- Type “devmgmt.msc” in the run dialog box and click the OK button. This opens Device Manager immediately.
- In Device Manager, expand the category where you think the driver or device that is causing the issue is located. Make sure you have noted down the name of the driver which is missing. There should be no doubt as you don’t want to end up uninstalling the wrong device.
- When you locate the device, right-click on it and choose the Uninstall device option from the context menu.
- You may be required to confirm the uninstallation process. Check the box next to “Delete the driver software for this device” option and click the OK button.
- Restart your computer for the change to take effect. After restarting, Windows will attempt to reinstall the driver and replacing it with the manufacturer’s driver.
- If Windows doesn’t replace the driver automatically, open Device Manager again, select the Action menu and click on the Scan for hardware changes. On newer versions of windows 10, it will be the left-most blue button under the Menu bar
Check if the MSI Gaming app not opening issue still occurs.
Having Issues with your computer? Feel free to contact us using this form. We’ll try to help.