When you buy a new laptop or desktop running on Windows 10 you will notice that it already has a random computer name set. Although the name set might be good you will want to change this to something that you can easily remember. This is important if the computer is connected to a home network as it allows you to easily identify it. In this latest installment of our troubleshooting series we will show you how to rename your windows 10 computer.
Rename Computer In Windows 10
Renaming a computer is easy to perform. There are several ways that you can do this but the easiest is from the Windows setting.
Time needed: 2 minutes.
Rename computer using Windows Settings
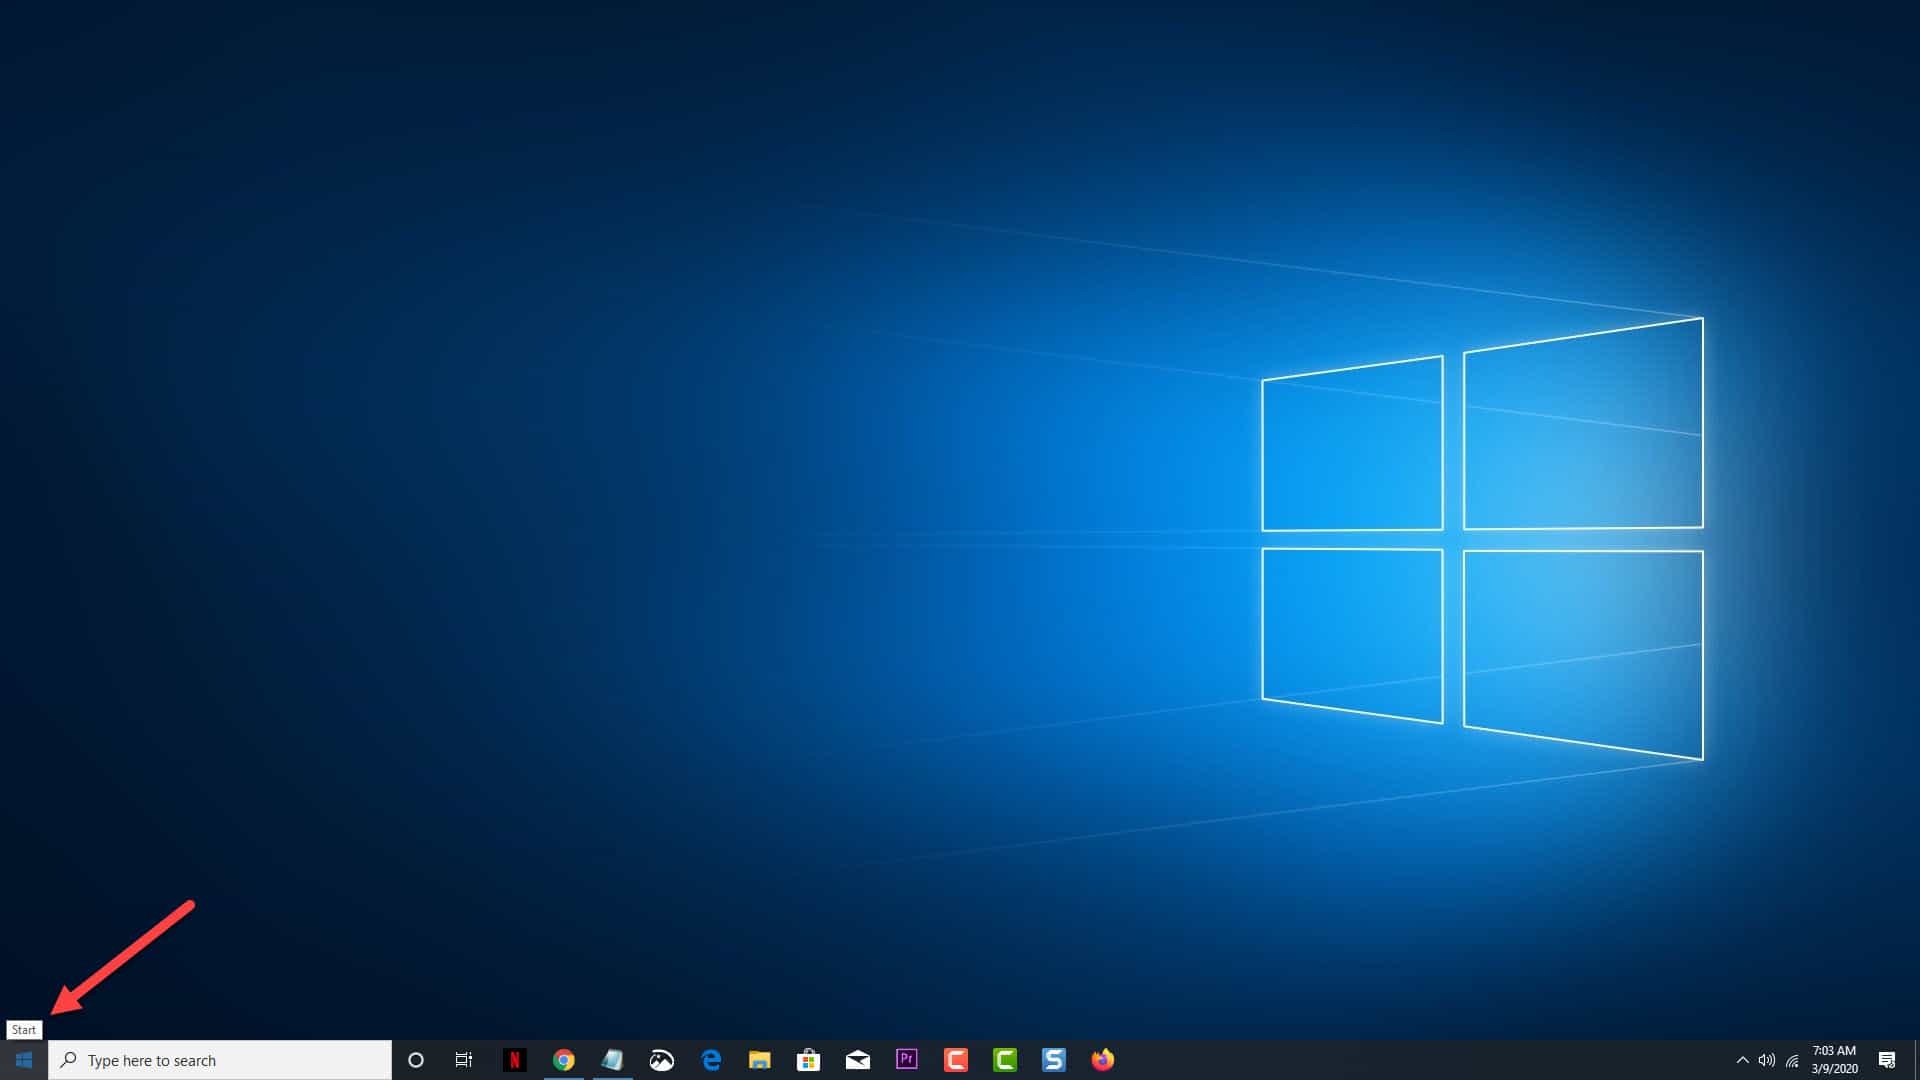
- Click on the Start button.
This is located on the lower left side of the screen.

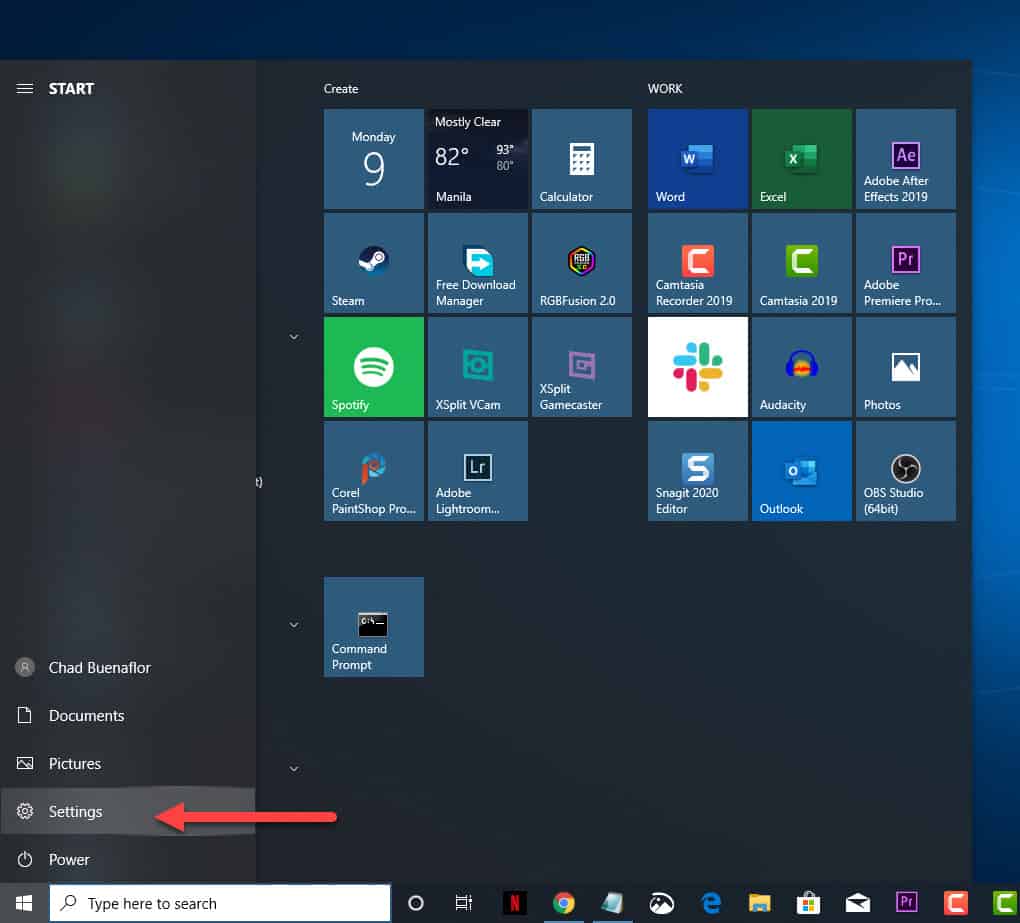
- Click on Settings.
This will open the settings window.

- Click on System.
This can be found on the upper left side of the window.

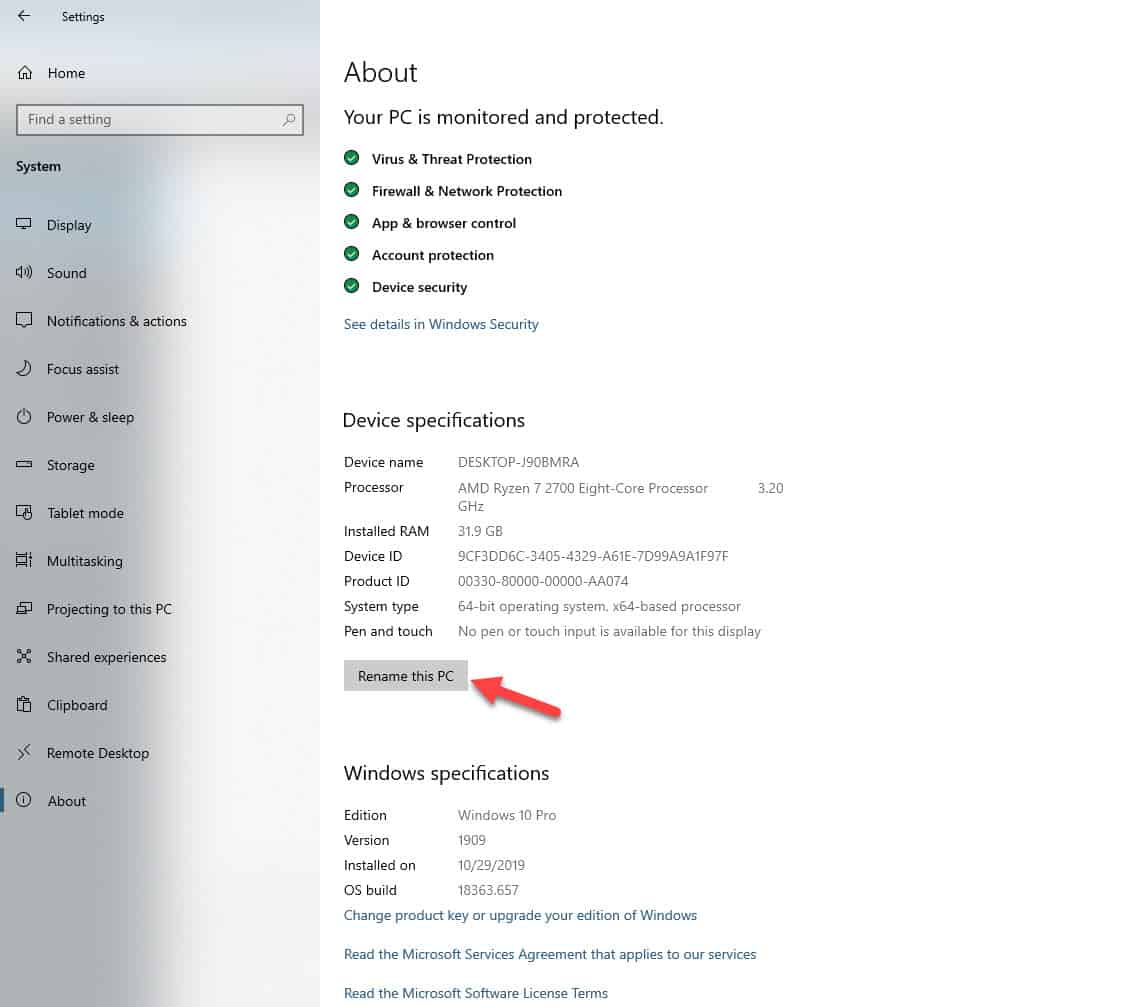
- Click on About.
This is usually the last option on the left pane.

- Click on the Rename this PC button.
This is on the Device specifications section on the right pane.

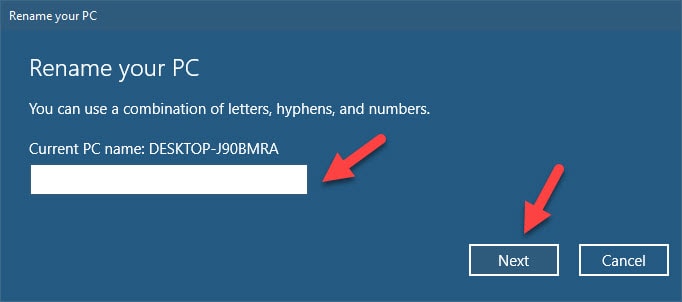
- Type the new PC name then click on the next button.
This will change the computer name.

- Click on either the Restart now or Restart later button.
The changes will take effect after the computer restarts.

Rename computer using Control Panel
You can also change the computer name from the control panel. This is the old method to change the PC name for older Windows versions which can still be done on Windows 10.
- Type “control panel” on the search bar. This is located on the lower left side of the screen just after the Start button.
- Click on the Control Panel app to open it. This is usually the first and only app that will appear
- Click on System. This will open the System window which will show your computer information.
- Click on Change settings. This is located on the right pane under the Computer name, domain, and workgroup settings section.
- Click on the Computer name tab. This is the first tab on the System Properties window.
- Click on the Change button. This will allow you to change your computer name.
- On the Computer name field delete the old name and enter the new computer name. Click on the OK button once this is done.
- Restart your computer. The changes will take effect after the computer restarts.
Having Issues with your computer? Feel free to contact us using this form. We’ll try to help.


