Navigating connection errors in Remnant 2 can be a frustrating obstacle to enjoying the game’s immersive world. These errors can manifest as disconnections, lags, or failed matchmaking attempts, disrupting your gaming experience. However, you can restore smooth online gameplay by addressing these issues through systematic troubleshooting.
This guide explores practical steps to diagnose and resolve Remnant 2 connection errors. By following these strategies, you can overcome connectivity challenges and fully immerse yourself in the captivating universe of Remnant 2.
What are the Causes of Remnant 2 Connection Errors
There are several potential reasons you may get Remnant 2 connection errors:
- Network connectivity issues – An unstable internet connection, lag, high ping, or congested network can interrupt the data flow between players resulting in disconnects or failures to connect. WiFi dead zones or bandwidth caps may impact connectivity.
- Server outages – Periodically, Remnant 2’s backend multiplayer servers go down for maintenance or suffer outages, making connecting to games impossible during these times.
- Firewall/port blocking – Certain security software, firewalls, or ISP policies may block the ports Remnant 2 uses for co-op connections. These blocked connections cause errors.
- NAT issues – If your router uses Strict NAT instead of Moderate or Open NAT, connecting to other players for a co-op can fail or get dropped frequently.
- Software bugs – Glitches in the net code software powering Remnant 2’s multiplayer can also be responsible for connection issues, even with no other problems.

How to fix Remnant 2 Connection Errors
If you’re experiencing Remnant 2 connection errors, these are the solutions that you can try:
Fix 1: Check Remnant 2 Server Status
Before troubleshooting your connection, check the status of Remnant 2’s servers. Login issues, matchmaking errors, or disconnects may be due to temporary outages or downtime. The official @Remnant_Game Twitter account posts updates on any server maintenance or known issues. You can also check third-party services like downdetector.com to see if others report problems. This can confirm it’s a general server problem beyond your control.
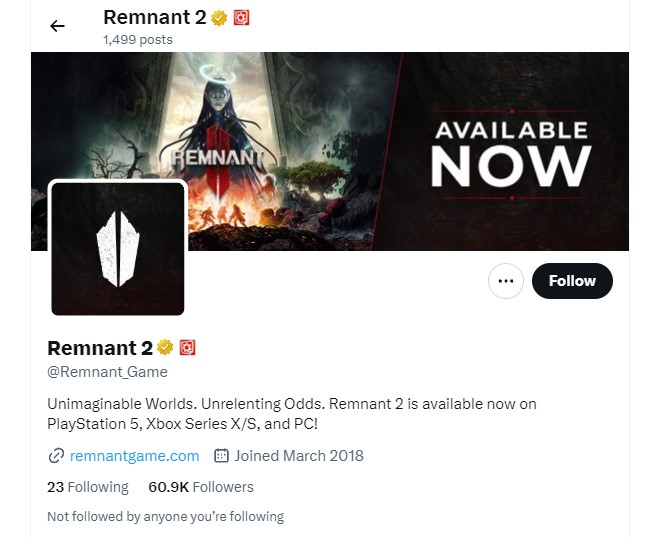
Here’s what you need to do:
- Visit the @Remnant_Game Twitter account.
- Check for any posts about server maintenance or outages.
- Alternatively, navigate to downdetector.com and search for Remnant 2.
- See if there are spike reports of connection problems by other users.
Fix 2: Restart Your Network Devices
Modems, routers, access points, and other networking hardware can develop temporary glitches like any electronics. Quickly power cycling them reboots the equipment and flushes any erroneous cached connection data. Restart your router, modem, access point, and client device like a PC or console. This often resolves flakey connectivity and cleans up Remnant 2 sessions.
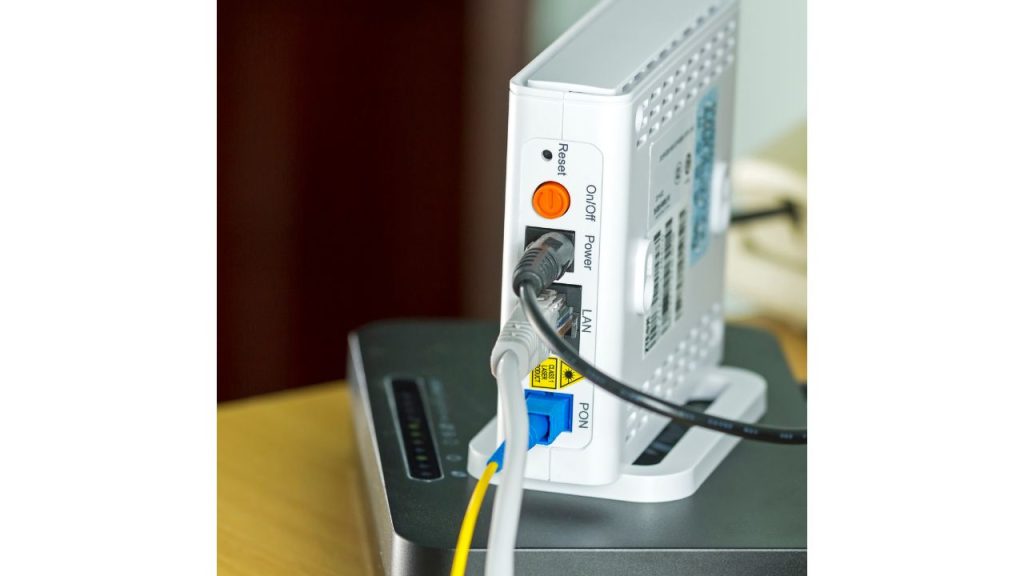
- Locate the power button on the back of all network devices.
- Press the power button to turn each one off.
- After 30 seconds, turn them all back on.
- Allow a minute for a full reboot.
- Launch Remnant 2 and retry multiplayer.
Fix 3: Test Your Internet Connection
Faulty internet connectivity itself can prevent reliably connecting to Remnant 2 multiplayer matches. Run through connection tests to check for issues like high latency, packet loss, DNS failures, or inconsistent speeds. Use online tools like speedtest.net, pingtest.net, and namebench—search connection issues on your specific platform, such as Xbox Network connection status. Diagnose and resolve any problems found before retrying Remnant 2.
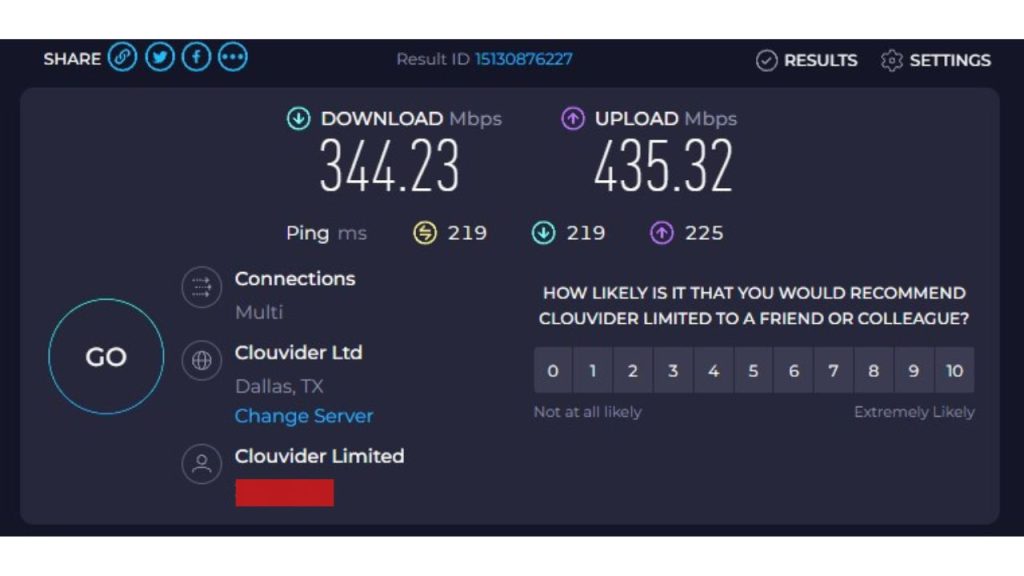
- Run speedtest.net to check speeds and latency.
- Use pingtest.net to test packet loss and jitter.
- Namebench checks DNS performance.
- Run platform-specific network tests if applicable.
- Contact ISP if tests reveal major issues.
Fix 4: Forward Remnant 2 Ports
Your router’s firewall may block the ports Remnant 2 uses to establish co-op connections unless you manually forward them. Configure your router’s port forwarding to open the default Remnant 2 ports (TCP 80, 443, and UDP 7777, 7778, 27000-27050). This allows inbound multiplayer connections to your system. Instructions vary by router brand and model – check your manual for steps—test connecting after forwarding ports.
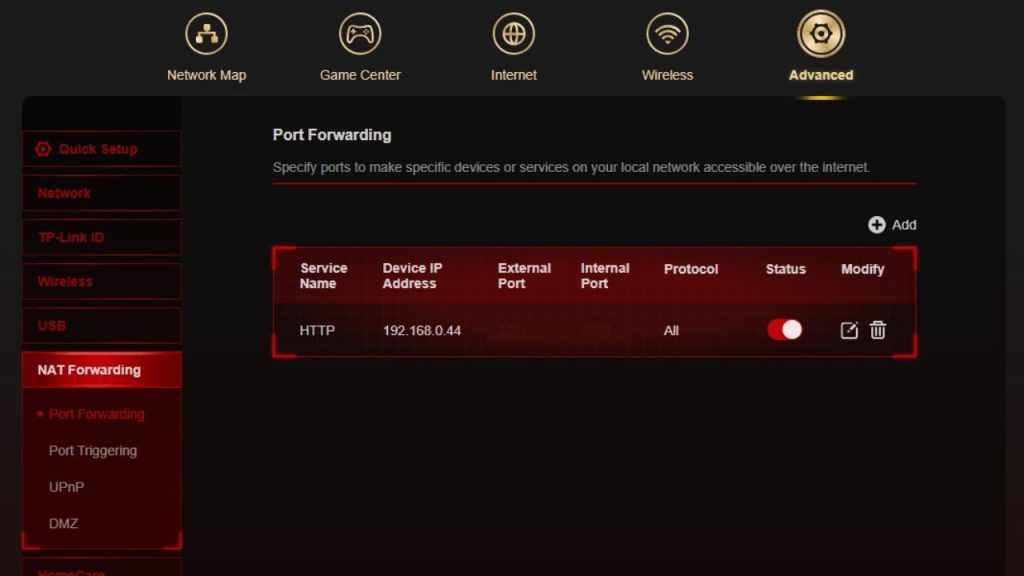
- Log into your router’s administrative interface.
- Navigate to the port forwarding or virtual servers section.
- Add rules opening the default Remnant 2 ports mentioned.
- Save changes and restart the router.
- Test connecting to multiplayer in Remnant 2.
Fix 5: Enable UPnP
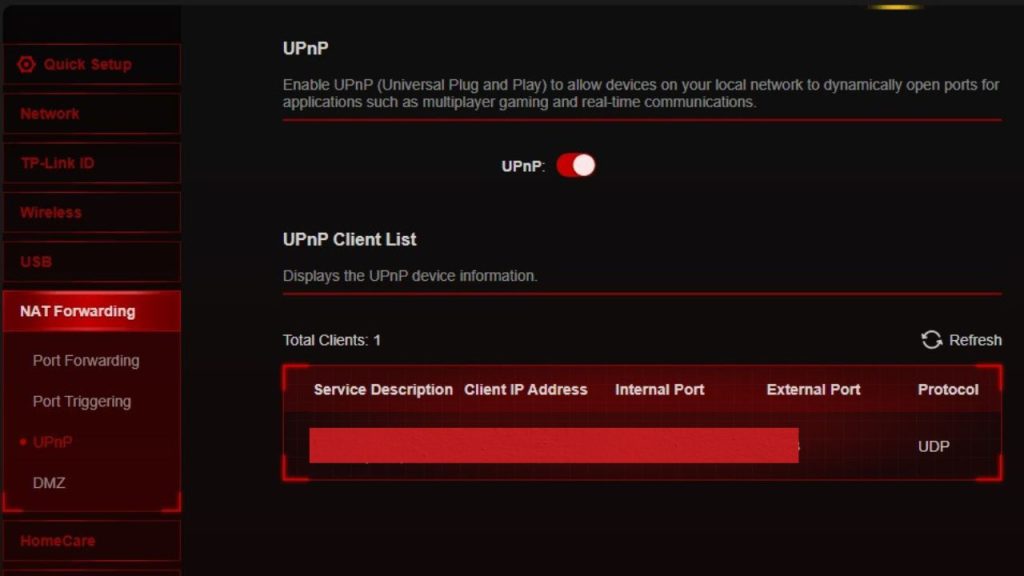
Universal Plug and Play (UPnP) automates port forwarding and NAT traversal for supported devices like Remnant 2. If disabled on your router, multiplayer connections may fail. Log into your router’s settings and ensure UPnP can dynamically handle Remnant 2’s networking requirements. Apply changes and connect your client device via Ethernet for a faster, more stable link.
- Access your router’s administrative interface.
- Locate the UPnP option.
- Ensure UPnP is enabled. Toggle it on if disabled.
- Save settings, change, and restart the router.
- Connect client via Ethernet if available.
- Test Remnant 2 multiplayer connectivity.
Fix 6: DMZ Your Client’s IP
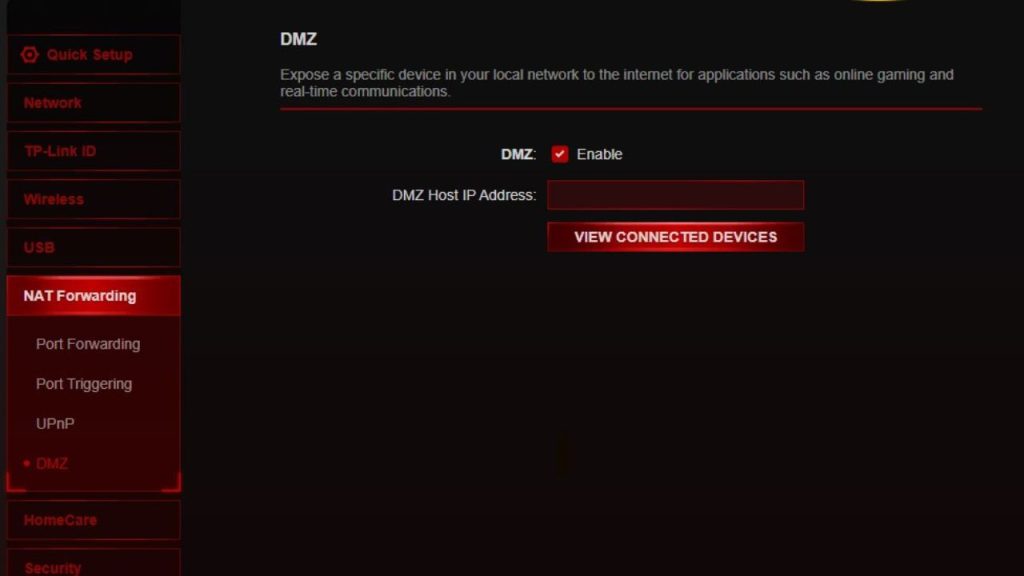
If you still can’t reliably connect, place your PC, Xbox, or Playstation’s IP address into the router’s DMZ. This exposes the device outside the firewall, allowing unrestricted incoming and outgoing connections on all ports. It is less secure but can resolve strict NAT and firewall issues, getting Remnant 2 sessions working. Obtain your IP from the device network settings, save it to router DMZ settings, then reboot.
Follow these steps to do that:
- Log into your router admin interface.
- Find the DMZ or demilitarized zone menu.
- Note the IP address of your client’s device.
- Enter the client IP into the DMZ host field.
- Apply settings and restart your router.
- Launch Remnant 2 and test connections.
Fix 7: Change NAT Type
Strict or moderate NAT types often block necessary ports, causing connection refused errors. Configure your router to use open or moderate NAT for unrestricted access. Instructions vary by router model – consult admin manuals. Sometimes UPnP, port triggering, or assigning clients to the DMZ are required for open NAT. Achieving open or moderate NAT makes connecting with other Remnant 2 players much easier.
These are the general steps to change NAT type:
- Log into your router admin interface.
- Locate NAT settings, which could be under advanced options.
- Try enabling UPnP if available.
- Set NAT type to Open or Moderate.
- Consider adding a client to the DMZ.
- Apply changes and reboot the router.
- Verify NAT status changed to Open using the client device.
Fix 8: Disable Firewall Temporarily
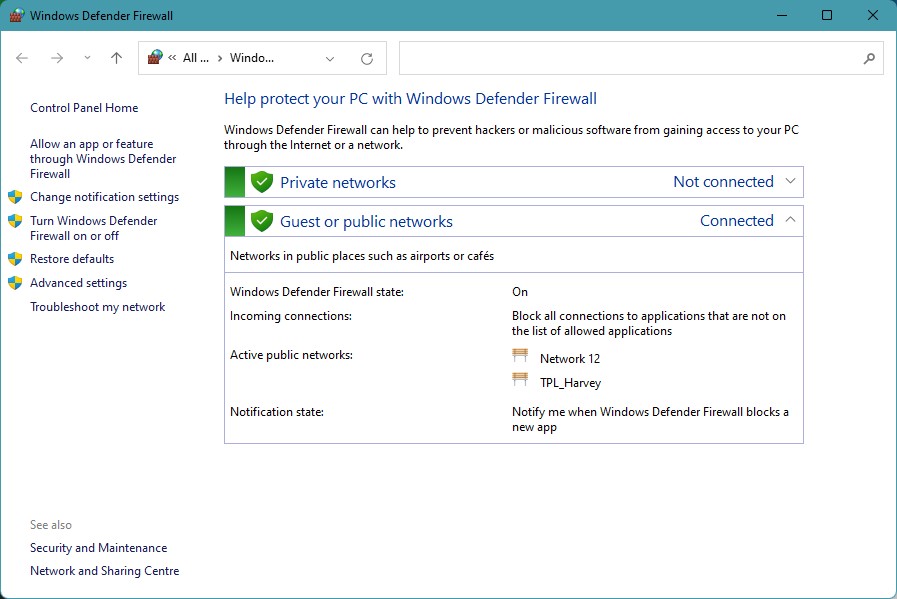
Overly restrictive antivirus, security software, or firewall settings can hinder Remnant 2 multiplayer even when running as admin. To test, briefly turn off your client device firewall entirely and try connecting. If successful, re-enable the firewall and add exceptions for Remnant 2 exe, ports, and services. Whitelist the game in Windows Firewall and any third-party firewall software to prevent interference.
Here’s how:
- Access your device firewall settings, like Windows Firewall.
- Temporarily turn off the firewall completely (re-enable after testing).
- Launch Remnant 2 and try connecting to multiplayer.
- If successful, add Remnant 2 as an exception and re-enable the firewall.
- Repeat for any other security software firewalls.
Fix 9: Switch to Ethernet
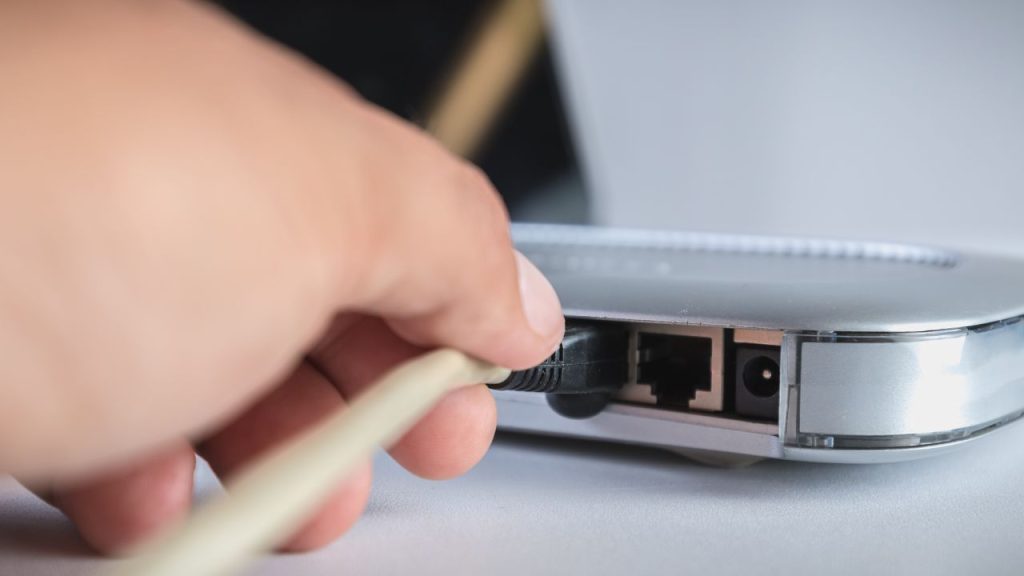
WiFi is prone to interference, congestion, and signal degradation compared to wired Ethernet. Connect your client device to the router’s LAN port using an Ethernet cable. This provides maximum bandwidth and the lowest latency for Remnant 2, avoiding flakey WiFi connection issues. Make this a dedicated line – disconnect other devices if needed—Configure router and device to use Ethernet priority for even faster speeds.
- Disconnect WiFi on the client device.
- Insert the Ethernet cable into the router’s LAN port.
- Configure the router to use Ethernet priority if available.
- Set the client device to use a wired connection.
- Disable WiFi if possible.
- Launch Remnant 2 and test connectivity.
Fix 10: Flush DNS
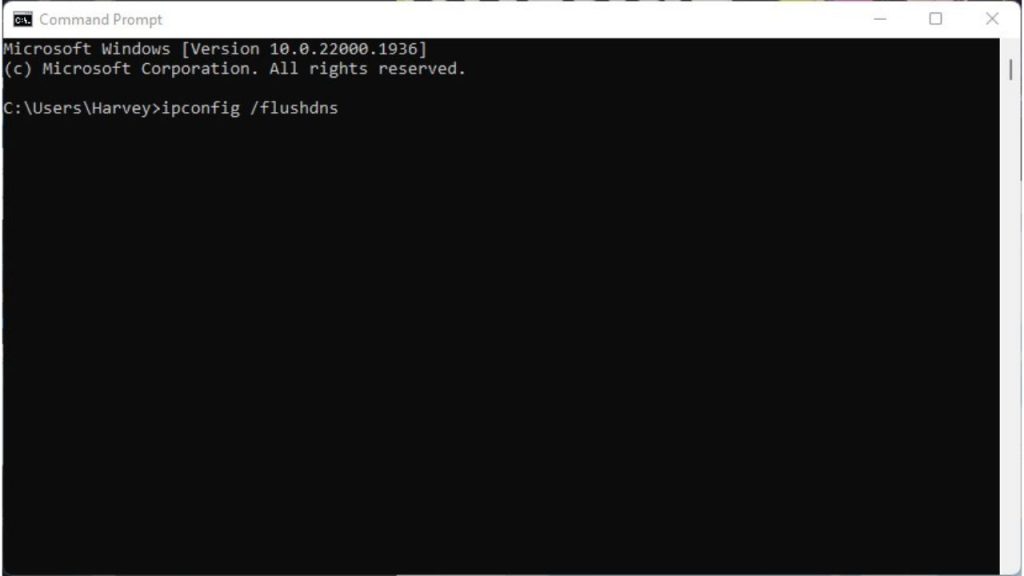
A corrupted DNS cache preventing successful name resolution can interfere with Remnant 2 connectivity. Flushing forces your device to refresh DNS and grab new records. Open the command prompt on Windows and use commands “ipconfig /flushdns” then “ipconfig /registerdns.” On Mac, clear the DNS cache in system preferences. Clearing DNS resolves any bad data blocking Remnant 2 servers from resolving correctly.
- Open the command prompt on Windows.
- Enter “ipconfig /flushdns” and press enter.
- Also, enter “ipconfig /registerdns.”
- On Mac, clear the DNS cache in system preferences.
- Restart the device completely after flushing.
- Try connecting to Remnant 2 multiplayer again.
Fix 11: Change DNS Servers
Custom public DNS servers like Cloudflare (1.1.1.1, 1.0.0.1) or Google (8.8.8.8, 8.8.4.4) could bypass any ISP DNS issues connecting to Remnant 2. Change your router and device DNS settings to point to new DNS servers. This reroutes domain name resolutions through different DNS, providing a fresh start for multiplayer sessions.
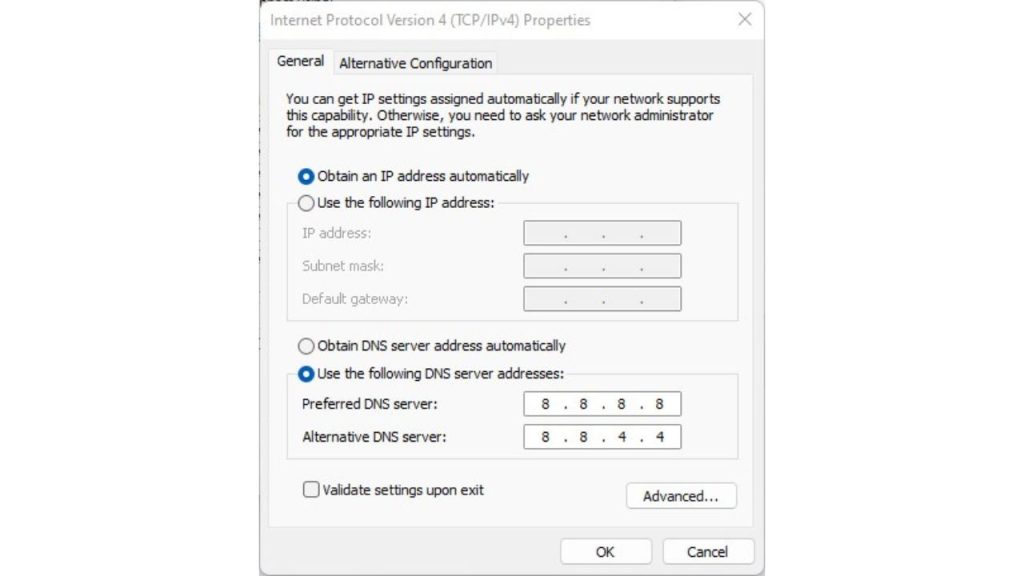
- Change router DNS settings to custom servers like Cloudflare.
- Also, change DNS on your client device network settings.
- Clear DNS cache after changing.
- Renew network adapters IP and reconnect.
- Launch Remnant 2 and observe if connections improve.
- Consider a VPN if still unresolved.
Fix 12: Contact Your ISP
Contact your internet service provider for persistent Remnant 2 multiplayer connection issues that you’ve troubleshot extensively without improvement. Explain the problem focusing on testing results illustrating packet loss latency and connection drops only for Remnant 2 sessions. ISPs can investigate issues like line quality, routing problems, blocking, throttling, or gateway failures interfering with gameplay. They may provide fixes or optimized settings to resolve Remnant 2 problems ISP side.
Final Thoughts
Remnant 2’s online co-op can greatly expand gameplay, but network problems easily derail the experience. Start troubleshooting with server status checks before diving into router tweaks and network tests. Simple reboots and changing NAT types resolve many problems. For WiFi woes, switch to Ethernet if possible. Adjust firewalls, DNS, and specific router settings until smooth Remnant 2 multiplayer performance is maintained. If problems persist across troubleshooting, don’t hesitate to contact your ISP for assistance identifying any issues on their end disrupting connectivity.
FAQ
Why does Remnant 2 say “Lost Connection to Host” when joining games?
This could be due to server outages, connection problems like lag or packet loss, strict NAT type, blocked ports, firewalls, or WiFi signal issues. Check server status, run thorough connection tests, forward Remnant 2 ports, enable UPnP, switch to wired Ethernet, or contact your ISP for assistance.
I keep getting disconnected from Remnant 2 matches. How can I fix this?
Frequent disconnects are commonly caused by shaky internet connectivity and NAT problems. Test your network connection and switch to Ethernet if on WiFi. Enable UPnP or forward ports in your router for Remnant 2. Adjust router settings to use open or moderate NAT instead of strict NAT.
Why can’t I join my friend’s Remnant 2 game?
Failures joining specific players are typically NAT related. Ensure both parties have open or moderate NAT configured in router settings. Forward Remnant two ports, enable UPnP and try putting one friend’s device in the router DMZ. Matches must connect directly peer-to-peer.
I get the error “Failed to connect to Remnant 2 servers” – what should I try?
That often indicates backend server outages, but check your connection first. Restart networking devices, test internet speeds, change DNS, flush DNS cache, and turn off firewalls temporarily to isolate connectivity issues on your end before waiting for a server outage.
How do I troubleshoot “Connection timed out” errors in Remnant 2 multiplayer?
Timeouts are commonly caused by firewalls, port blocking, or NAT issues. Forward Remnant 2 ports in your router, enable UPnP for automatic configuration and ensure your router NAT is set to moderate or open. Temporarily turning off your firewall can also determine if that is the cause.