The network adapter is a hardware component found in your computer that allows the PC to communicate over a network. This can sometimes be a wired network adapter or a wireless network adapter. Whenever you are having a network related problem on your Windows 10 computer, such as when you can’t get online or if the connection is slow, one of the troubleshooting steps that needs to be done is to uninstall network adapter driver. In this latest troubleshooting guide we will show you how to do this.
Before uninstalling the network adapter driver make sure that you have a copy of the latest driver. You can get this from the network adapter manufacturer’s website. If your computer can’t download this driver due to connection problems then you will need to use a different computer to download the driver and save it to a USB flash drive.
How To Uninstall Network Adapter Driver
Time needed: 3 minutes.
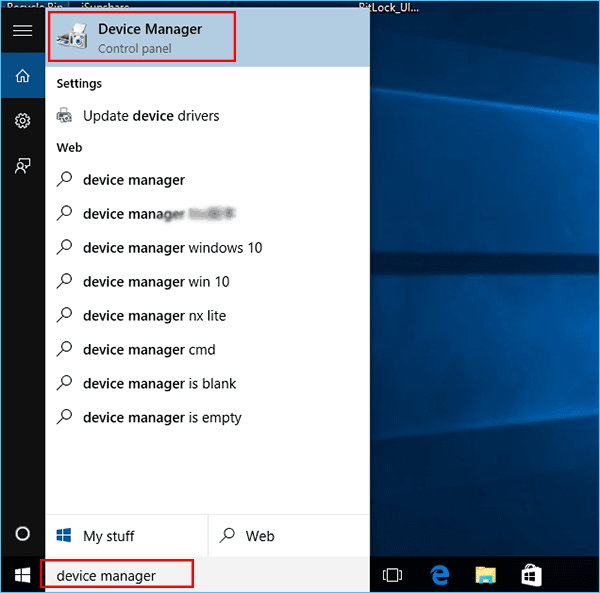
- In the search box on the taskbar, type Device Manager.
The search box is located on the lower left side of the screen.

- Select Device Manager from the list of results.
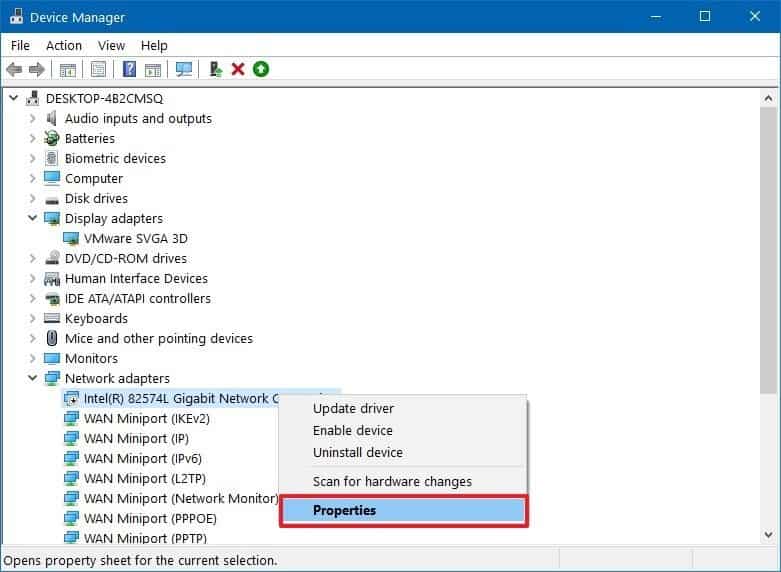
The Device Manager tool will appear.

- Expand Network adapters.
Search for Network adapters then just click on the forward arrow.

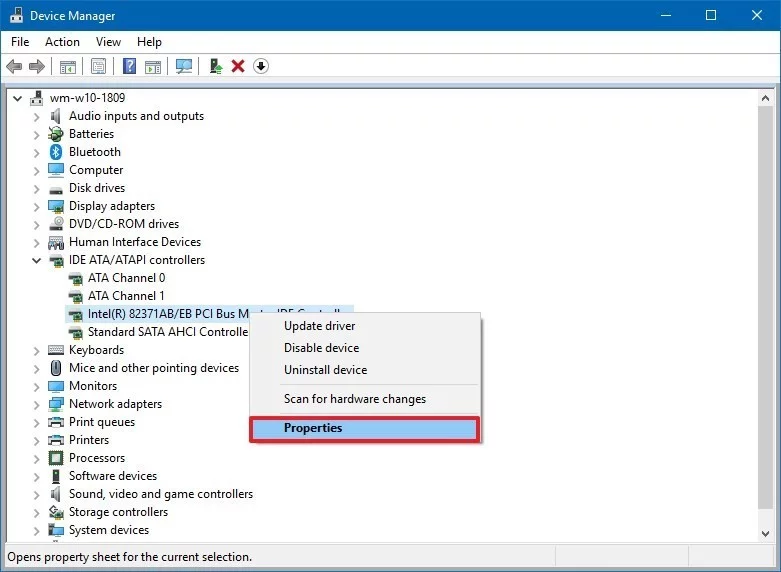
- Locate the network adapter for your device.
Find the correct network adapter.

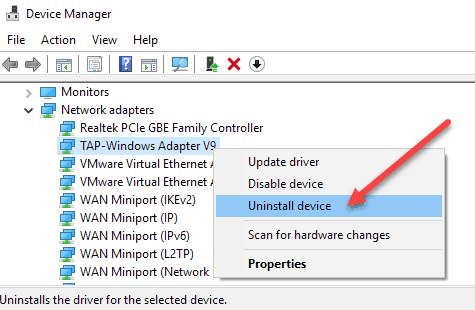
- Select the network adapter, and then select Uninstall device.
Make sure to select the correct network adapter.

- After uninstalling the driver restart the computer.
Navigate to the power button then click on restart.

When the computer restarts it will automatically search for and install the missing network adapter driver. If it does not find an appropriate driver then try to install the backup driver that you downloaded.


