How To Disable Automatic Drive Optimization In Windows 10
In order to disable automatic drive optimization in Windows 10 you will need to change its setting from the Defragment and Optimize drives apps. From here you can turn off the scheduled optimization of the drive thus ensuring that your SSD will not suffer from unnecessary wear and tear.
Windows 10 is the most popular operating system that’s being used today. It was released by Microsoft in 2015 and ever since then has been constantly getting software updates. These updates add more features and make the platform more secure. Although updates are generally beneficial sometimes they can bring issues to your computer. The latest update version 2004 for example defragments your storage space too often. This might be good for a regular mechanical hard drive but not if you are using an SSD.
Turn off drive optimization in Windows 10
When files are spread over different locations it will take a long time for the computer to read and write. Defragmentation in Windows 10 is an optimization feature that works by putting data that is spread across your hard drive back together thus making your computer perform better.
If you are using an SSD then it is not recommended that you defragment it since it will cause unnecessary wear and tear and reduce its lifespan. Also, because the SSD is quite efficient, it no longer needs to be defragmented.
Disable defragmentation from Settings
The easiest way to stop the automatic defragmentation is from the Settings.
Time needed: 5 minutes.
Turn off SSD drive optimization
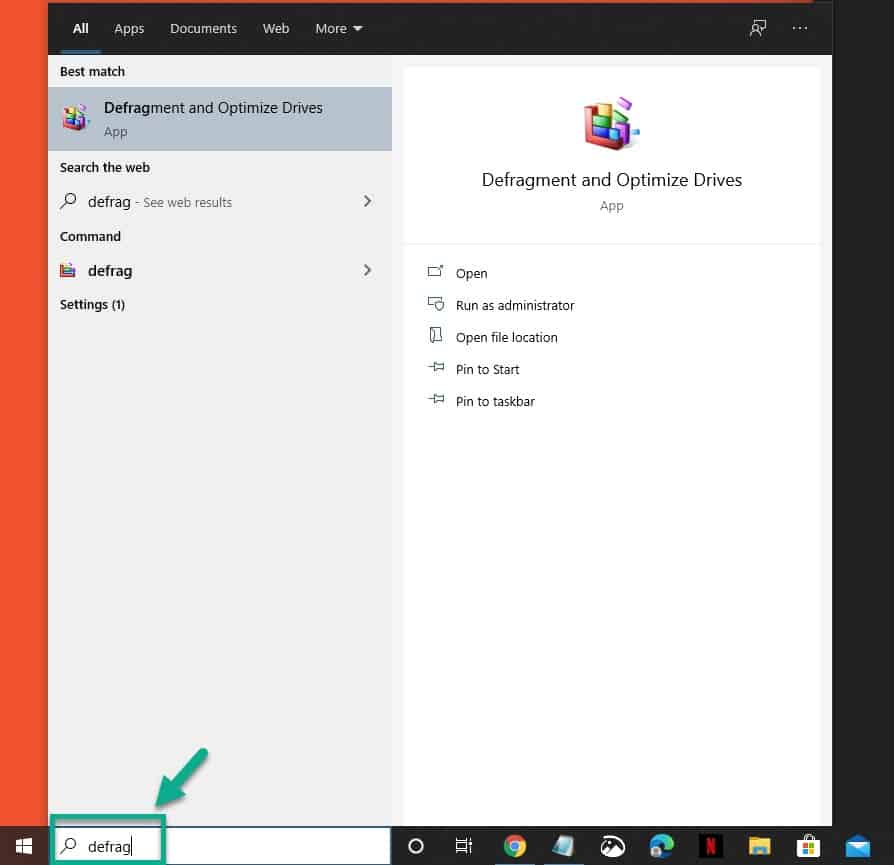
- Type “defrag” without the quotation marks in the search bar.
This is located on the lower right side of the screen just after the Start button.

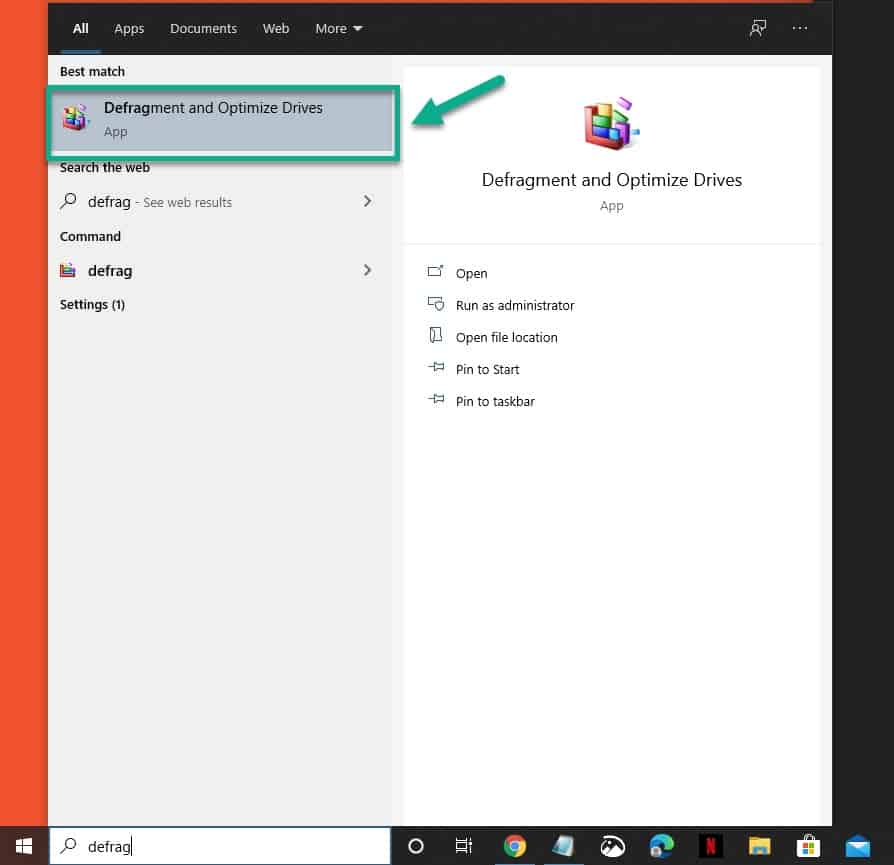
- Click on the “Defragment and Optimize drives” app.
This will open the Optimize drives app.
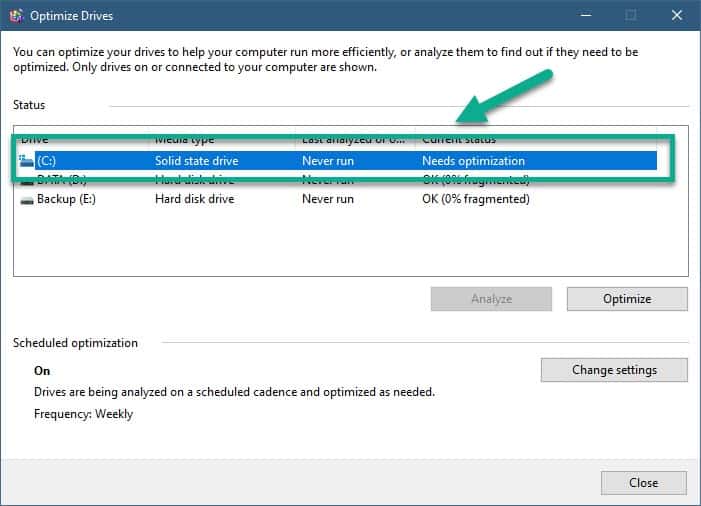
- Highlight the SSD .
You can left click on the drive ( usually the C drive) to select it.

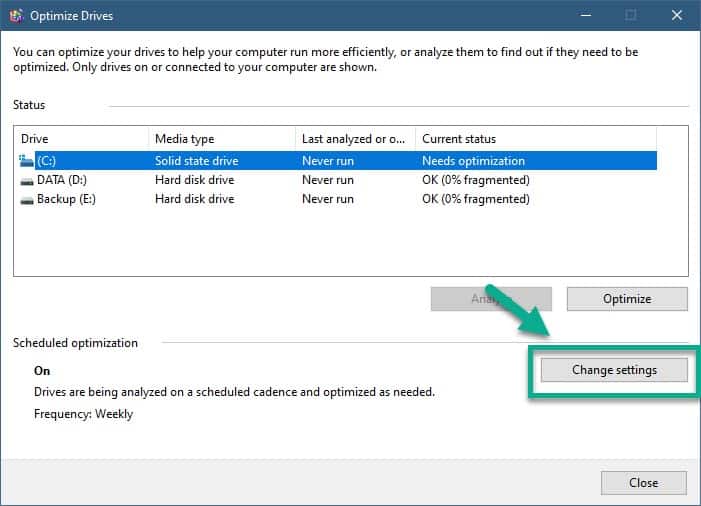
- Click the “Change settings” button.
This is located on the Scheduled optimization option.
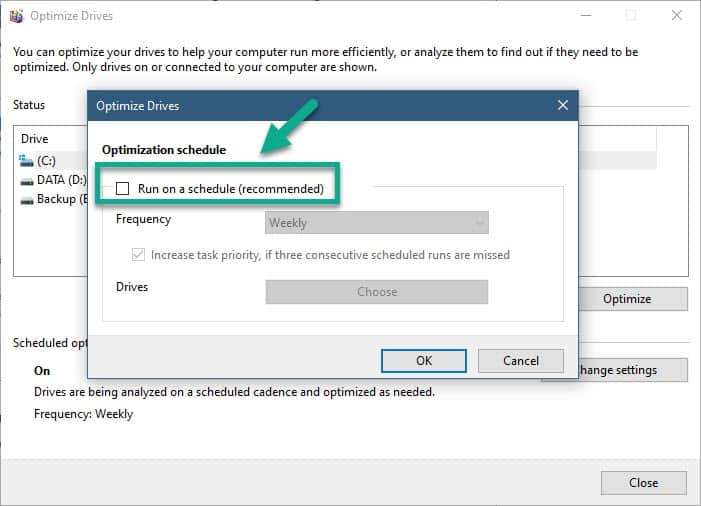
- Uncheck “Run on a schedule”.
This will prevent the drive from being optimized automatically.
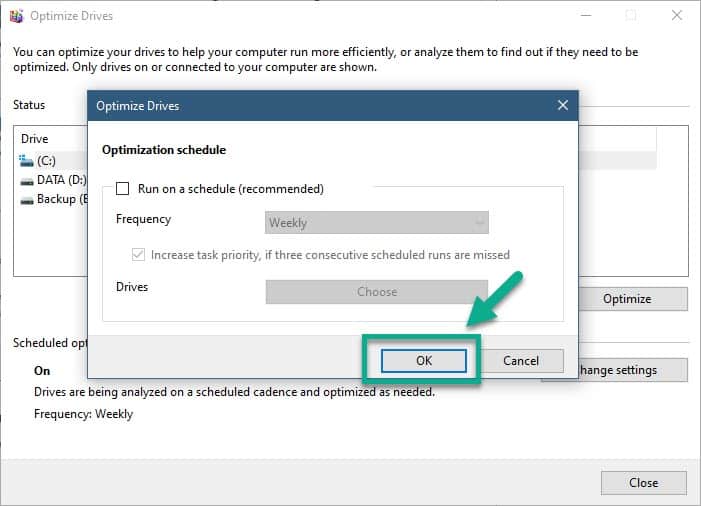
- Click the OK button.
This will save the changes that you made.
Disable defragmentation from Task Scheduler
Another method to turn on this feature is from the Windows Task Scheduler.
- Type “task scheduler” in the search box.
- Click on the Task Scheduler app that appears.
- Double click the Task Scheduler Library.
- Double click Microsoft.
- Double click Windows.
- Click Defrag.
- Highlight ScheduledDefrag then click Disable. The status should read Disabled.
After performing the steps listed above you will successfully disable automatic drive optimization in Windows 10.
Having Issues with your computer? Feel free to contact us using this form. We’ll try to help.