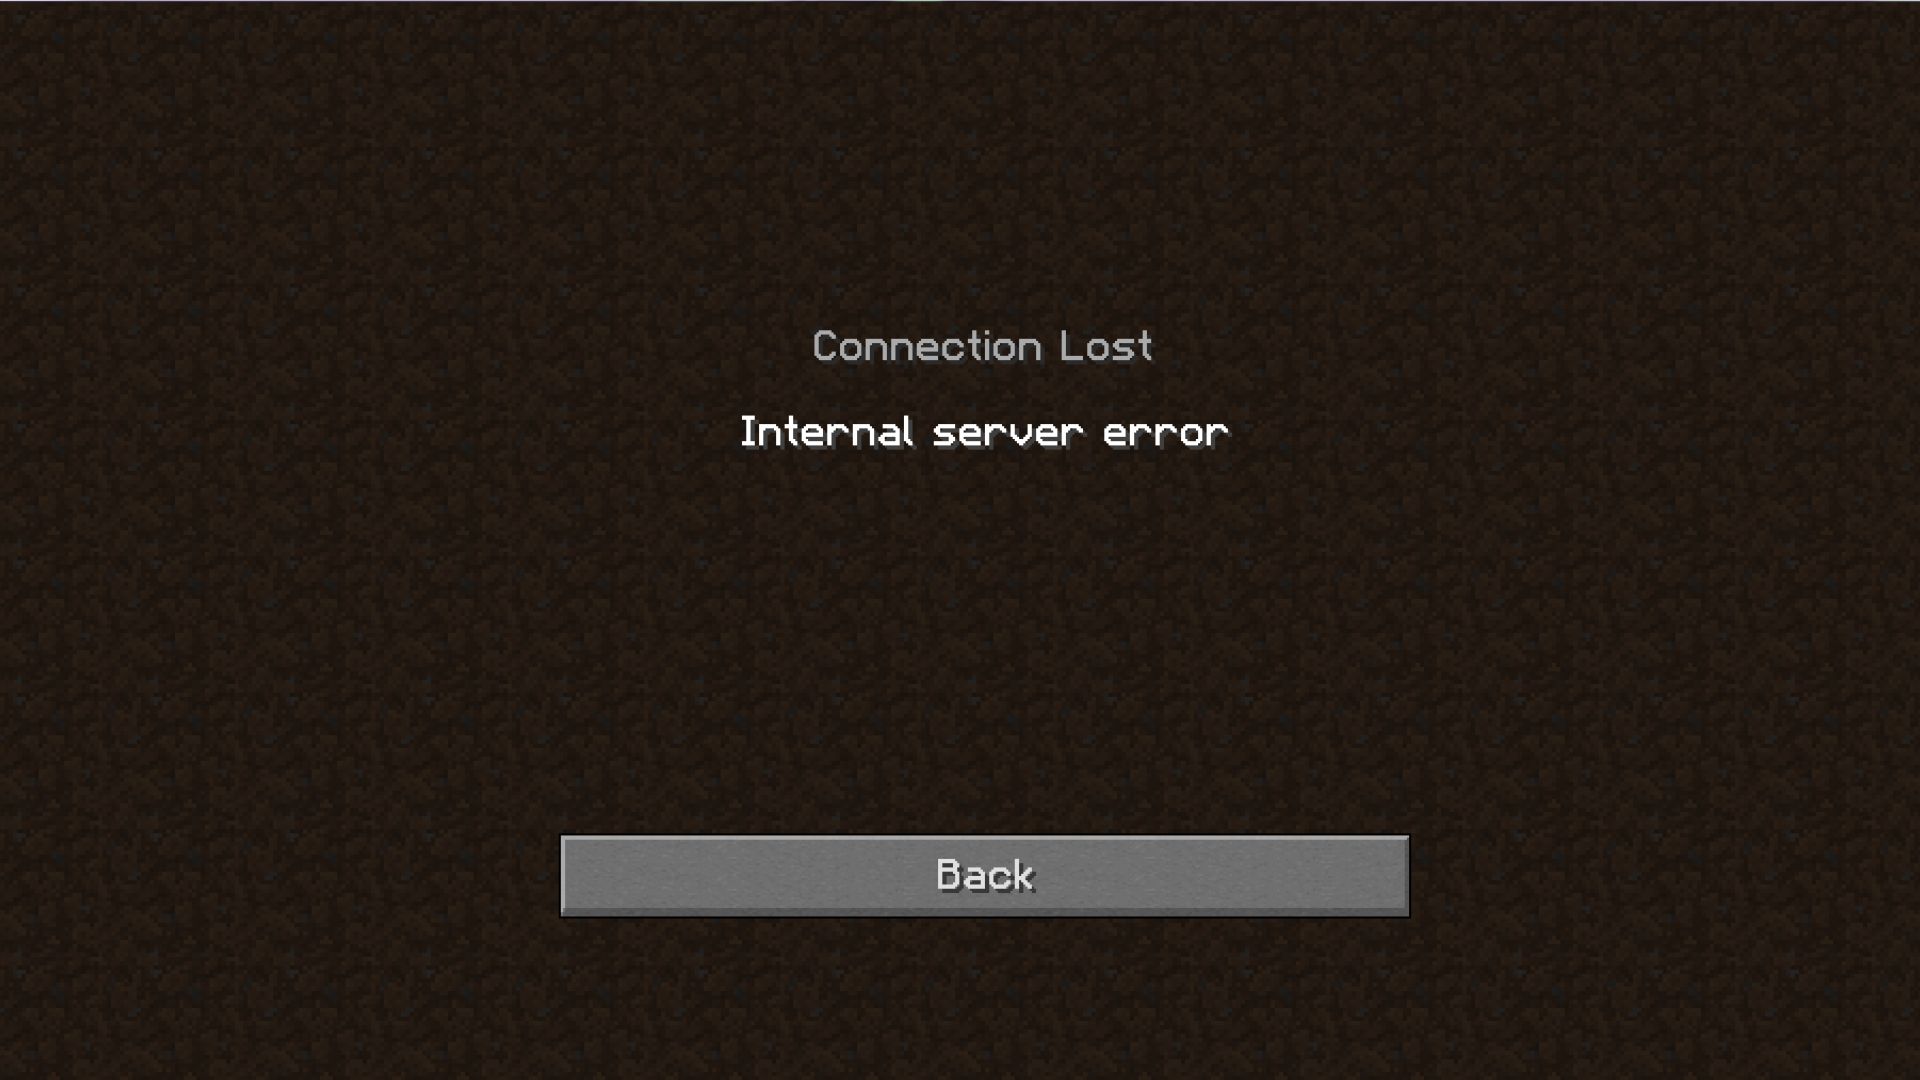
Getting the internal server error in Minecraft can be frustrating when you just want to play the game. This error typically appears when trying to join a multiplayer server and means there is some kind of mismatch between your game files and the server.
The good news is this error can usually be fixed by making a few tweaks on your end. Here are 5 methods to try to resolve the Minecraft internal server error:

1. Update Your Minecraft Version
An outdated Minecraft version is one of the most common causes of the internal server error. Servers may no longer recognize old versions of the game and block access.
To fix this:
- Open the Minecraft Launcher
- Click the “Installations” tab
- Select your Minecraft version
- Click the arrow next to the Play button and choose “Update”
- Wait for the newest version to finish downloading and installing
- Try joining the server again
2. Remove Incompatible Mods and Plugins
Mods and plugins add a lot to Minecraft, but can sometimes cause compatibility issues leading to the internal error.

To troubleshoot:
- Disable all mods in the Minecraft Launcher under the “Installations” tab
- Try joining the server
- If this works, re-enable mods one at a time until you find the problematic one
- Check the mod developer’s site to see if your version matches the supported Minecraft version
- Repeat for plugins – disable all, re-enable one by one, check supported versions
3. Delete the User Profile Folder
A corrupted user profile folder can prevent Minecraft from connecting to servers properly. Deleting this folder resets your local user data.
To do this:
- Open the Run dialog by pressing Windows key + R
- Type “%appdata%” and press Enter
- Open the “.minecraft” folder
- Delete the folder named after your Minecraft username
- Launch Minecraft and let it re-generate a fresh profile folder
- Attempt joining the server again
4. Reinstall the Minecraft Launcher
An issue with the Minecraft Launcher itself could be causing connection problems. Reinstalling the Launcher can clear out any corrupted files.
Follow these steps:
- Open Control Panel > Programs > Programs and Features
- Right-click on “Minecraft Launcher” and choose Uninstall
- Restart your computer
- Go to minecraft.net and redownload the Launcher
- Try joining the server again after installing
5. Contact Minecraft Support
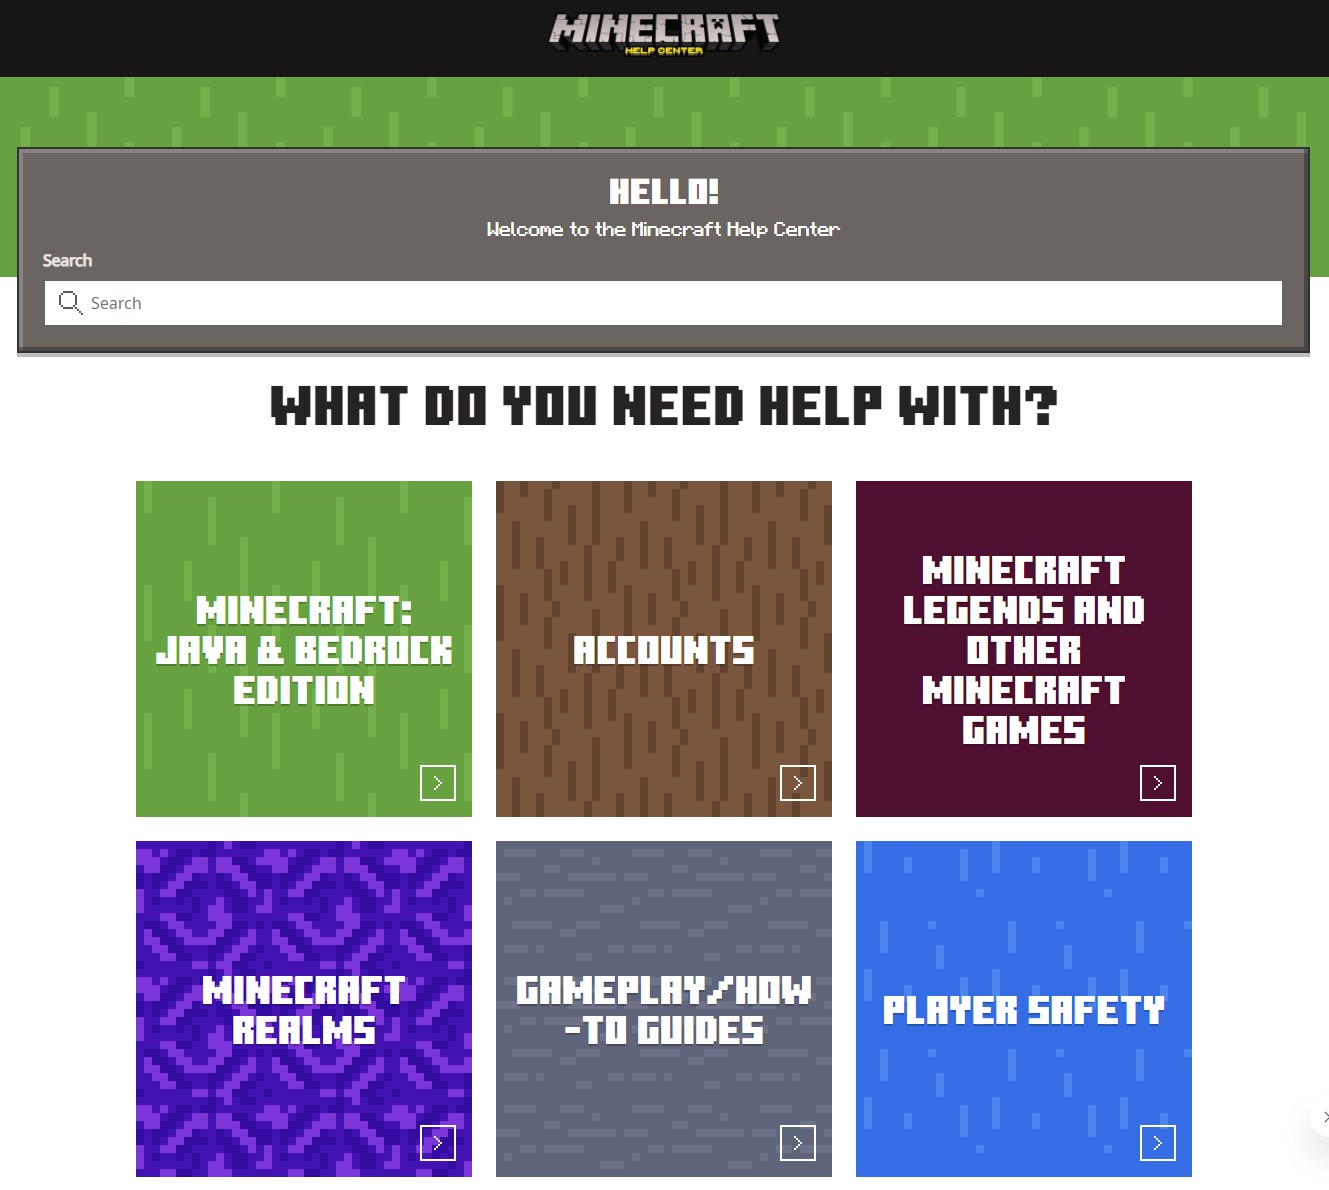
If you still can’t resolve the internal server error after trying these methods, your best option is to contact Mojang support directly. They can investigate issues with your account or purchase to fix problems connecting.

To contact support:
- Go to help.minecraft.net
- Click on the “Contact Us” link
- Choose the type of issue you are having
- Fill out the form with details on the error
- Submit the ticket and wait for their response
With the right troubleshooting, you can get rid of that pesky internal server error and enjoy Minecraft multiplayer again. Be sure to keep your game and mods updated, and don’t hesitate to reach out to Mojang’s helpful support team if needed.