How To Fix Windows 10 Can’t Connect To This Network Error
Windows 10 is designed to make networking easy for computer users of any level. You should be able to connect your laptop or desktop to your home Wi-Fi network without the need for any complicated steps. There are however times when you might experience certain networking issues. In this latest installment of our troubleshooting series we will tackle the windows 10 can’t connect to this network error.
Computer can’t connect to this network
One of the networking issues that you might experience on your computer is when you try to connect to a Wi-Fi network and you get the error message “can’t connect to this network”. There are several factors that can cause this problem which we will be addressing. Before proceeding with the troubleshooting steps make sure to perform these initial actions.
- Restart your modem, router, and computer then try connecting again.
- If you have another computer or smartphone then try connecting this to the Wi-Fi network and check if it also experiences the same problem.
Method 1: Run the network troubleshooter tool
Windows 10 has a built-in tool that can detect and fix most of the common issues that can occur while using the operating system. You should try using this tool first.
Time needed: 5 minutes.
Internet connections troubleshooter
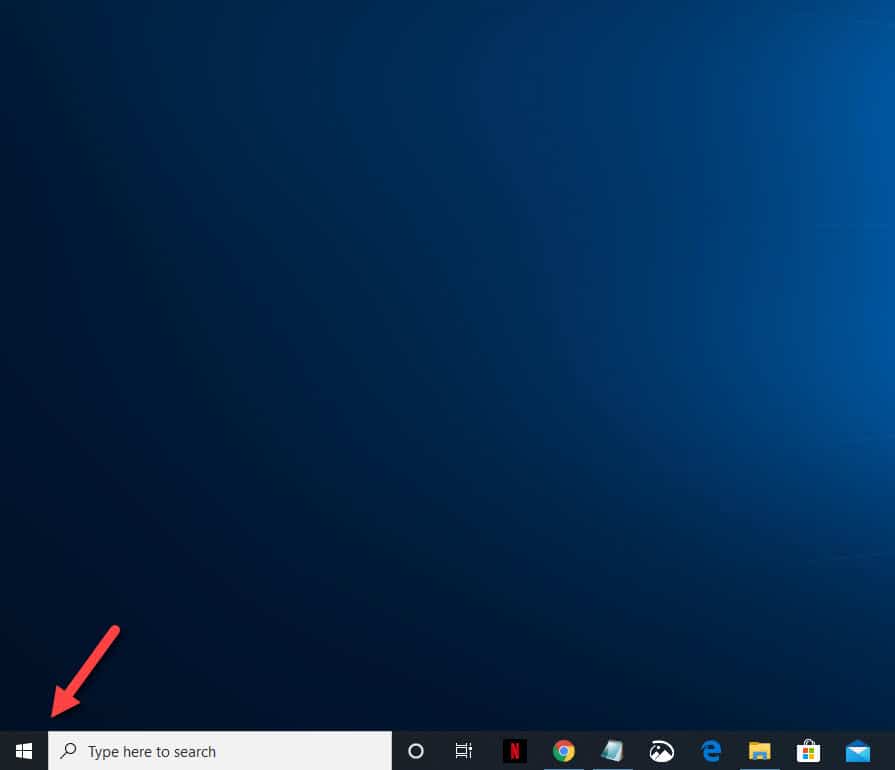
- Click on the Start button.
This is located on the lower left side of the screen.

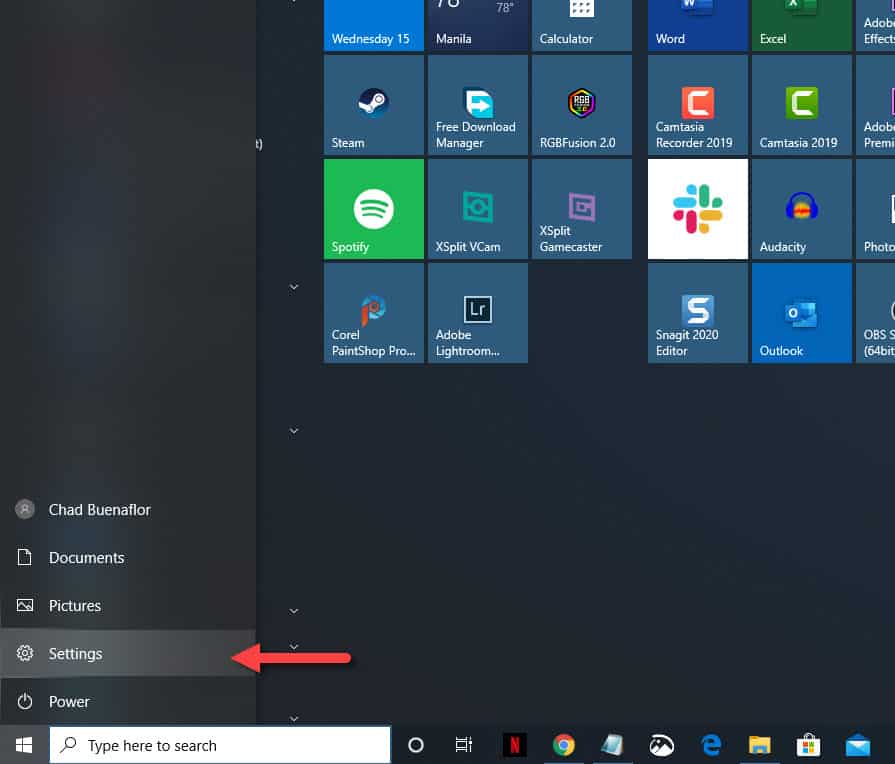
- Click on Settings.
This will open the Settings window.

- Click on Update & Security.
This is usually the last option on the bottom right of the screen.

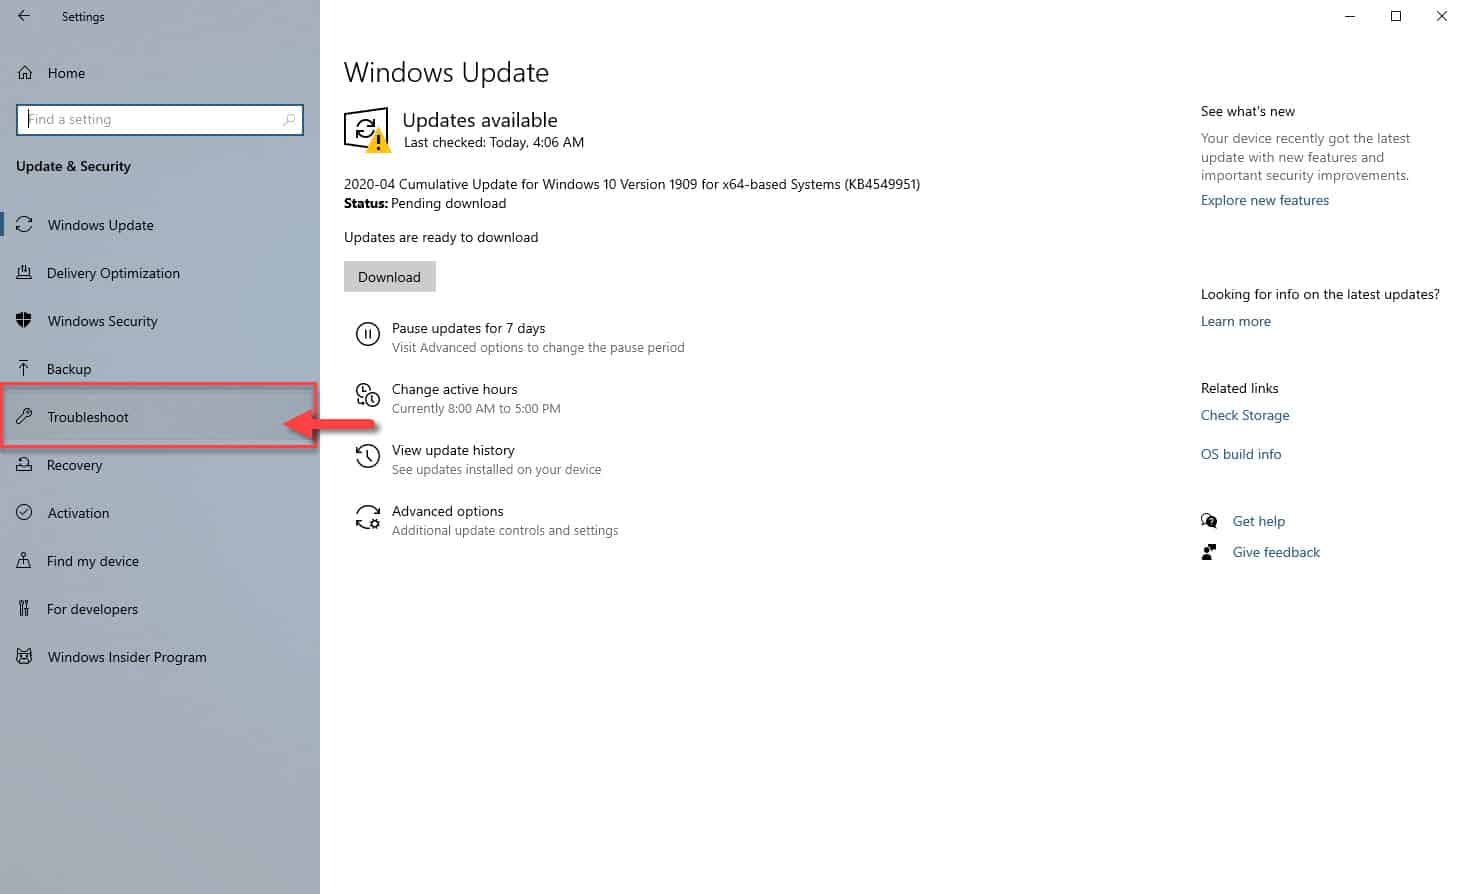
- Click on Troubleshoot.
This is located on the left side of the screen.

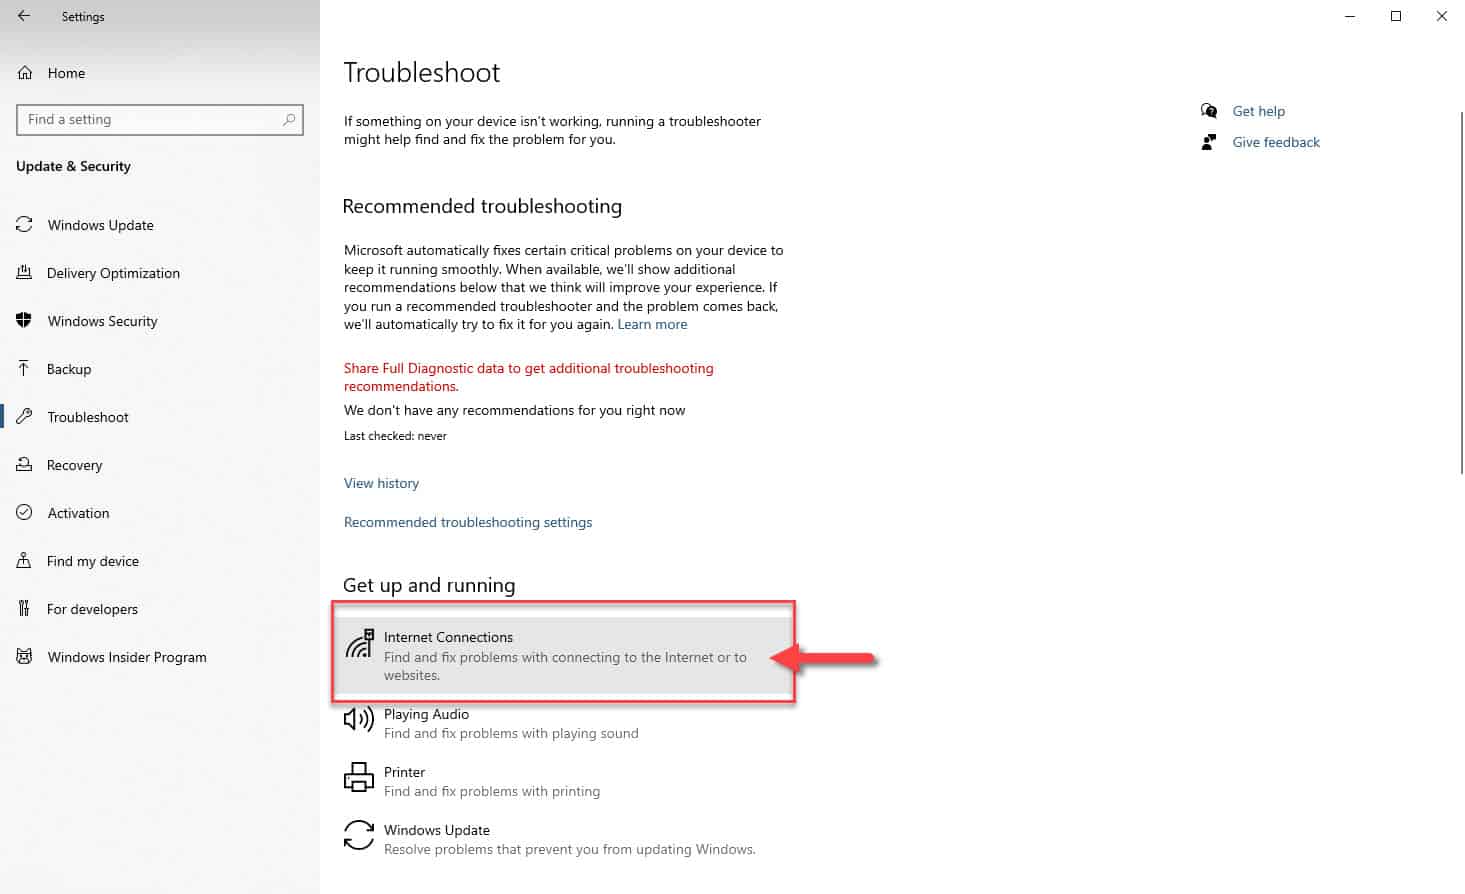
- Click on Internet connections.
This is located on the right pane under the Get up and running section.
- Click on Run the troubleshooter.
This will detect and fix any network related issues. If a possible fix is suggested then you should follow the steps on how to do this.


Method 2: Reinstall the network adapter driver to fix Windows 10 can’t connect to this network
Sometimes this problem can be caused by a corrupted network adapter driver which is why you will need to reinstall this.
- Right click on the Start button.
- Click on Device Manager.
- Click on the forward arrow before the Network adapters to expand the list.
- Find the network adapter then right click on it then click on uninstall device.
- Verify the uninstall process then restart your computer.
- When your computer restarts it will automatically install the driver.
Method 3: Perform a network reset to fix Windows 10 can’t connect to this network
Performing this step removes any network adapters you have installed and the settings for them. When your computer restarts the network adapters are reinstalled, and the settings for them are set to the defaults.
- Click on the Start button.
- Click on Settings.
- Click on Network & Internet.
- Click on Status.
- Click on Network reset
- Click on Reset now.
After performing the troubleshooting methods listed above you will successfully fix this network issue.
Having Issues with your computer? Feel free to contact us using this form. We’ll try to help.