Is your Windows 10 computer displaying the wrong time? This seemingly minor problem can cause several issues such as unable to access certain websites, unable to perform scheduled tasks, or even creating a wrong time stamp on your documents just to name a few. In this latest installment of our troubleshooting series we will show you how to fix the Windows 10 clock time wrong issue.
Windows 10 always showing wrong time
There are several factors that cause this particular problem from a wrong setting to a faulty CMOS battery. We will be showing you the common ways to fix this problem starting with the most effective.
Change date and time settings
Time needed: 2 minutes.
Changing date and time from Settings
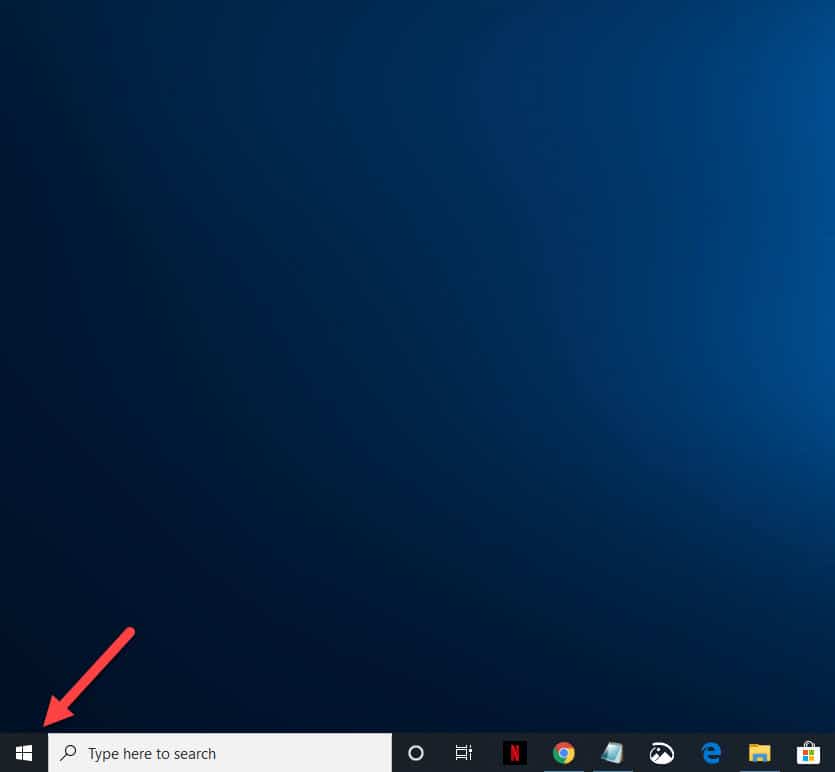
- Click on the Start button.
This is located on the lower left side of the screen.

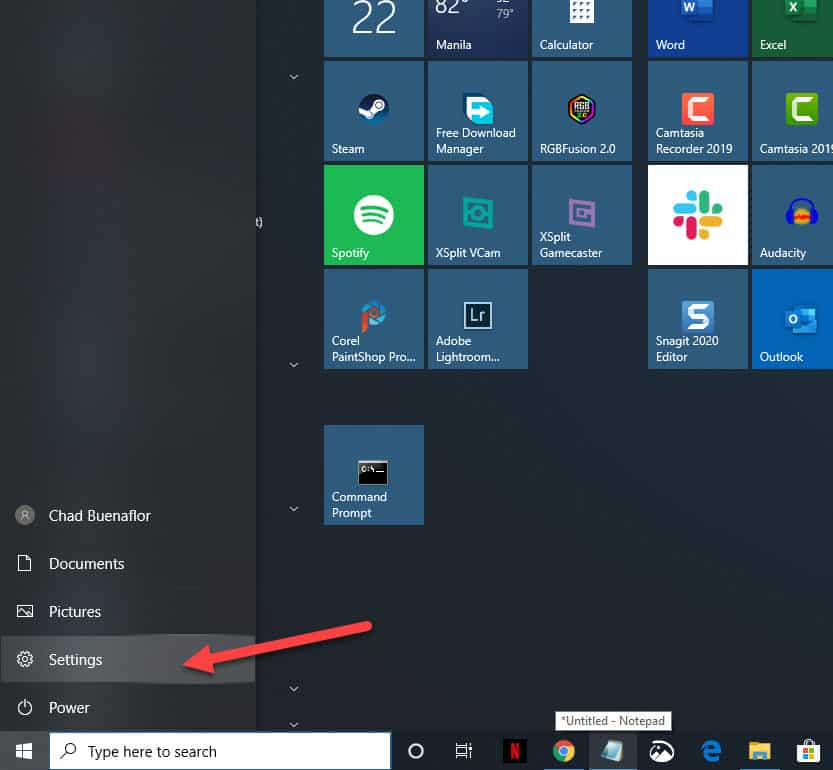
- Click on Settings.
This will open the Settings window.

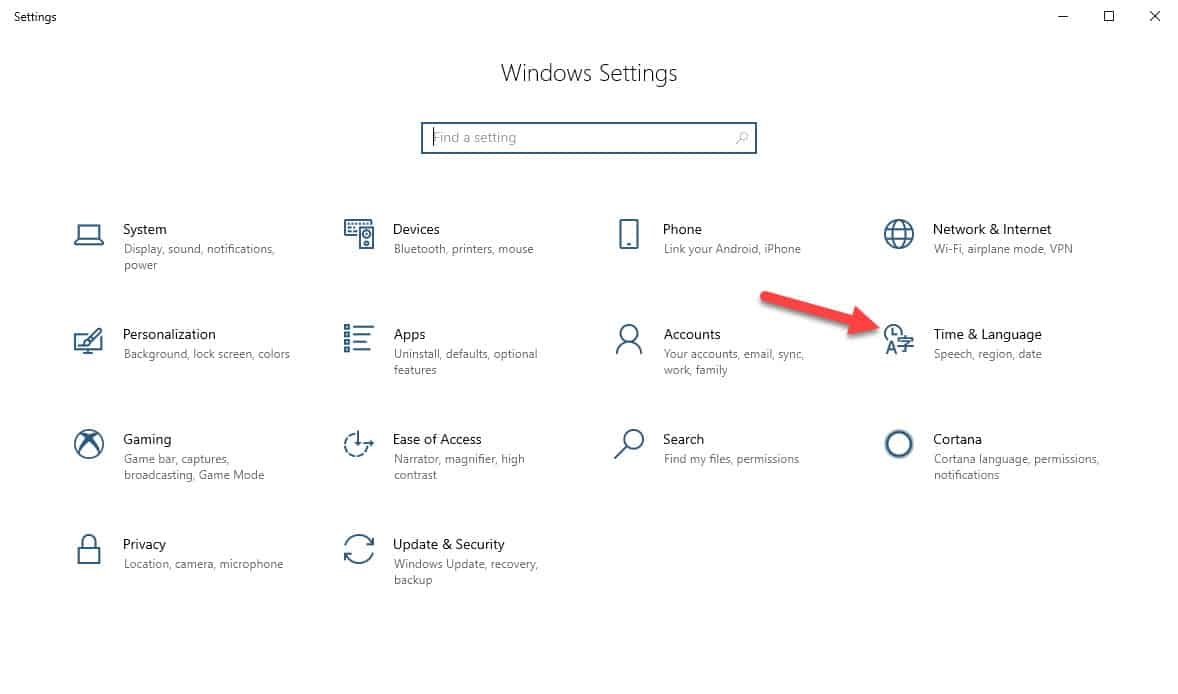
- Click on Time & Language.
This is where you will make the necessary clock correction.

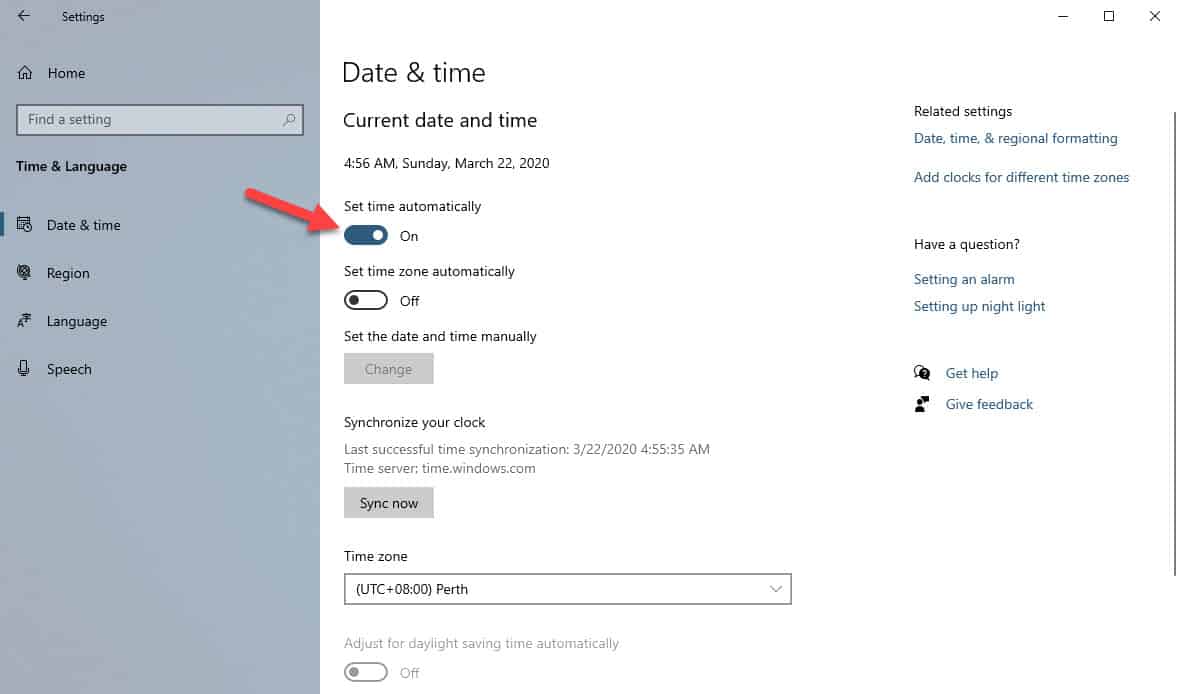
- Turn on set time automatically.
This allows the computer to automatically set the time.

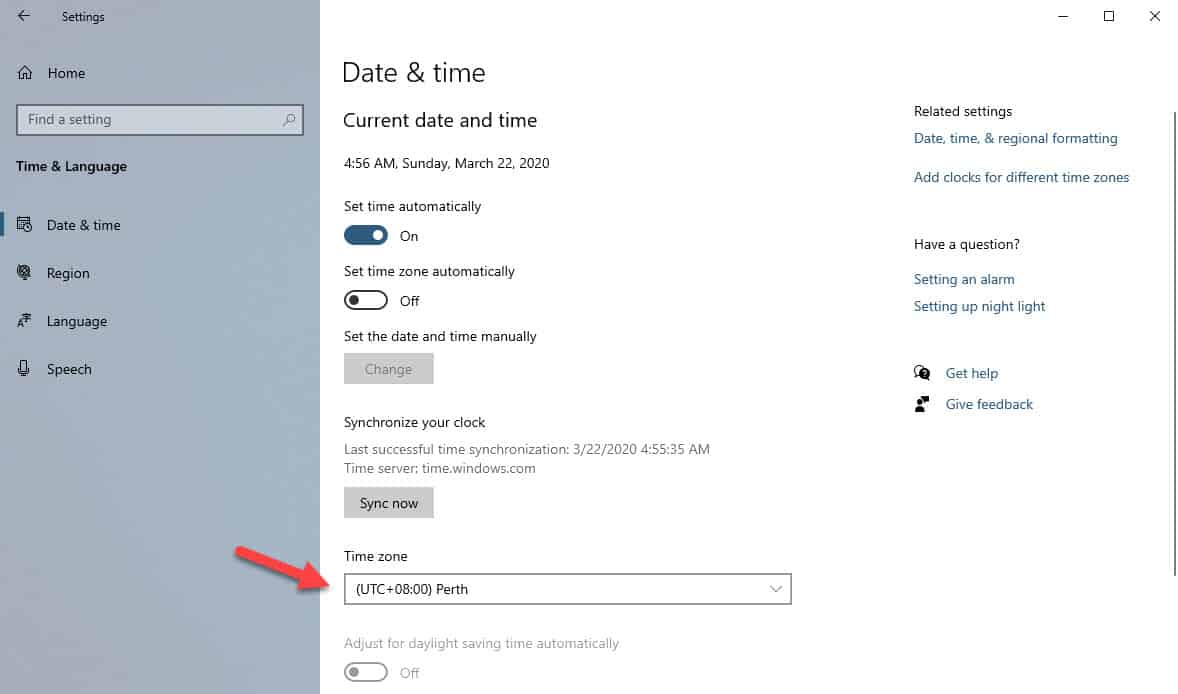
- Choose the correct Time zone.
Select the time zone for your specific location.

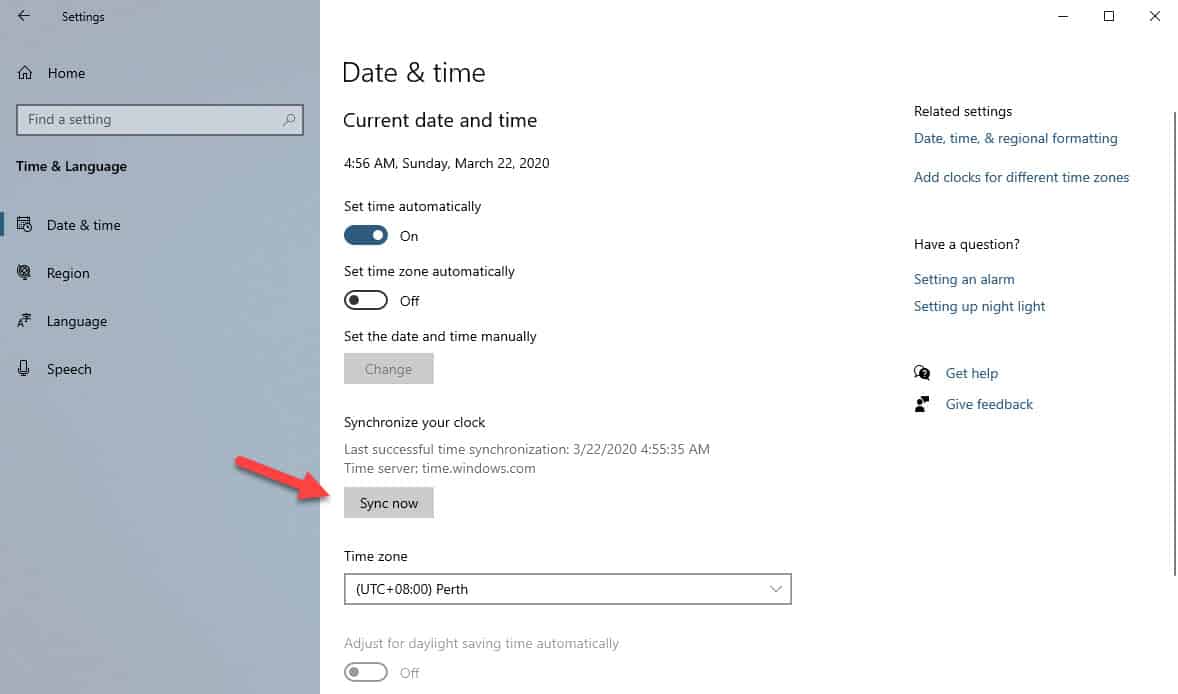
- Click on the sync now button.
This will sync your computer clock to the time server.

Restart the computer then check if the windows 10 clock time wrong issue still occurs.
Set Windows Time Service to start automatically
This service allows your computer to communicate with other computers on your network and sync the clock accordingly. The service keeps your clock in sync with a remote clock making it an interaction between a time client and time source.
- Type “services.msc” without the quotation marks on the search bar. This is found on the lower left side of the screen just after the start button.
- Click on the Services app. This will open the Services window.
- Double click on Windows Time. This is found on the bottom part of the right pane.
- Select the General tab. This is the first tab on the Windows Time Properties window.
- Set startup type to automatic then click on apply and OK. This allows the Windows Time service to run automatically every time the computer starts.
Restart your computer then check if the problem still persists.
Change the internet time server
There are instances when changing the time server that your computer is using will fix the problem.
- Right click on the system time located on the taskbar.
- Click on adjust time/date.
- Click on add clocks for different time zones.
- On the window that appears click on the Internet time tab.
- Click on Change settings.
- Make sure to place a check mark on Synchronize with an Internet time server.
- Choose a time server then click on update now.
- Click on ok after the clock has been successfully synchronized.
Replace the CMOS battery
In case the problem keeps on occurring every time you restart your computer then there’s a possibility that the CMOS battery of your computer motherboard is already weak and needs to be replaced. You should consult your laptop or motherboard manual for the battery replacement procedure.
Having Issues with your computer? Feel free to contact us using this form. We’ll try to help.
