How To Stop Automatic Updates In Windows 10
Windows 10 is the most popular operating system in the world today that’s being used in most business and home computers. One of its excellent features is that it constantly gets software updates. These updates contain bug patches, performance enhancements, security fixes, and sometimes add new features. Although it is generally a good idea to install these updates sometimes you will want to hold out until you find out it is stable. In this latest installment of our troubleshooting series we will show you how to stop automatic updates in windows 10.
Disable Automatic Updates on Windows 10
As mentioned earlier, Windows 10 updates are important as it comes with certain security and performance improvements that make your computer run better. Most of the time you don’t have to do anything to get the update as it will automatically be downloaded into your PC. There are however instances when you will want to turn off this automatic update. Here’s what you need to do.
Method 1: Disable automatic updates using Settings
The quickest way to stop Windows 10 from automatically downloading updates is from the Settings.
Time needed: 3 minutes.
Stop automatic updates
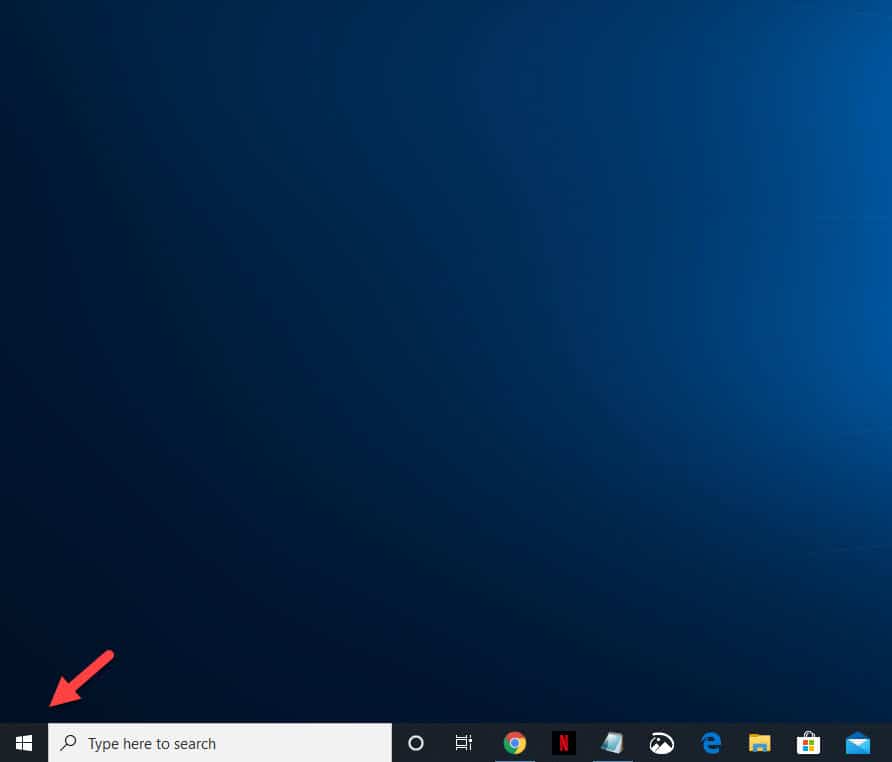
- Click on the Start button.
This can be found on the lower left side of the screen.

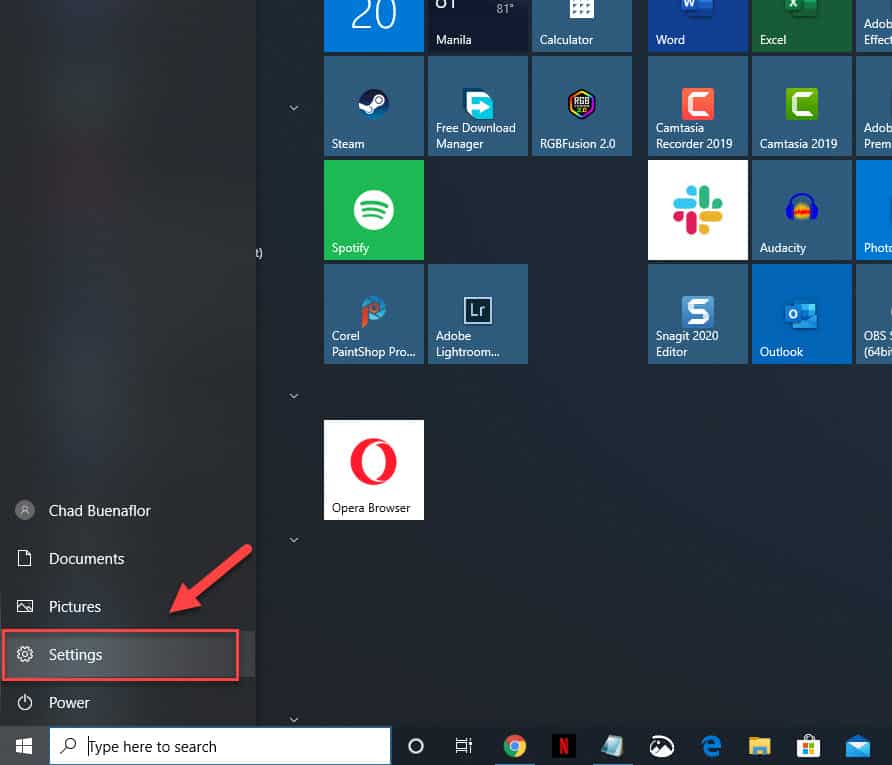
- Click on Settings.
This will open the Settings window.

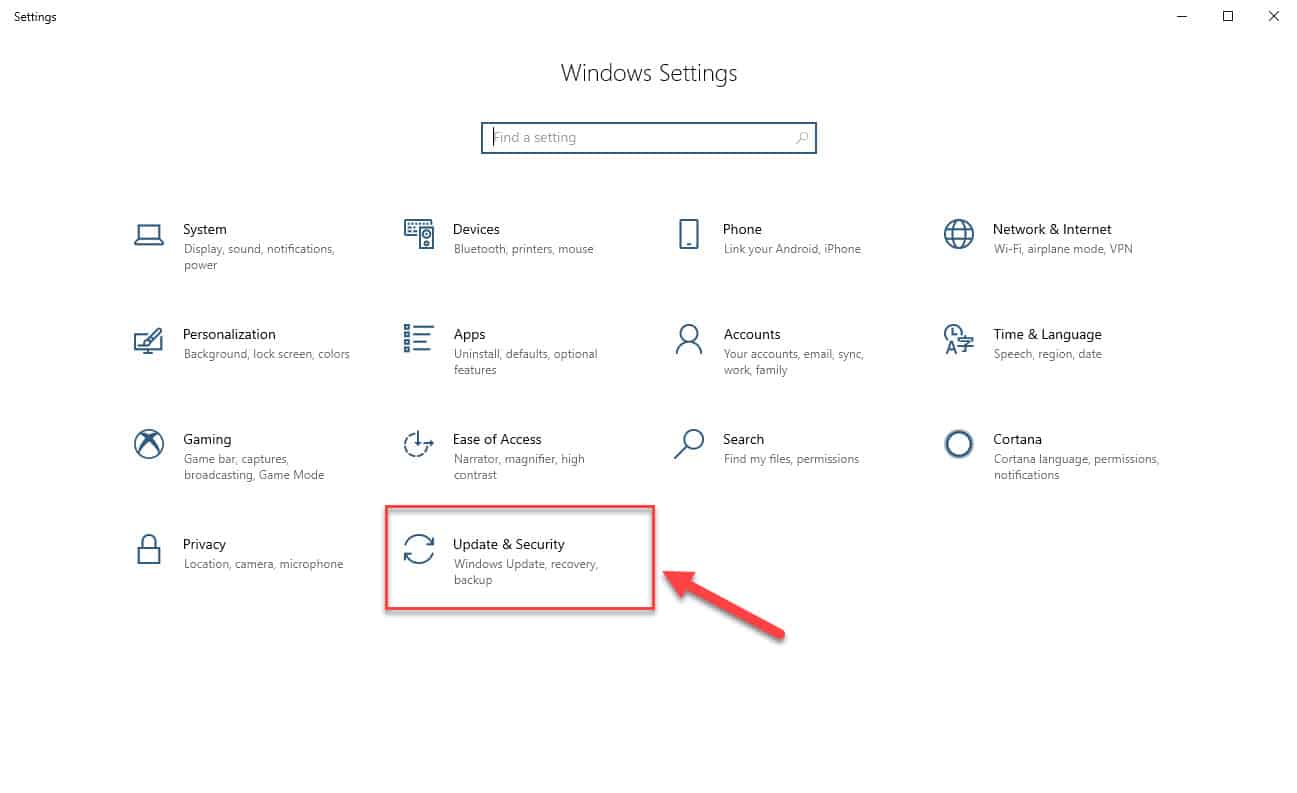
- Click on Update & Security.
This is usually the last option on the Settings window.

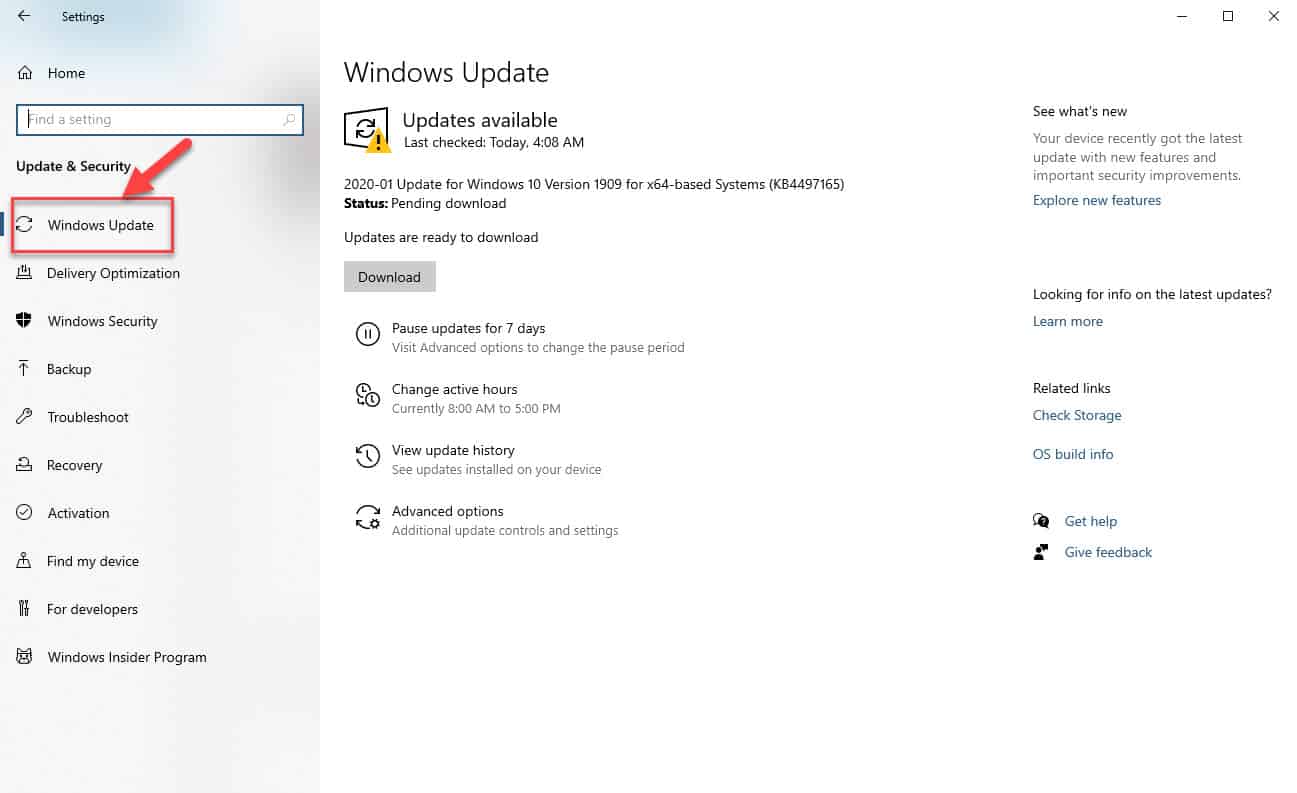
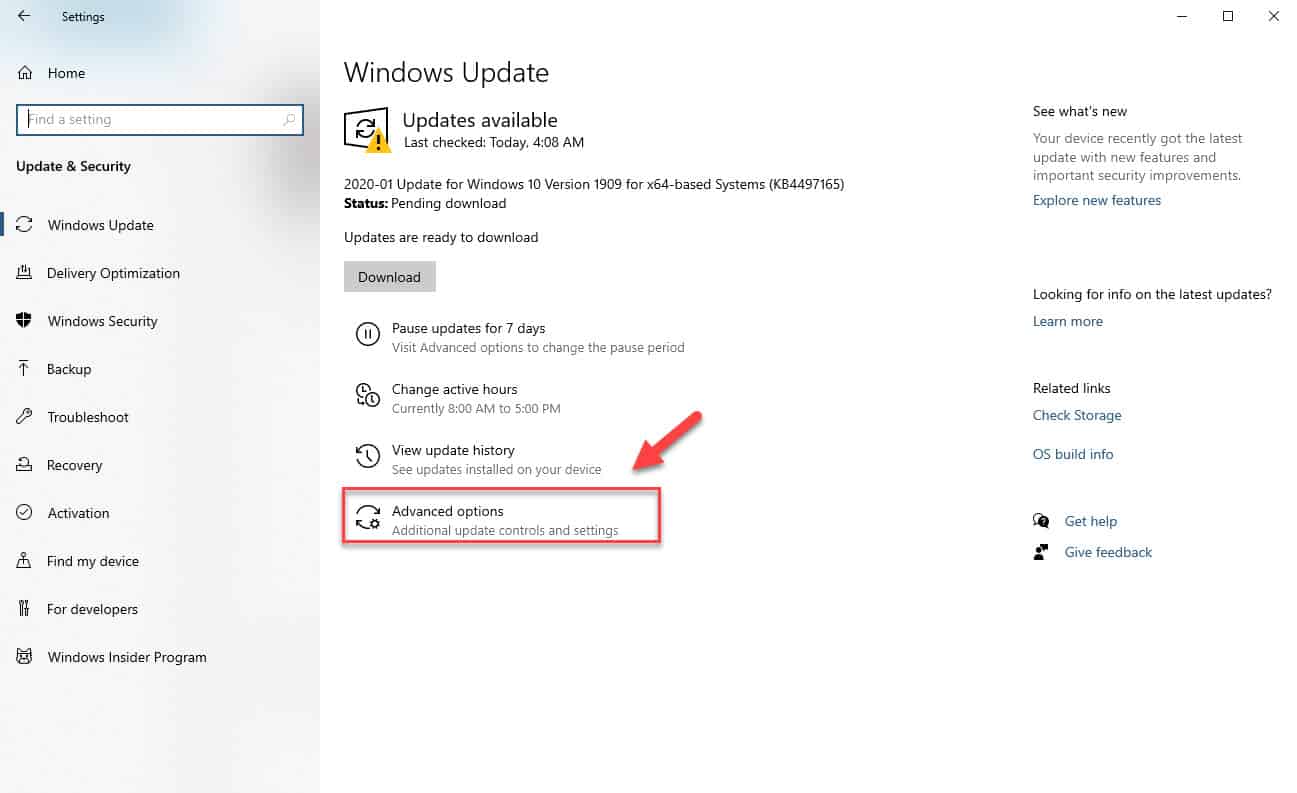
- Click on Windows Update.
This can be found on the left pane.
- Click the Advanced options button.
This can be found on the right pane.
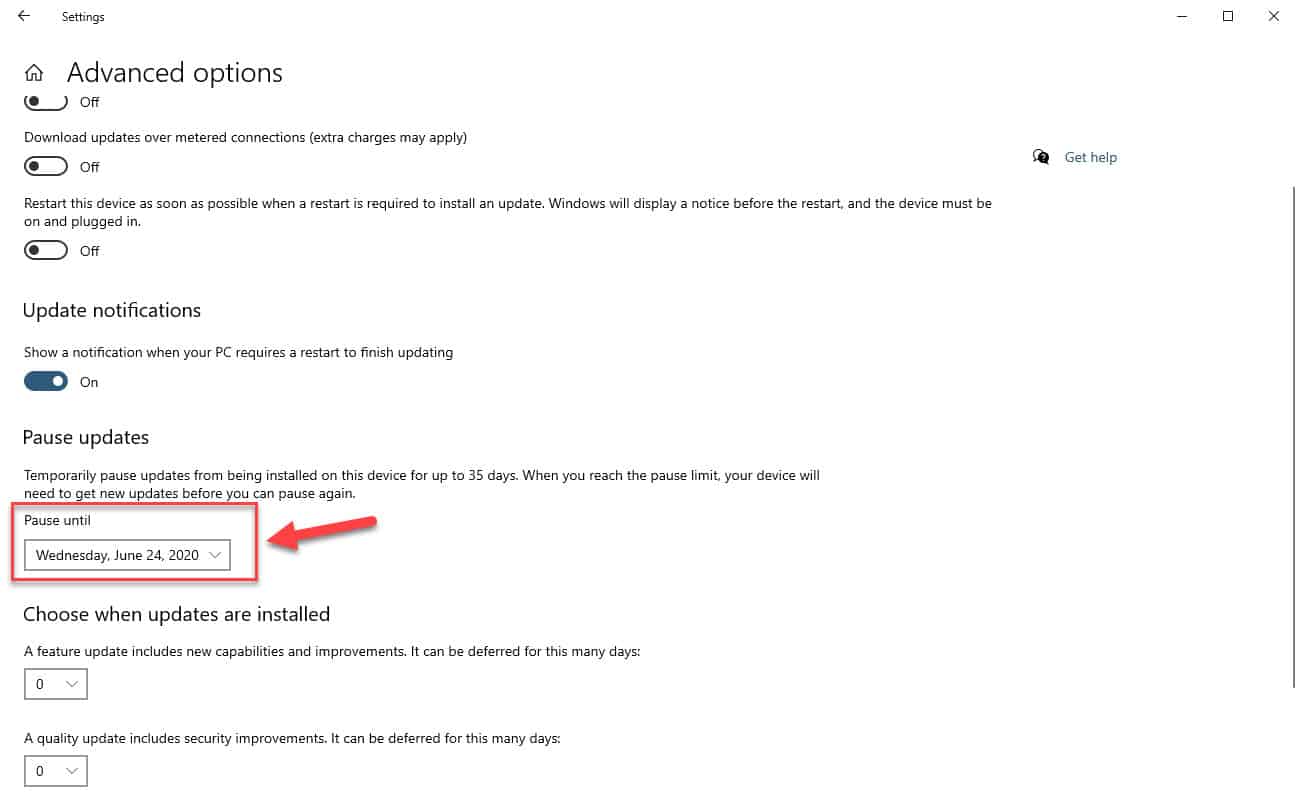
- On “Pause updates” sections, use the Pause until drop-down menu to select the time range to disable automatic updates.
This prevents automatic updates from being downloaded and installed until the day specified.
Method 2: Disable automatic updates from Group Policy
If your computer is running on Windows 10 Pro then you can use the Local Group Policy editor to disable automatic updates permanently or decide when updates should install.
- Type “gpedit.msc” in the search bar.
- Click on the Gpedit.msc app that appears.
- Click on Computer Configuration.
- Click on Administrative Templates.
- Click on Windows Components.
- Click on Windows Update.
- Double-click on Configure Automatic Updates policy on the right side.
- Choose the Disabled option to turn off the policy.
- Click the Apply then OK buttons.
After performing the steps listed above you will successfully stop automatic updates in Windows 10.
Having Issues with your computer? Feel free to contact us using this form. We’ll try to help.