Dota 2 Disk Write Error? 12 Easy Fixes to Get You Back in the Game (Verify, Update + More)
Getting a Dota 2 disk write error can be frustrating for players. This error prevents the game from saving progress or updating properly. There are a few potential solutions players can try to resolve the Dota 2 disk write error quickly.
1. Restart Your PC
The first and most basic fix is to restart your PC. This will refresh all the programs and processes that could be causing conflicts.
Follow these steps to reboot your system:
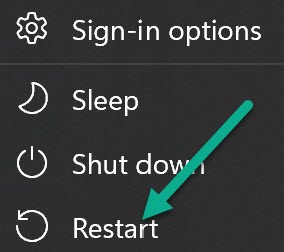
- Press the Windows Key and click on the Power icon.
- Select Restart.
- Once your PC restarts, launch Steam and check if you can now update Dota 2 without issues.
2. Run Steam as Administrator
Sometimes running Steam with admin privileges can resolve disk write errors. Here’s how to do it:
- Right-click on the Steam shortcut on your desktop.
- Select Properties.
- Go to the Compatibility tab.
- Check ‘Run this program as an administrator’.
- Click Apply and OK.
- Launch Steam again and try updating Dota 2.
3. Update Outdated Drivers
Outdated, corrupted or incompatible drivers can also cause Dota 2 disk write errors. Updating them might fix this:
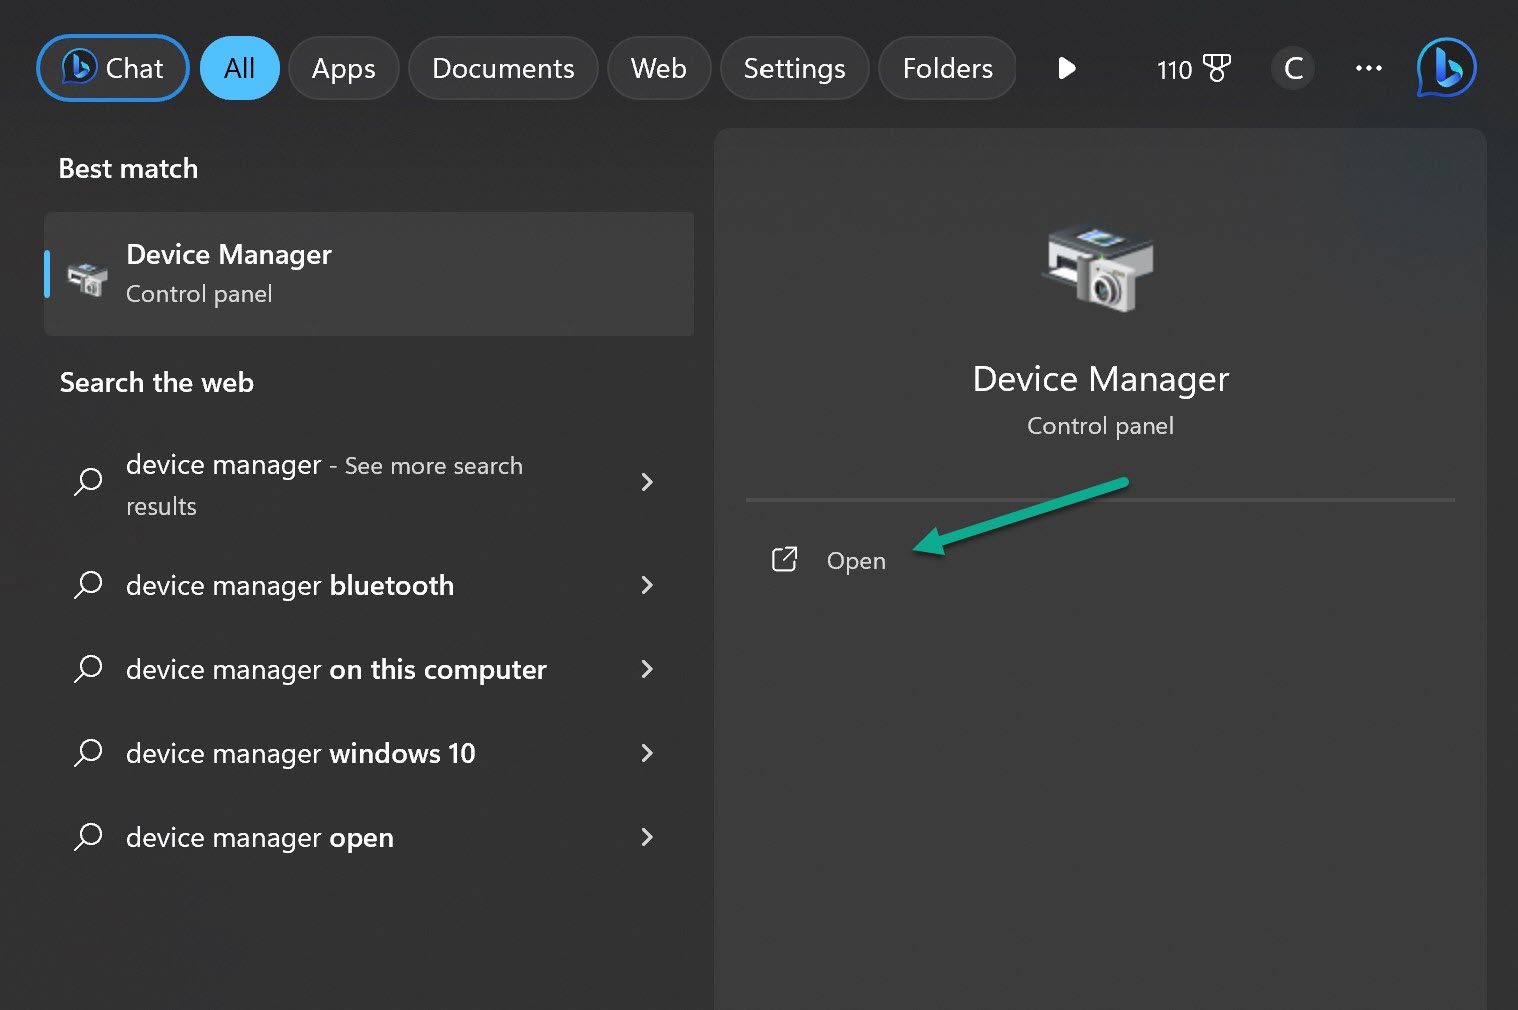
- Open Device Manager.
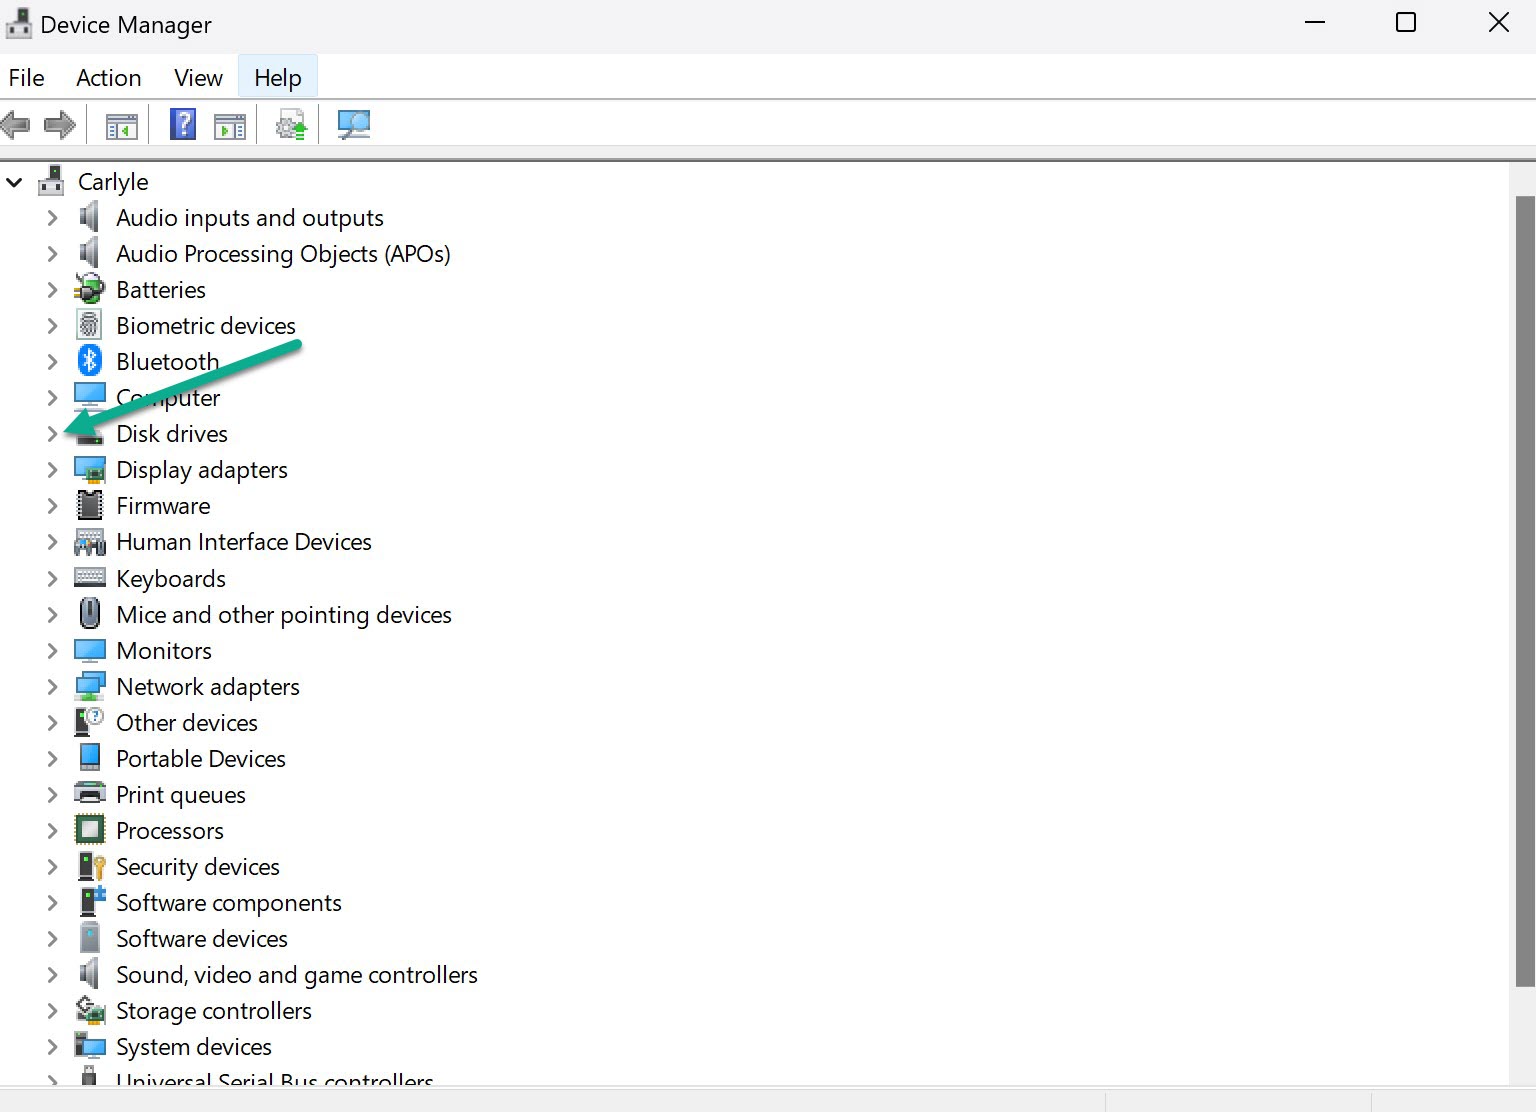
- Expand Disk drives.
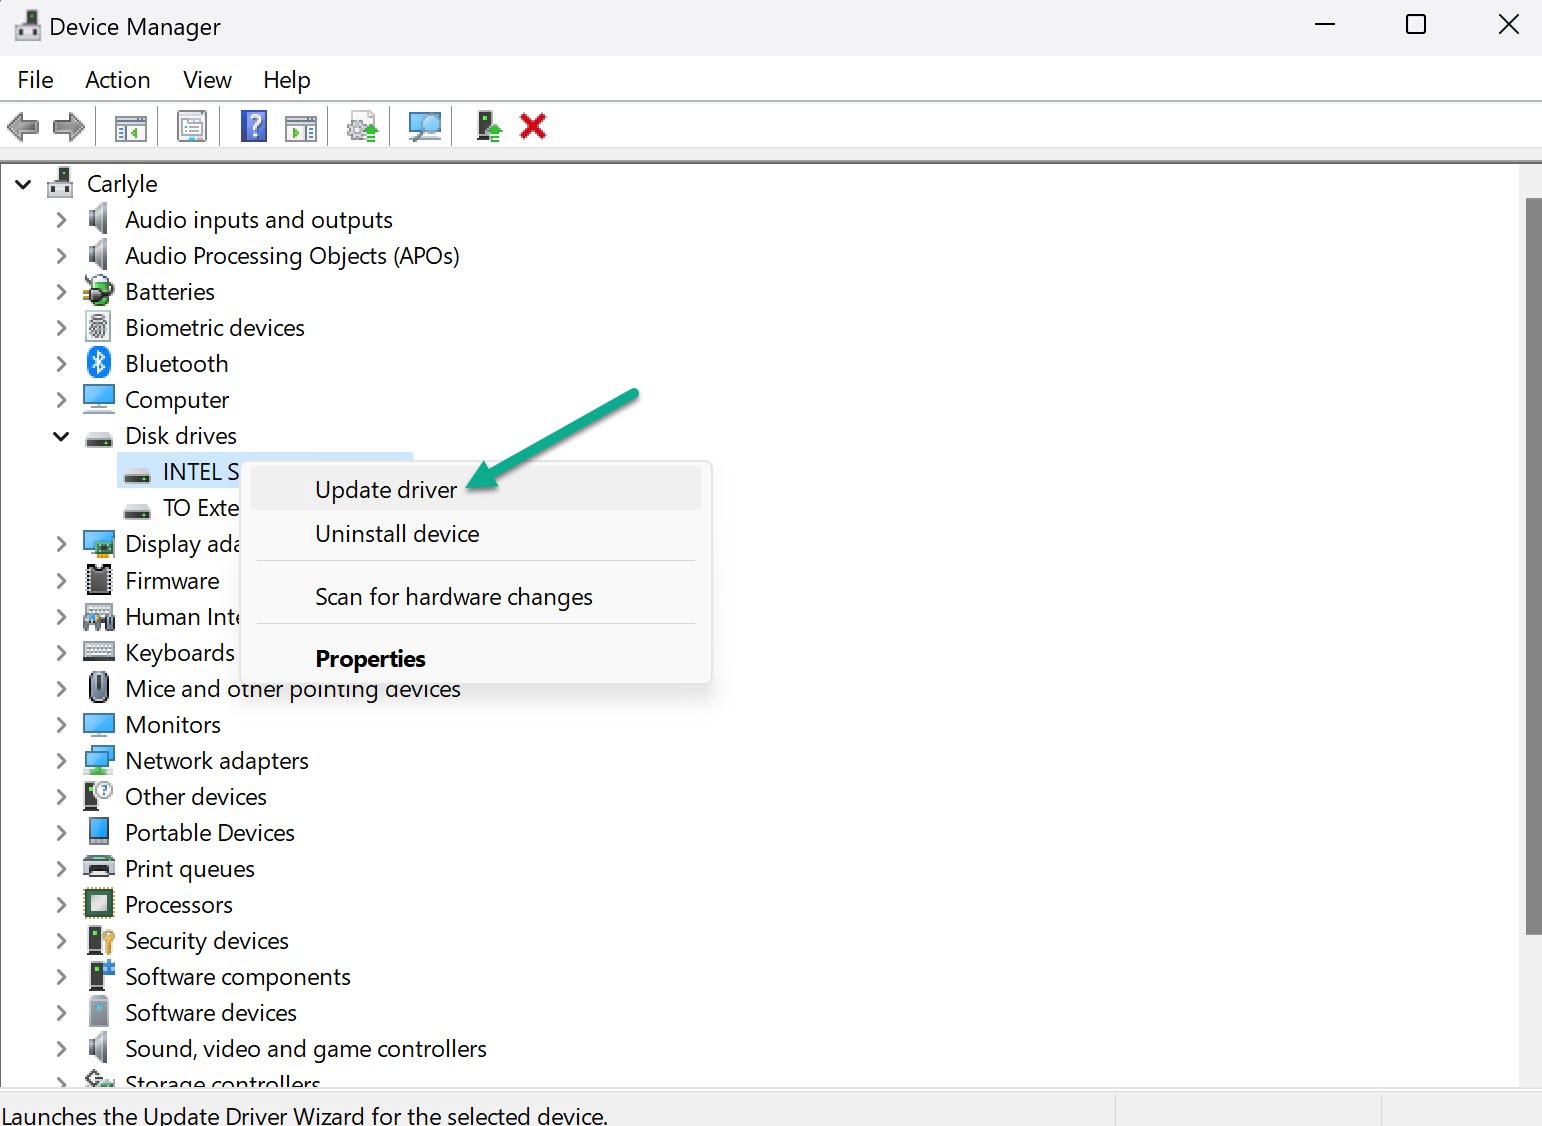
- Right-click the drive and select Update driver.
- Select Search automatically for drivers.
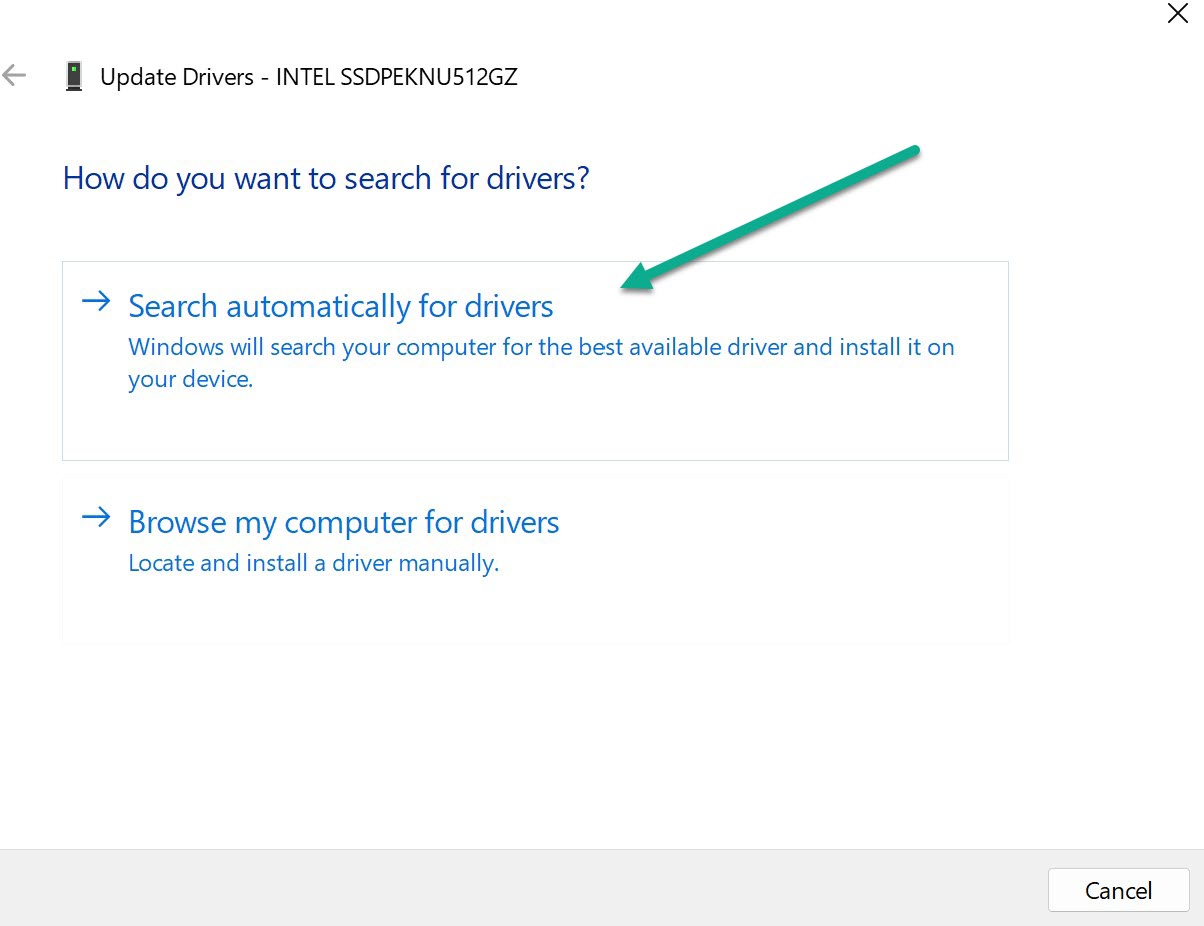
- Restart your PC and check if the issue is resolved.
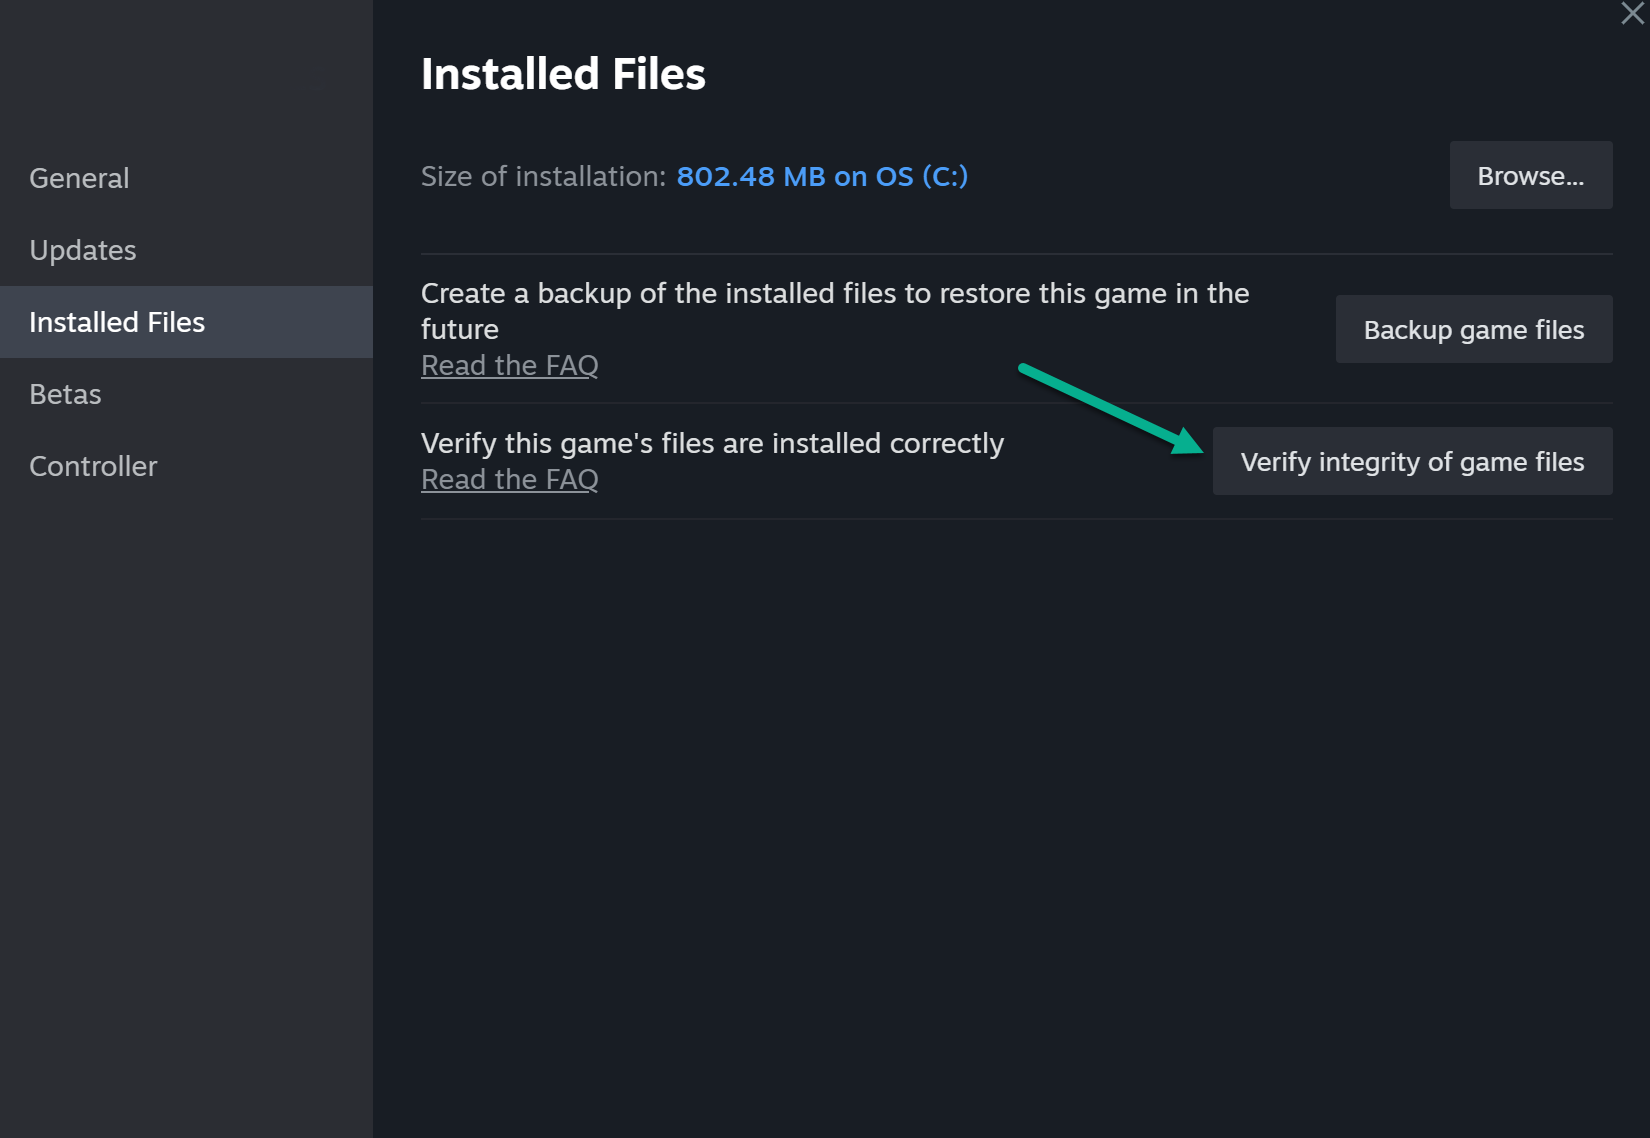
4. Verify Integrity of Game Files
Corrupted Dota 2 files can trigger disk write errors. Use Steam’s integrity verification tool to fix them:
- Open your Steam library.
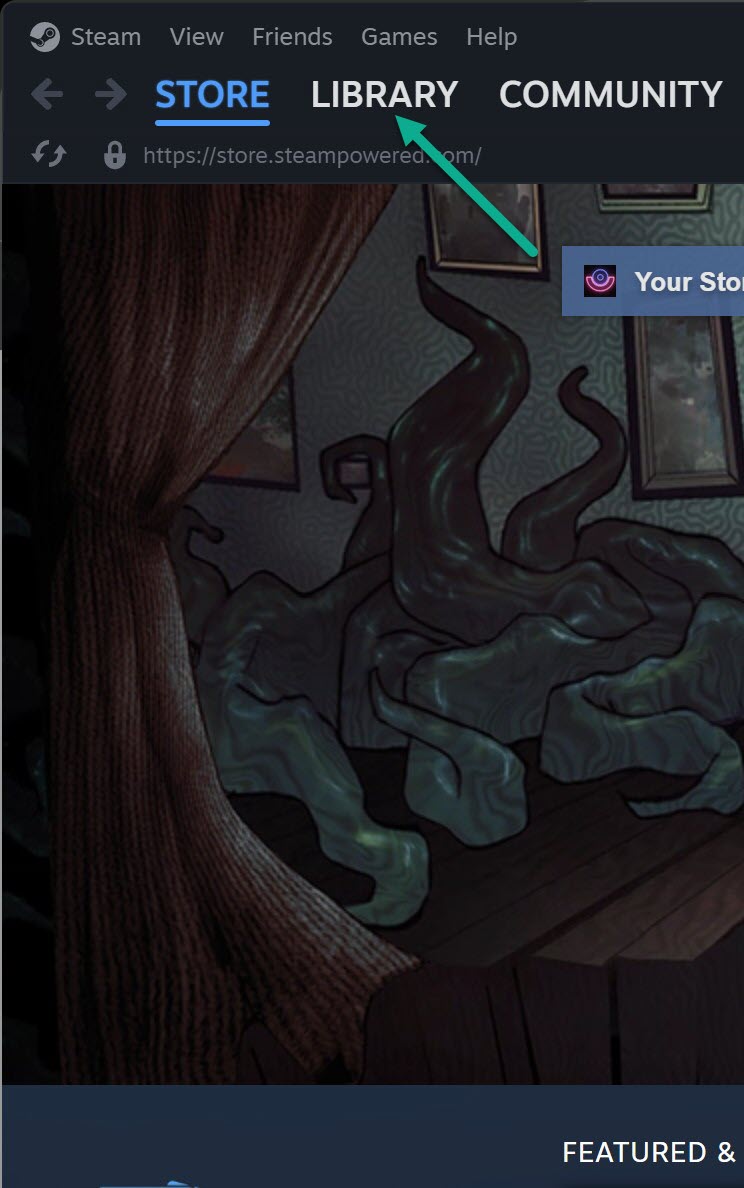
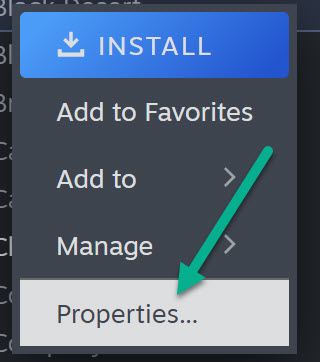
- Right click on Dota 2 and select Properties.
- Go to Installed Files.
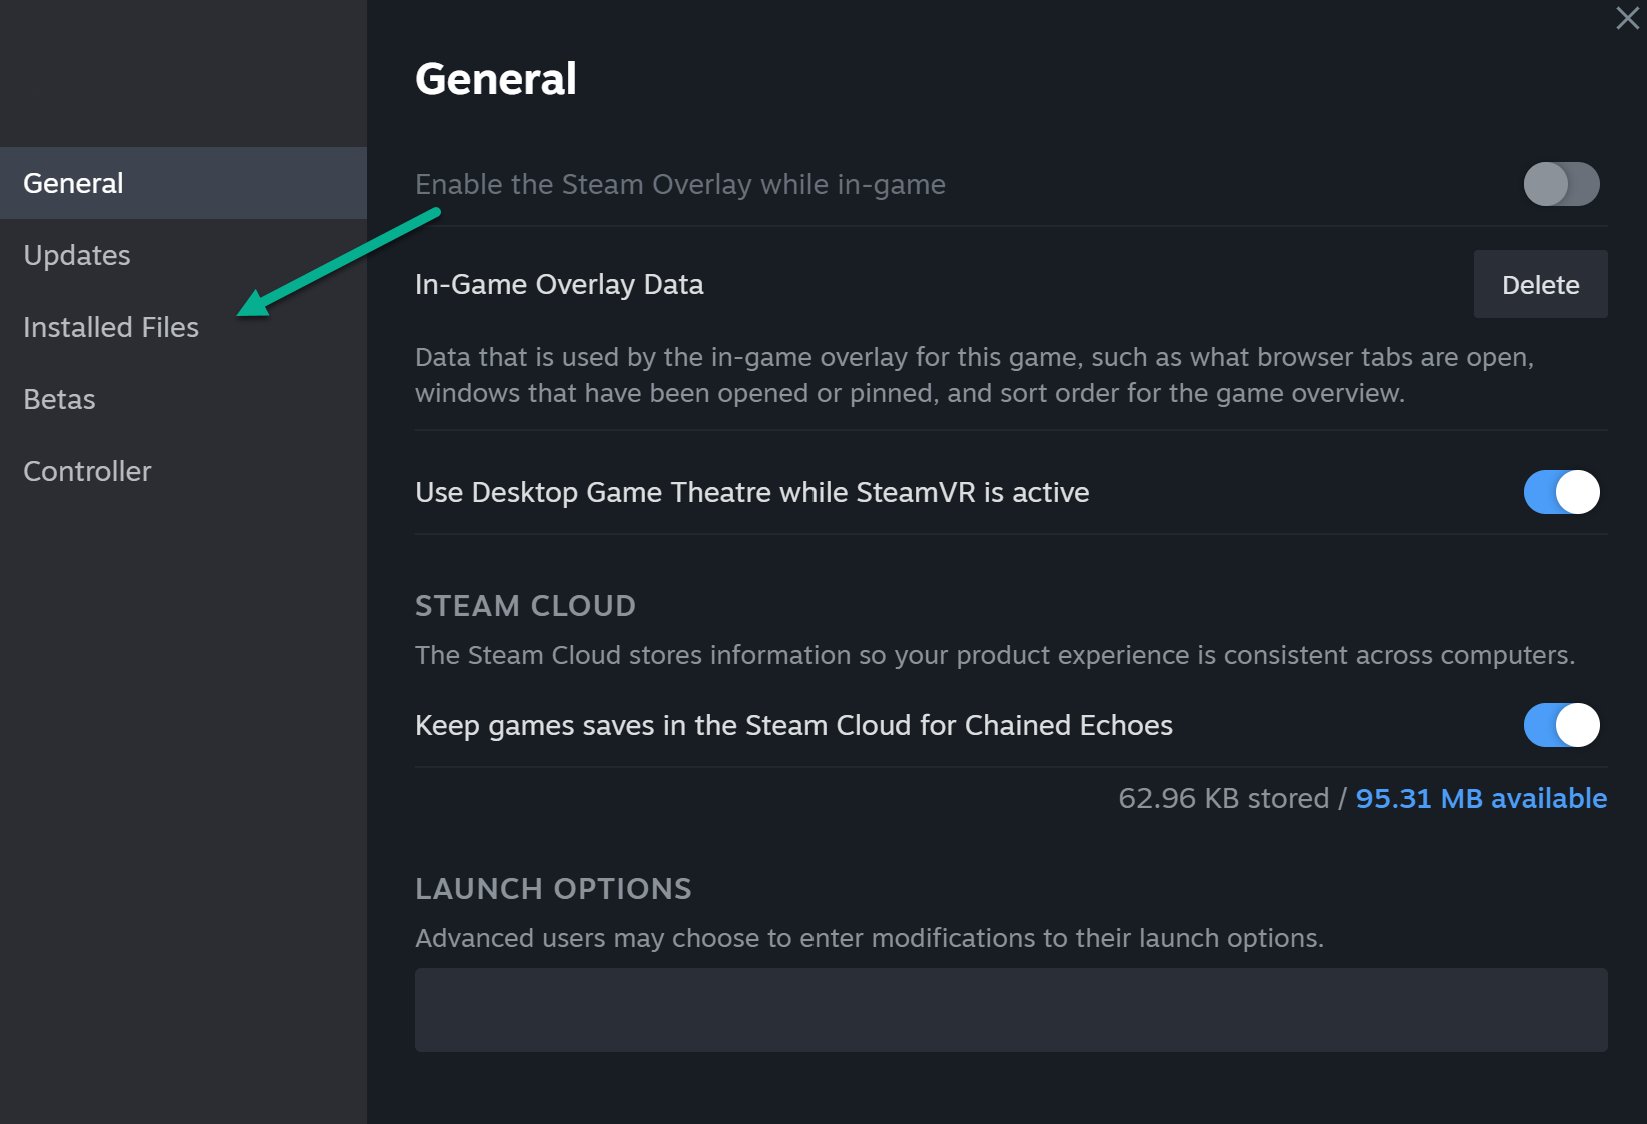
- Click on Verify integrity of game files.
- Wait for the verification process to complete.
- Try updating Dota 2 again.
5. Clear Steam Download Cache
Clearing the download cache can fix damaged updates causing disk write errors:
- Open Steam settings.
- Go to the Downloads tab.
- Click on Clear Download Cache.
- Confirm clearing the cache.
- Restart Steam and update Dota 2.
6. Check Your Hard Drive for Errors
Hard drive errors can also prevent Dota 2 from updating properly. Check your drive using these steps:
- Open Command Prompt as admin.
- Type
chkdsk C: /f /r /x(replace C with your drive letter). - Press Y if prompted.
- Once the scan finishes, restart your PC.
- Open Steam and try updating Dota 2 again.
7. Add Dota 2 Folder to Antivirus Exclusion
Your antivirus might be blocking Dota 2 updates. Add the game folder to exclusions:
- Open your antivirus settings.
- Go to Exclusions/Exceptions.
- Click Add Exclusion.
- Browse and select the Dota 2 folder.
- Save changes and try updating the game.
8. Reinstall or Repair Dota 2
Reinstalling Dota 2 can replace any corrupted files causing errors. Here’s how:
- Open Steam and right-click on Dota 2.
- Select Uninstall. Confirm uninstalling.
- Once done, install Dota 2 again from your library.
Alternatively, use Steam’s repair tool:
- Open Steam settings.
- Go to Downloads > Steam Library Folders.
- Right-click on Dota 2 and select Repair Library Folder.
9. Disable Antivirus Temporarily
Your antivirus might conflict with Steam/Dota 2 updates. Temporarily disabling it could help:
- Locate your antivirus app and open settings.
- Find the option to disable protection/auto-scan.
- Turn it off temporarily.
- Try updating Dota 2 now without antivirus running.
- Re-enable protection once done.
10. Move Dota 2 to a Different Drive
If your current Steam library drive has errors, move Dota 2 to a new disk:
- In Steam settings, go to Downloads > Steam Library Folders.
- Click Add Library Folder.
- Select a new drive.
- Click Add.
- In Dota 2 properties, select the new drive under Local Files.
- Try updating the game now.
11. Reset Network Settings
Network issues can sometimes cause Dota 2 disk write errors. Reset your network with these steps:
- Open Command Prompt as admin.
- Type
netsh winsock resetand press Enter. - Restart your PC.
- Open Steam and check if Dota 2 updates without errors now.
12. Contact Steam Support
If you’ve tried all other solutions, reach out to Steam Support as they can best troubleshoot and provide fixes based on your specific issue.