IPv6 is the newest internet protocol that is intended to replace IPv4. This protocol provides an ID marker and location system for computers on a network then routes traffic on the internet. IPv6 resolves the issues present in IPv4, one of which is the addition of more internet addresses. If you are experiencing the IPv6 no internet access problem in windows 10 then you have come to the right place as we will be helping you fix this.
Fix IPv6 No Network Access
There are several factors that can cause the IPv6 no internet access error. If you have already made sure that the problem is not with your internet service provider or with the router that you are using then you should proceed with the steps listed below which are aimed at checking your computer.
Time needed: 2 minutes.
Troubleshoot the network
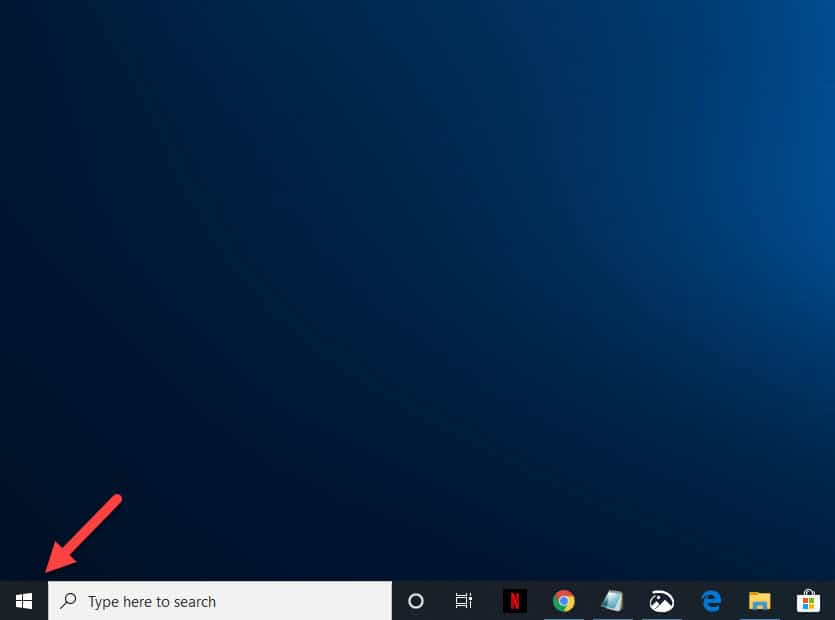
- Click on the Start button.
This is located on the lower left side of the screen.

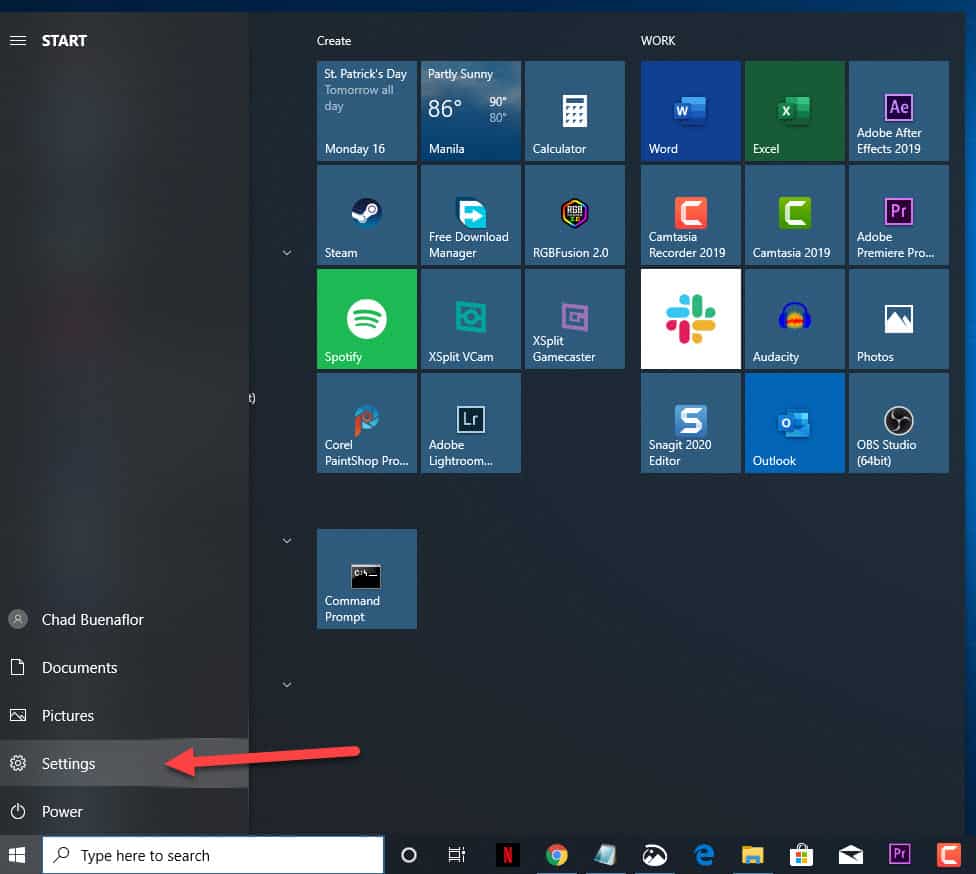
- Click on Settings.
This will open the Settings window.

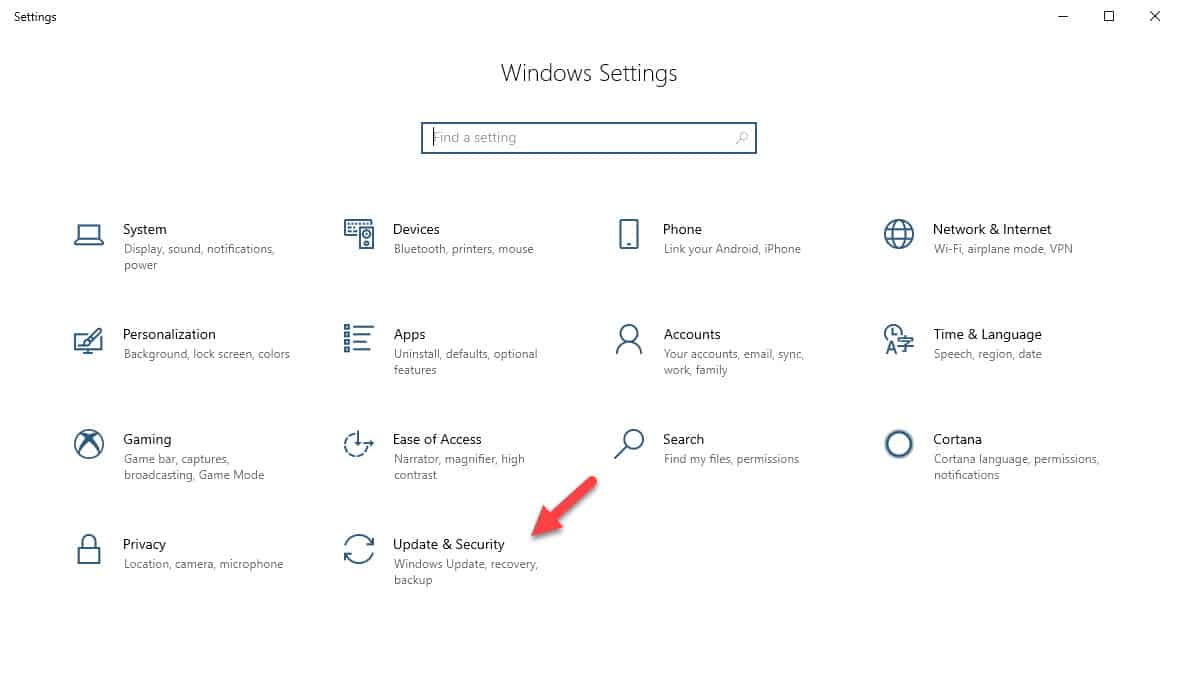
- Click on Update & Security.
This is usually the last option on the Settings window.

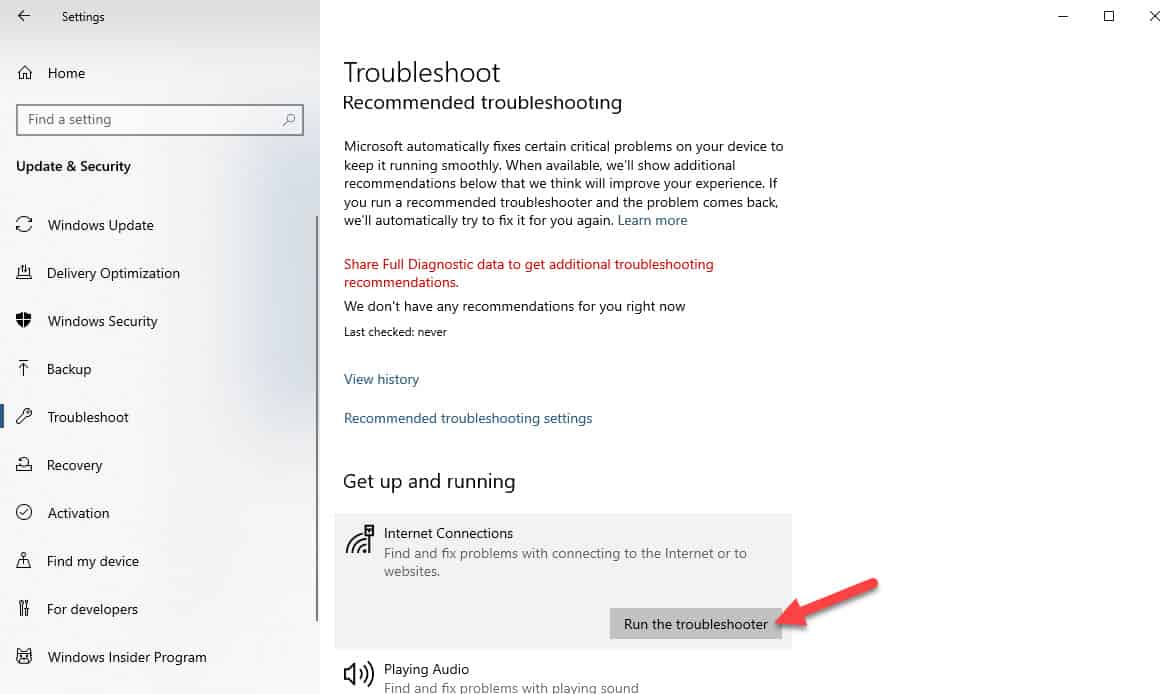
- Click on Troubleshoot.
This is located on the left pane.

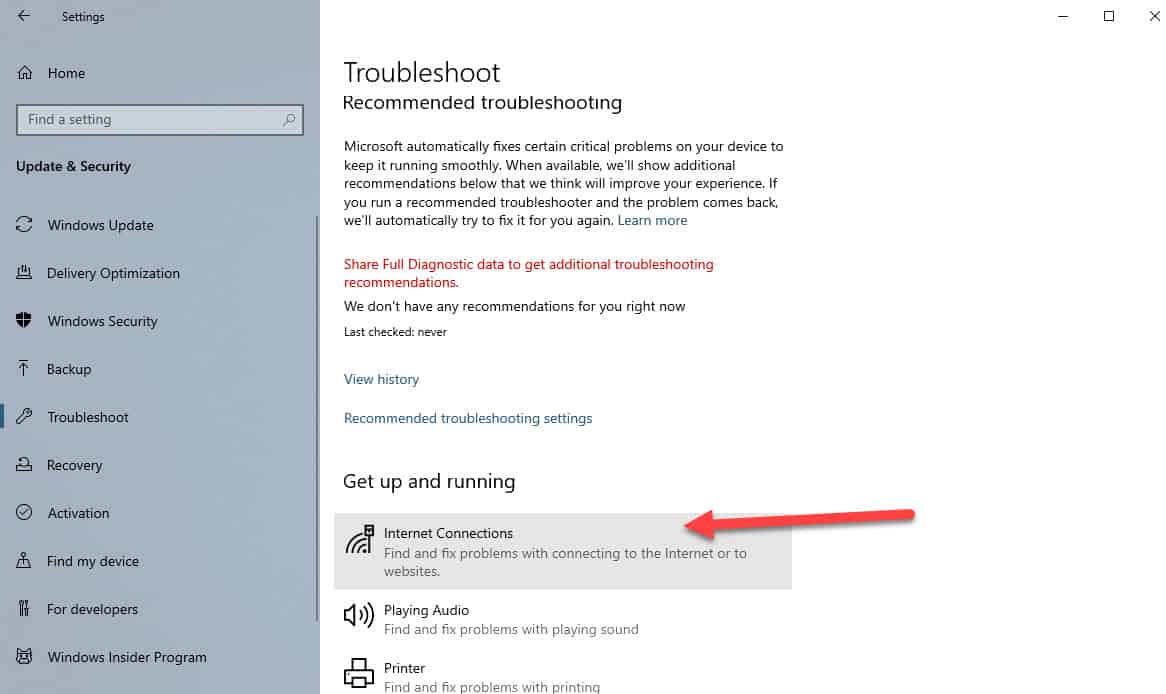
- Click on Internet connections.
This is located on the right pane under the Get up and running section.

- Click on Run the troubleshooter.
This will find and fix any network related issues.

Once the troubleshooter has completed try to check if the IPv6 no internet access issue still occurs.
Reset the Winsock And TCP/IP To Fix IPv6 Internet issue
If the problem is caused by a socket error, caused by an unknown file or malicious script, then resetting the winsock will most likely fix this problem.
- Type “command prompt” without the quotation marks on the search bar. This is located on the lower left side of the screen just after the Start button.
- Click on run as administrator under the command prompt app. This will allow you to run elevated commands.
- Type “netsh winsock reset catalog” without the quotation marks on the command prompt window then press the enter key. This will reset the winsock entries to the installation defaults. Do not restart your computer.
- Type “netsh int ipv6 reset reset.log” without the quotation marks on the command prompt window then press the enter key. This will reset the IPv6 stack.
- Restart your computer. This will allow the changes to take effect.
Try checking if the problem gets fixed.
Update your network driver
Sometimes the problem can be caused by old drivers being used by the wireless network card of your computer which is why you will need to update this. Take note that you will have to download the driver from another computer that is connected to the internet then copy this driver file to the computer that is experiencing the problem.
- Right click on the Start button.
- Click on Device Manager.
- Click the forward arrow before the Network adapters.
- Right click on the network adapter that you are using then click on update driver.
- Click browse my computer for driver software. You will need to manually locate and install the driver software.
- Restart your computer then check if the problem is fixed.
Perform a network reset
This is the last troubleshooting step to consider if the above steps fail. Network reset removes any network adapters you have installed. When your PC restarts, any network adapters are reinstalled, and the settings for them are set to the defaults.
- Click on Start.
- Click on Settings.
- Click on Network & Internet.
- Click on Status.
- Click on Network reset.
- Click on Reset now.
- Click on Yes to confirm.
- Wait for the computer to restart then check if the problem still occurs.
Having Issues with your computer? Feel free to contact us using this form. We’ll try to help.
