How To Increase VRAM On Windows in 2026
Struggling to run the latest video games or graphics software on your Windows PC due to insufficient video RAM (VRAM)? Don’t worry, there are several easy methods you can use to increase your dedicated graphics memory and improve performance.
VRAM is a type of memory located on your graphics card that stores visual information so it can be quickly accessed by the GPU. Having enough VRAM is crucial for playing modern games, using GPU-accelerated creative apps, and other graphically intensive tasks.
If you don’t have enough VRAM, you’ll likely experience lag, freezing, crashes, and errors in games or software. Upgrading your actual graphics card is the best solution, but not always feasible. Thankfully, you can try these 5 methods on how to increase VRAM on Windows 10, 11, and even 7.
1. Increase VRAM in the BIOS
The simplest way to increase dedicated VRAM is directly through your BIOS (Basic Input Output System) settings. Here’s how:
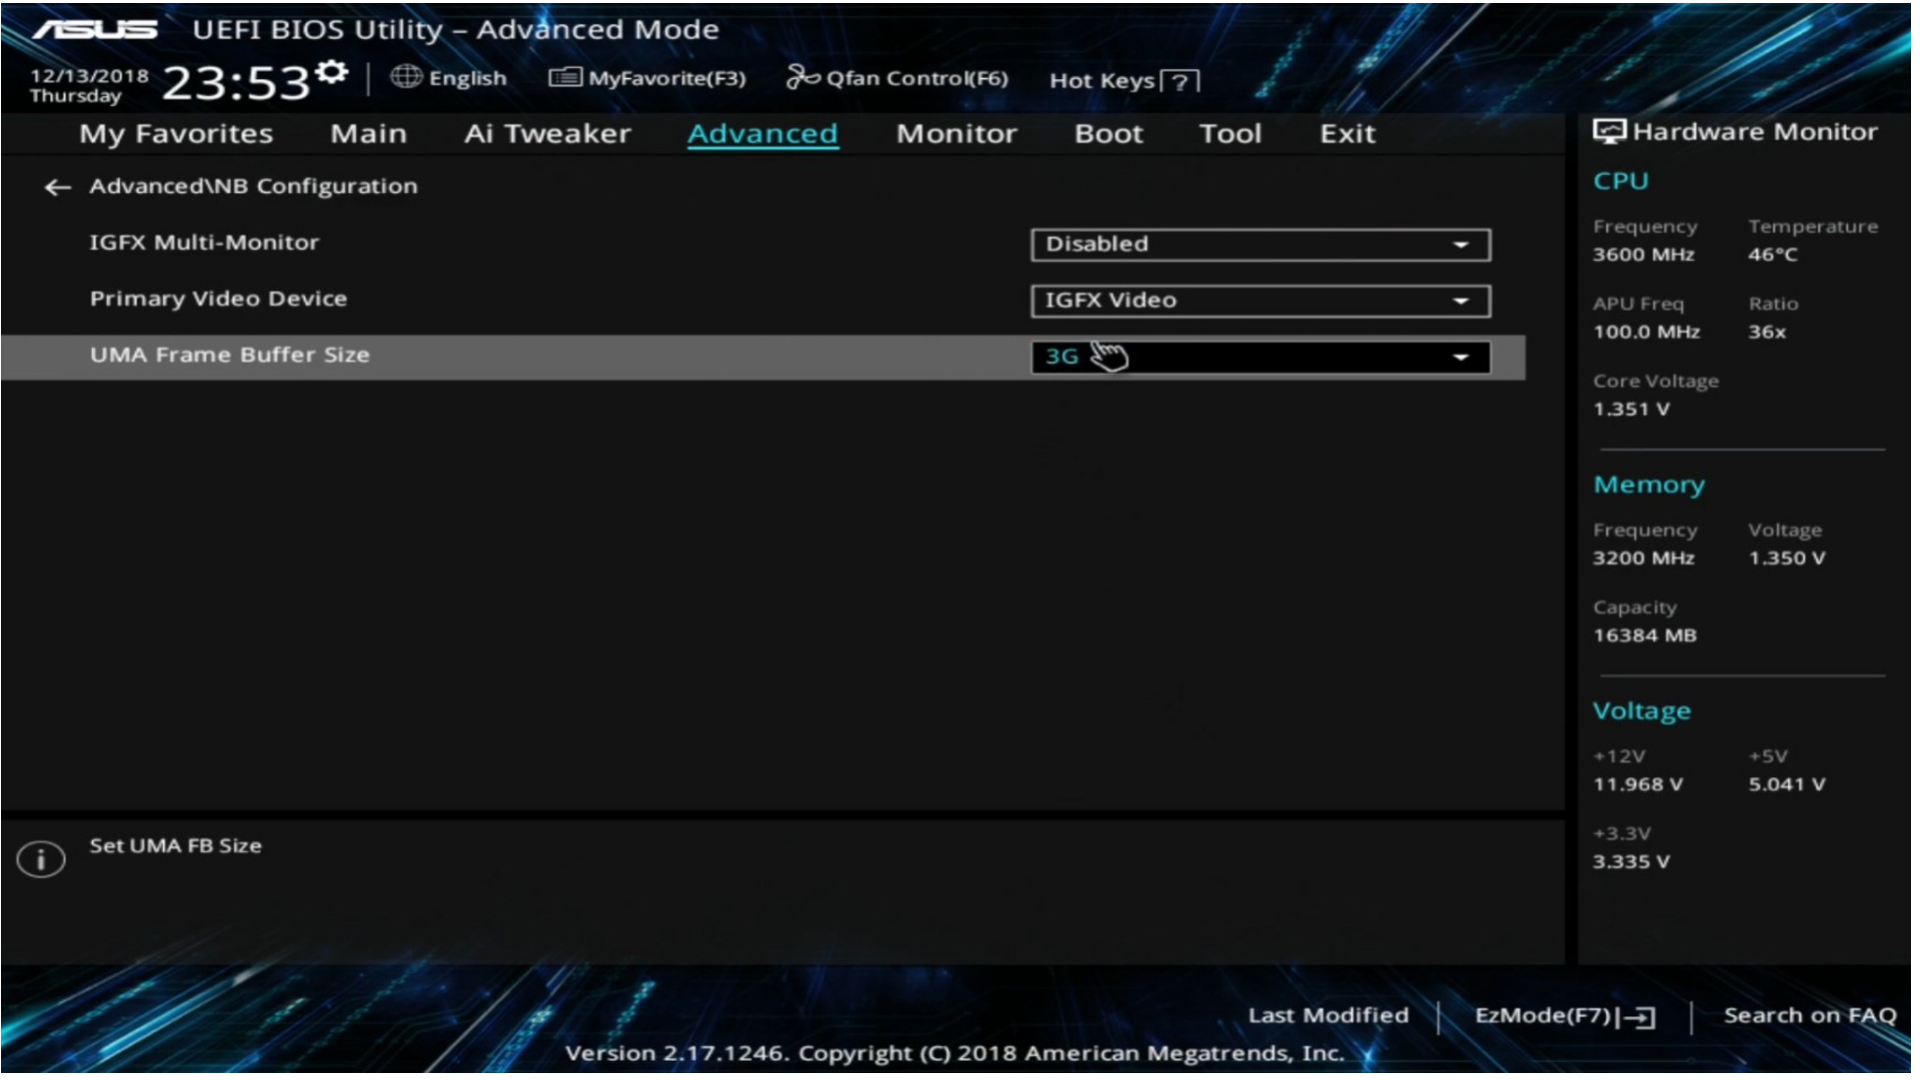
- Restart your PC and press the BIOS key (F2, F5, F8, Del) repeatedly.
- Navigate to Advanced Features > Graphics Settings/VGA Share Memory.
- Increase the pre-allocated VRAM to 256MB, 512MB, or higher if available.
- Save changes and reboot. Check Display Settings to verify the new VRAM allocation.
2. Use the Windows Registry Editor
You can also increase the reported VRAM in Windows 10 and 11 by editing the Registry, even if you have integrated graphics:
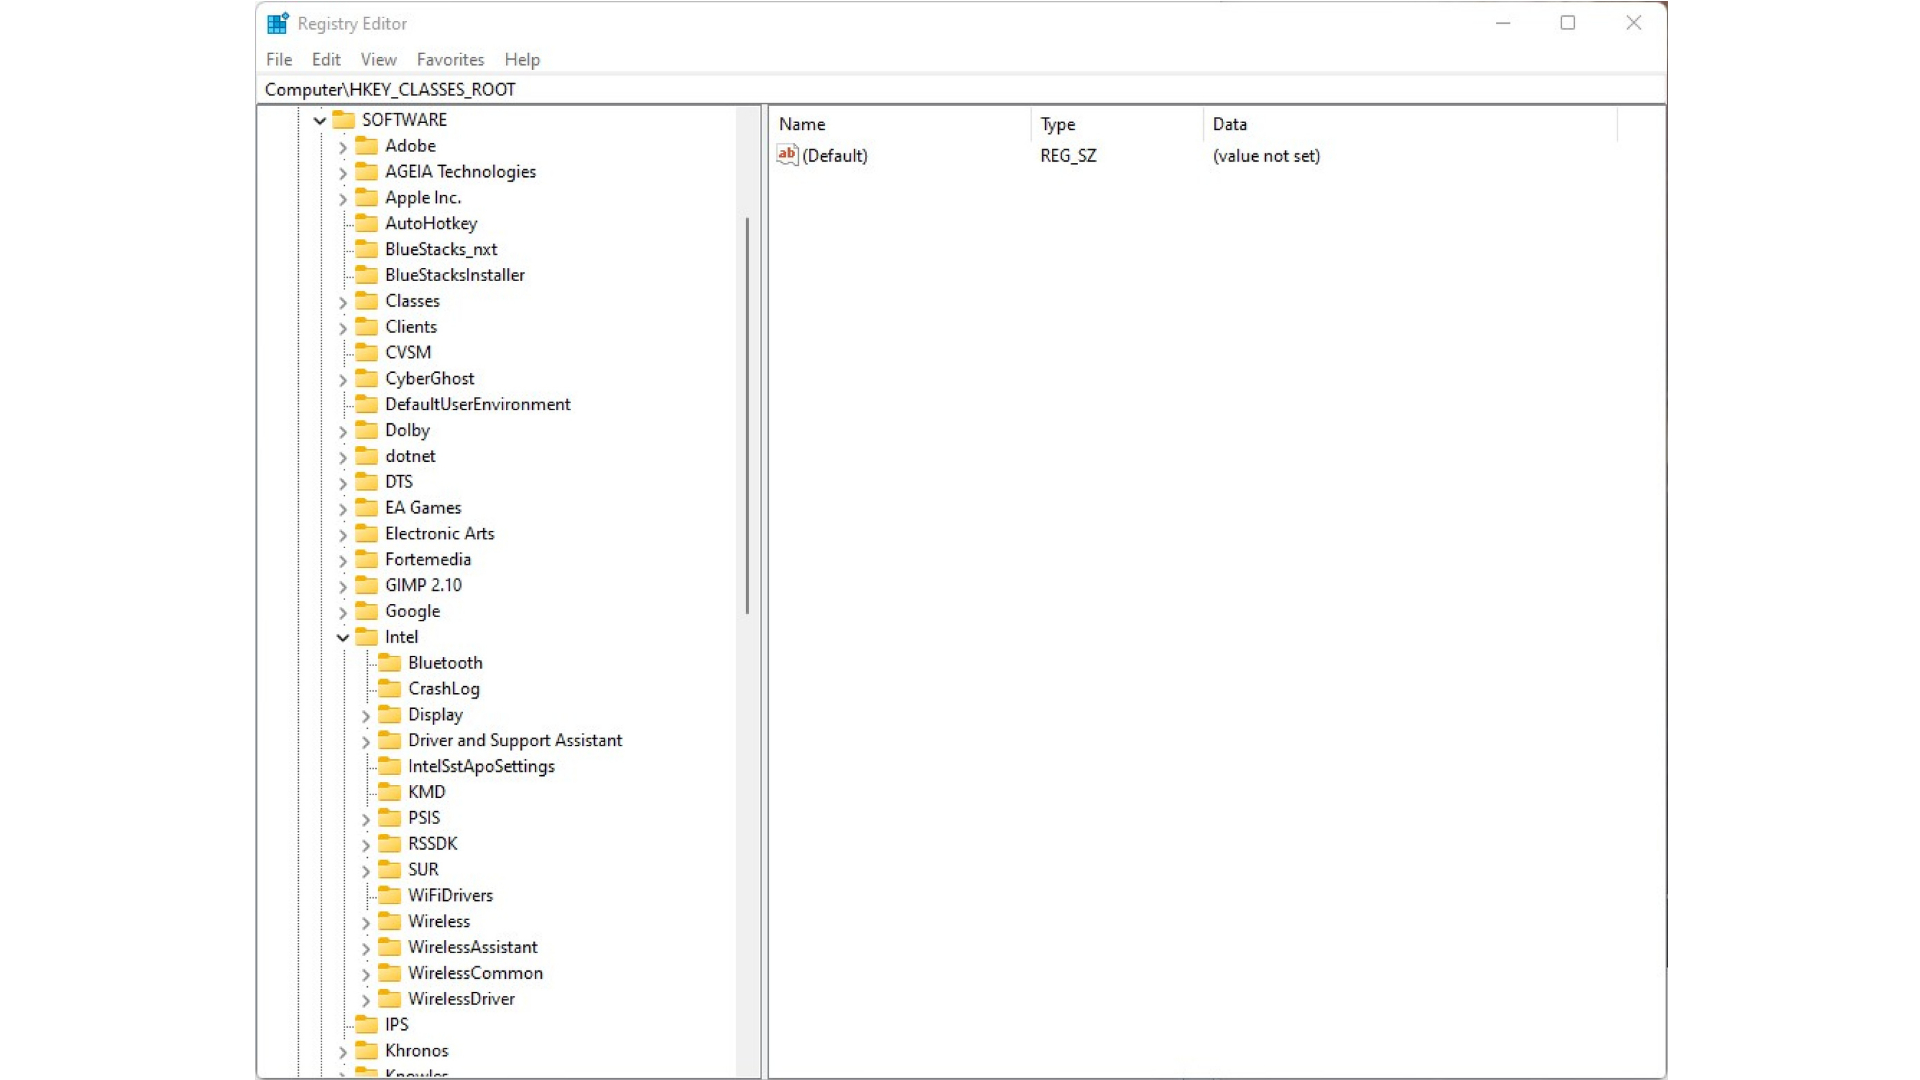
- Open the Registry Editor (regedit.exe) and navigate to HKEY_LOCAL_MACHINE\SOFTWARE\Intel.
- Right click Intel, create a new Key called “GMM”, then create a DWORD value named “DedicatedSegmentSize”.
- Set the Value Data to your desired VRAM in MB, like 512 for 512MB.
- Restart your PC and programs will think you have more VRAM.
3. Upgrade Your RAM
For integrated graphics that share system RAM, adding more physical memory can increase the available VRAM.
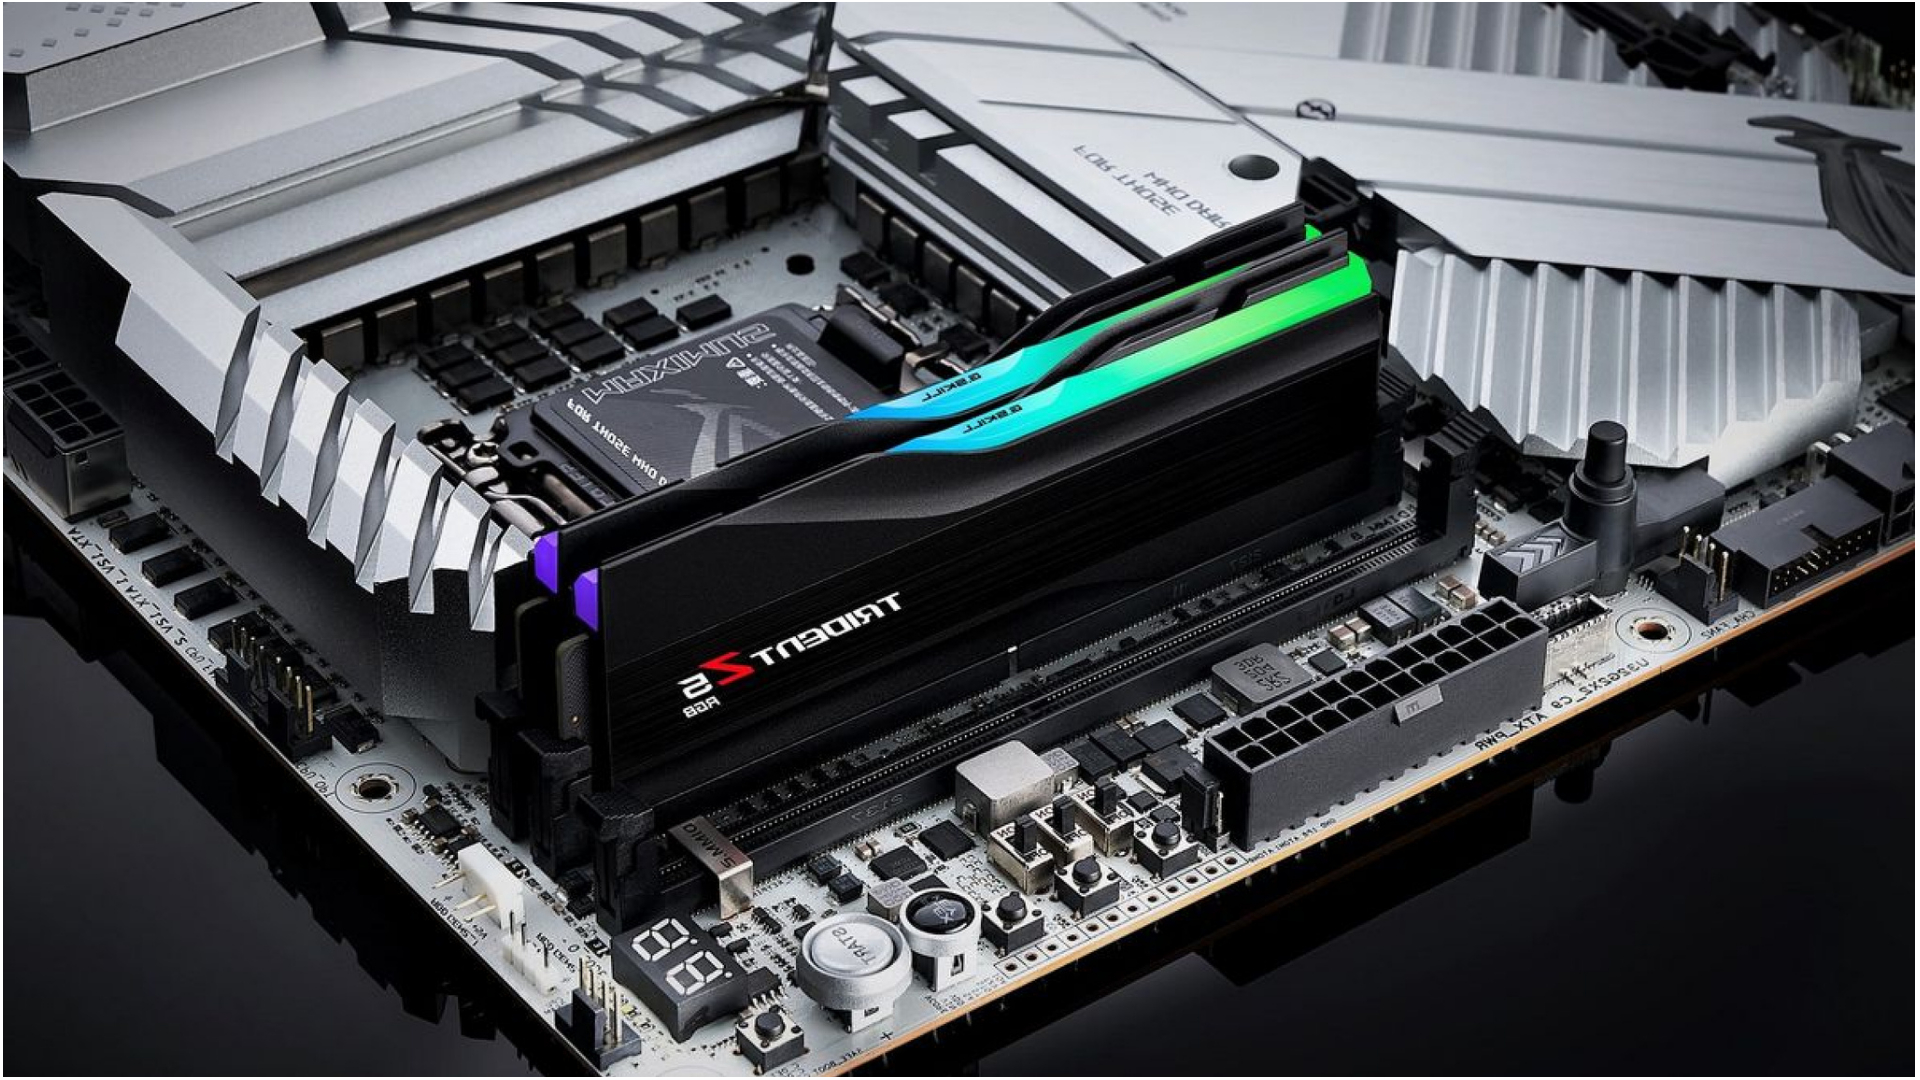
Consider upgrading to 8GB, 16GB or higher if your Windows laptop or desktop allows it.
4. Lower Graphics Settings
Lowering graphics options like resolution, textures, and anti-aliasing in games and apps can significantly reduce VRAM usage and improve performance. Tweak settings for an optimal balance.
5. Get a Dedicated Graphics Card
To truly get the latest games running smoothly, investing in a dedicated GPU with plenty of VRAM is ideal. Even an older mid-range card performs better than integrated graphics. Just make sure your PC has room and the proper power supply capacity.
Increasing your dedicated video memory in Windows is possible without upgrading your actual graphics hardware. The BIOS method is quick and usually effective for a small VRAM boost. Faking an increase via the Registry can also help trick some games and applications into working.
However, serious gamers or creative professionals will see huge performance gains from investing in a new dedicated graphics card with ample VRAM. Check the requirements for your favorite games or software and consider at least 4GB-8GB VRAM for modern systems. With the right GPU, you’ll eliminate lag and unlock higher resolutions and quality settings.