Windows 10 is the most popular operating system being used in desktops and laptops in the world. First released in 2015, it has undergone several updates making it more secure and giving it more features. One feature that most users find useful is the sharing of their internet connection using their laptop or desktop computer. In this latest installment of our troubleshooting series we will show you how to share your internet connection in windows 10.
Sharing Your Windows 10 Computer Internet Connection
There are certain situations when only a limited amount of devices can connect to a particular internet source. If one of your devices can’t connect to a Wi-Fi or ethernet connection then you can easily share the internet connection of your Windows 10 computer that is connected. Here’s how you can do this.
Time needed: 3 minutes.
Use your PC as a mobile hotspot
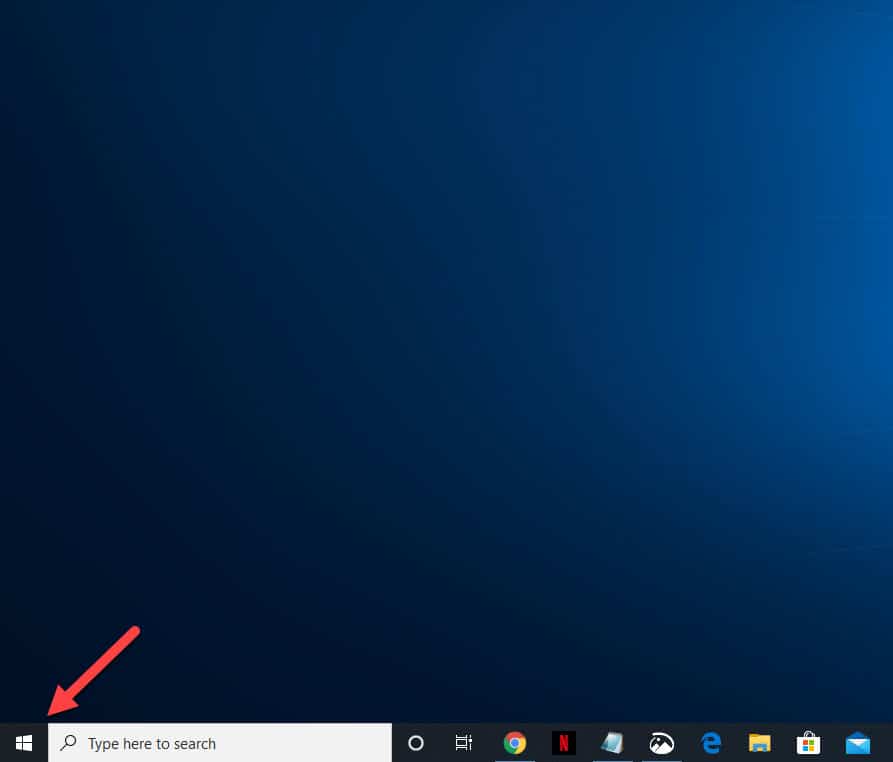
- Click on the Start button.
This can be found at the lower left side of the screen.

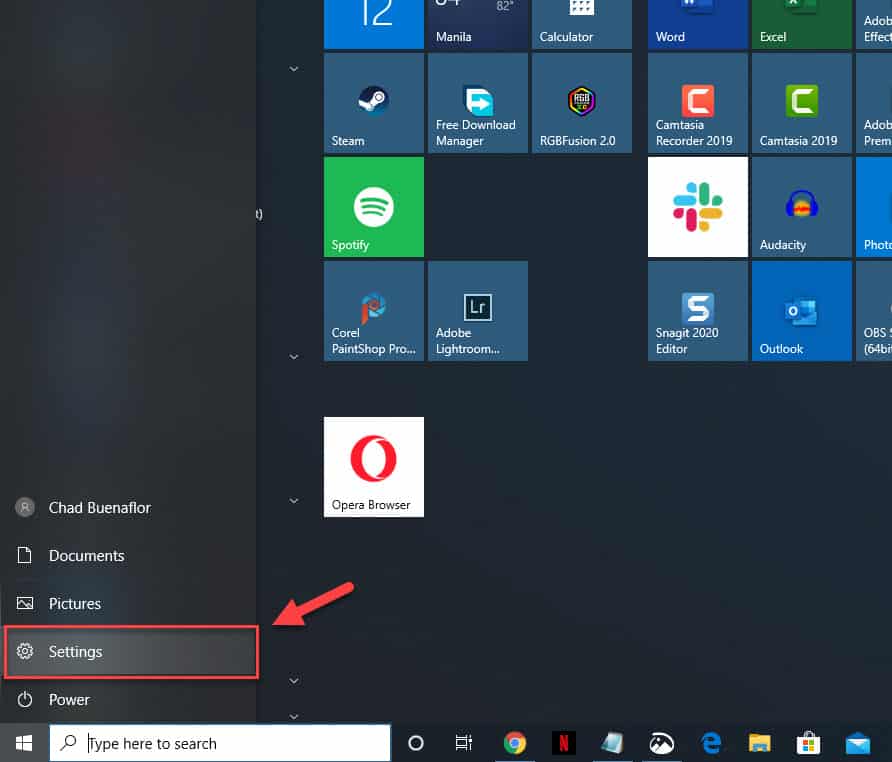
- Click on Settings.
This will open the Settings window.

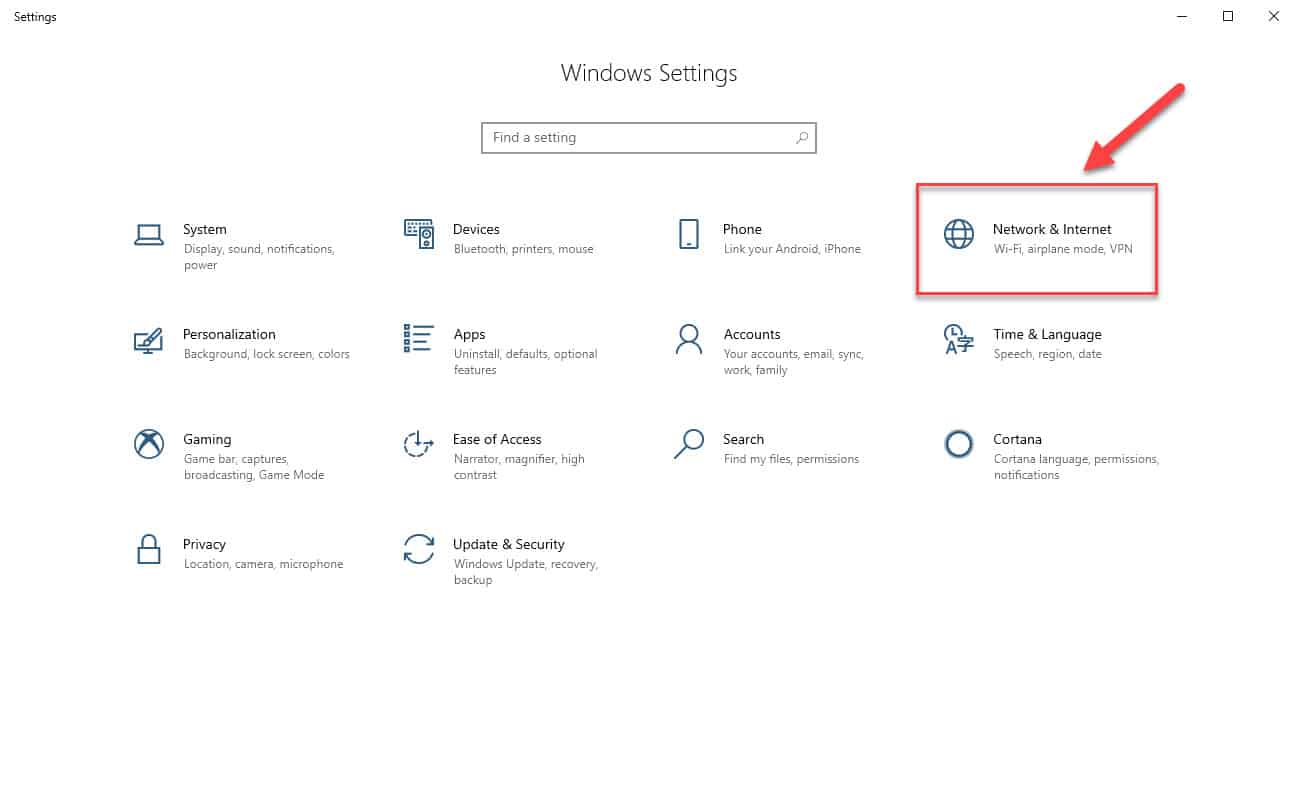
- Click on Network and Internet.
This will open the Network & Internet settings.

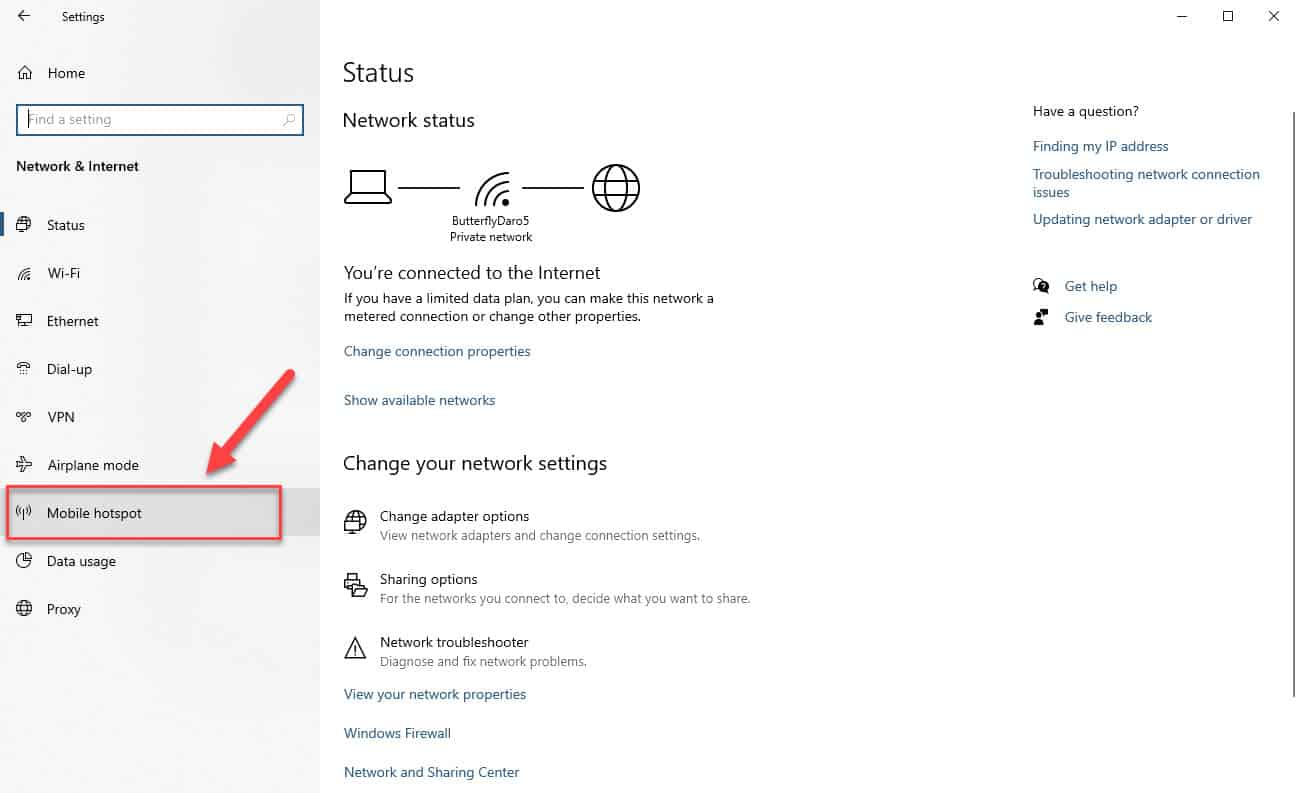
- Click on Mobile Hotspot.
This can be found at the left pane.

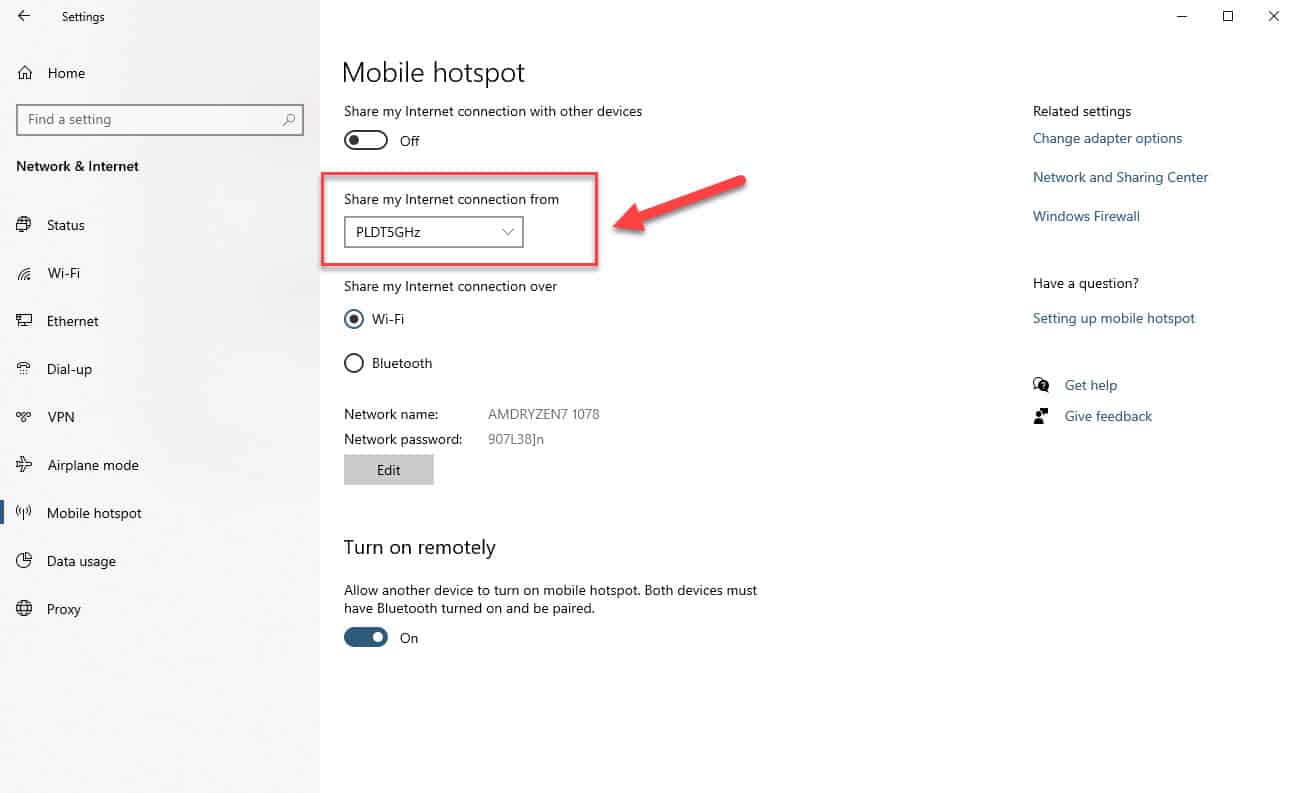
- Choose the internet connection you want to share.
You can do this from the “Share my Internet connection from” drop down box.

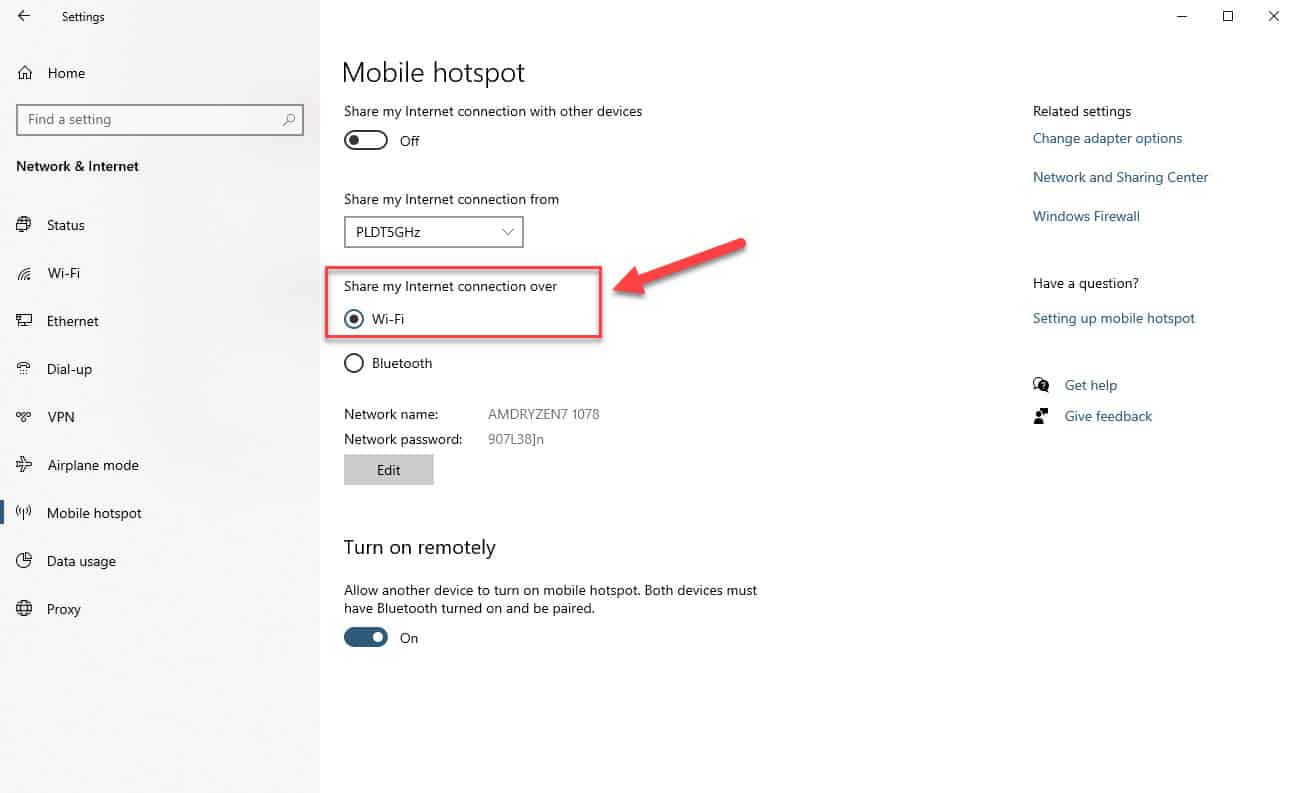
- Choose Wi-Fi for “Share my Internet connection over” setting.
This ensures a faster connection speed as opposed to Bluetooth.

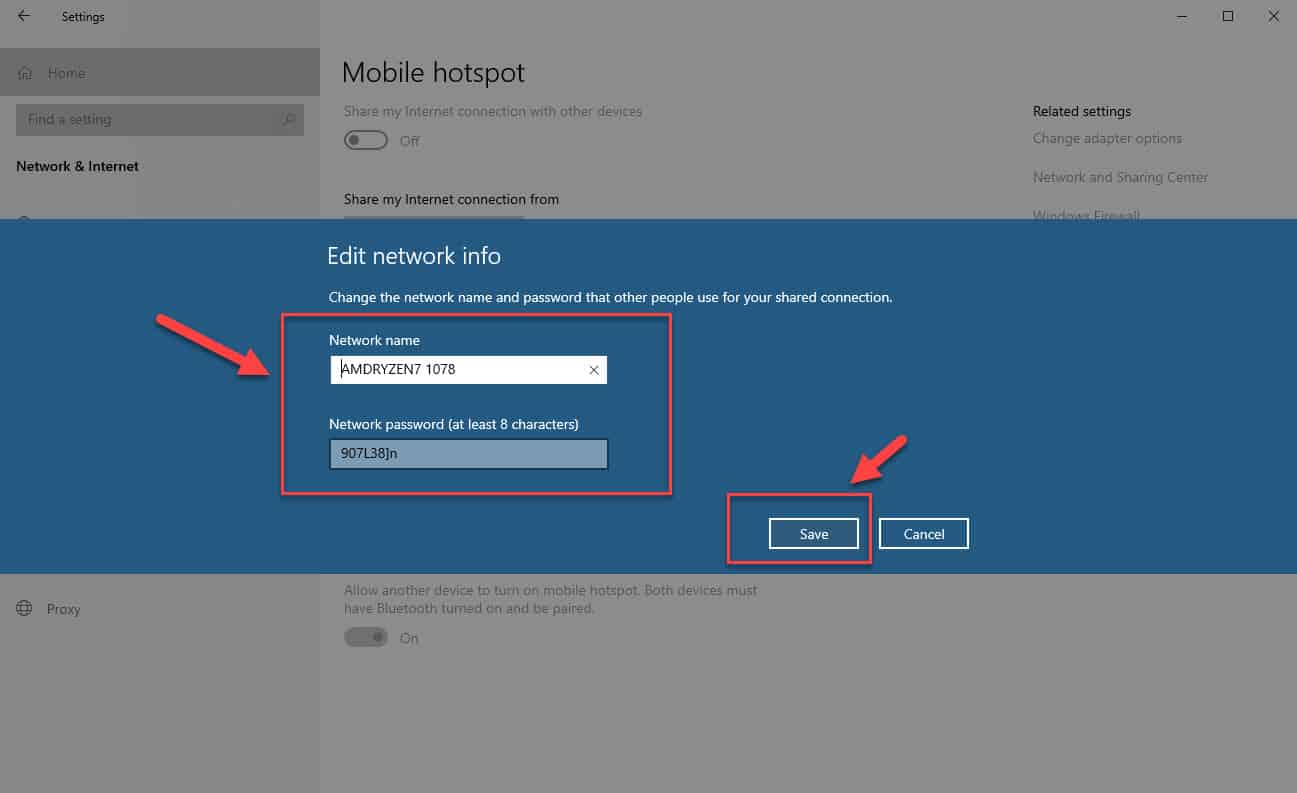
- Click the Edit button.
Choose a network name and password then click on save.

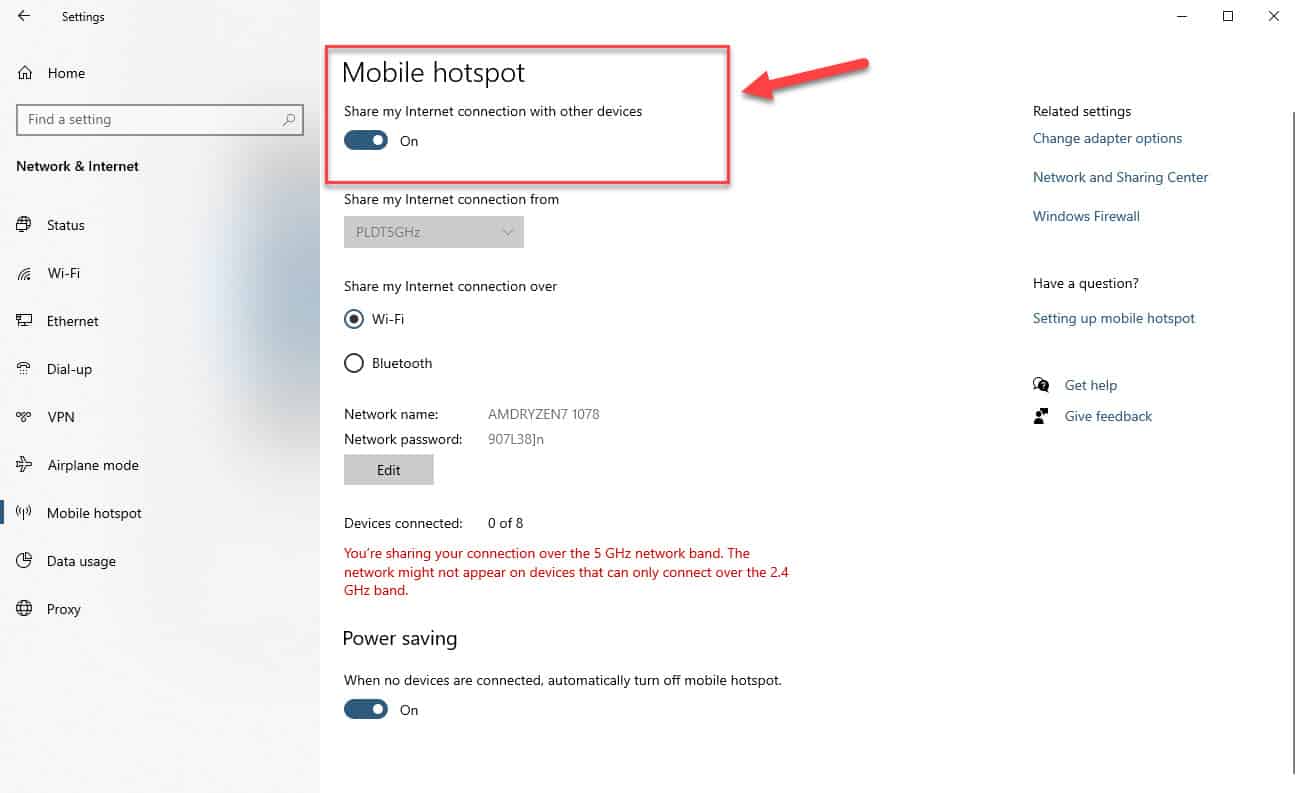
- Turn on the mobile hotspot switch.
This will share your internet connection with other devices.

After performing the steps listed above you can now connect your other wireless devices to your computer internet connection. From any other device just search for the wireless network name you just created then connect to it. You will now successfully share your internet connection in Windows 10.
Having Issues with your computer? Feel free to contact us using this form. We’ll try to help.
