Stop Skype From Starting Automatically When Booting Windows 10
Skype is a built-in communications tool in Windows 10 that allows you to make free voice calls and send instant messages to anyone with a Skype software installed in their device. This includes computers running on Windows, Linux or MacOS as well as mobile devices running on Android or iOS. It also allows you to make regular phone calls or send text messages as a paid service. This software automatically starts when you turn on your computer so that it can be easily used. If you don’t use Skype then this can be a waste of computer resources. In this latest installment of our troubleshooting series we will show you how to stop Skype from starting automatically when booting windows 10.
Disable Skype From Running At Startup
There are several Windows 10 users that don’t need the Skype software to run during startup. The option to turn this off for the Windows 10 version however is hard to find as it is not in the app settings nor in the task manager startup tab list. Microsoft has explained that the only way to prevent Skype from automatically logging you in is by signing out of your account.
Time needed: 2 minutes.
Preventing Skype from starting
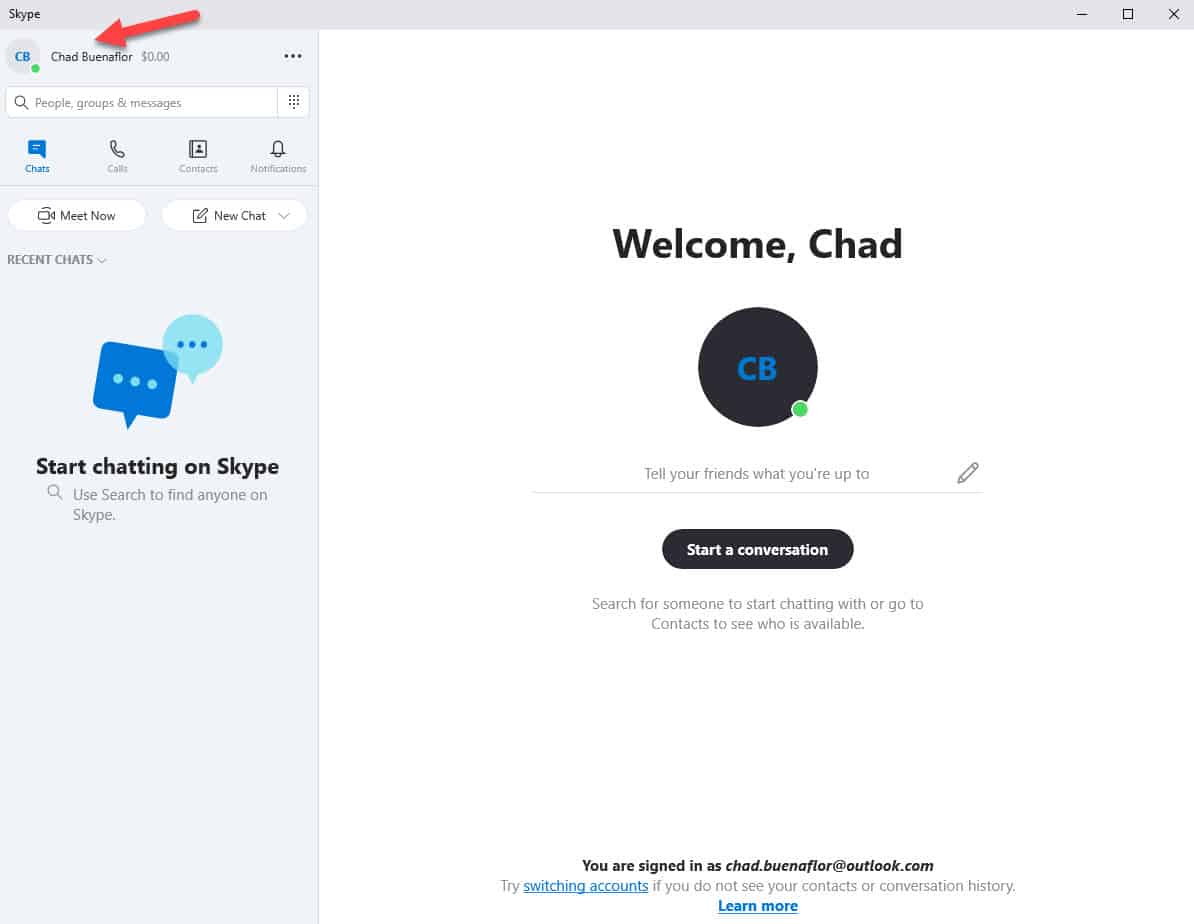
- Open the Skype app.
You can do this by clicking on its icon from the taskbar. It should appear when you click on show hidden icons.

- Click on your username.
This is found on the upper left side of the app.

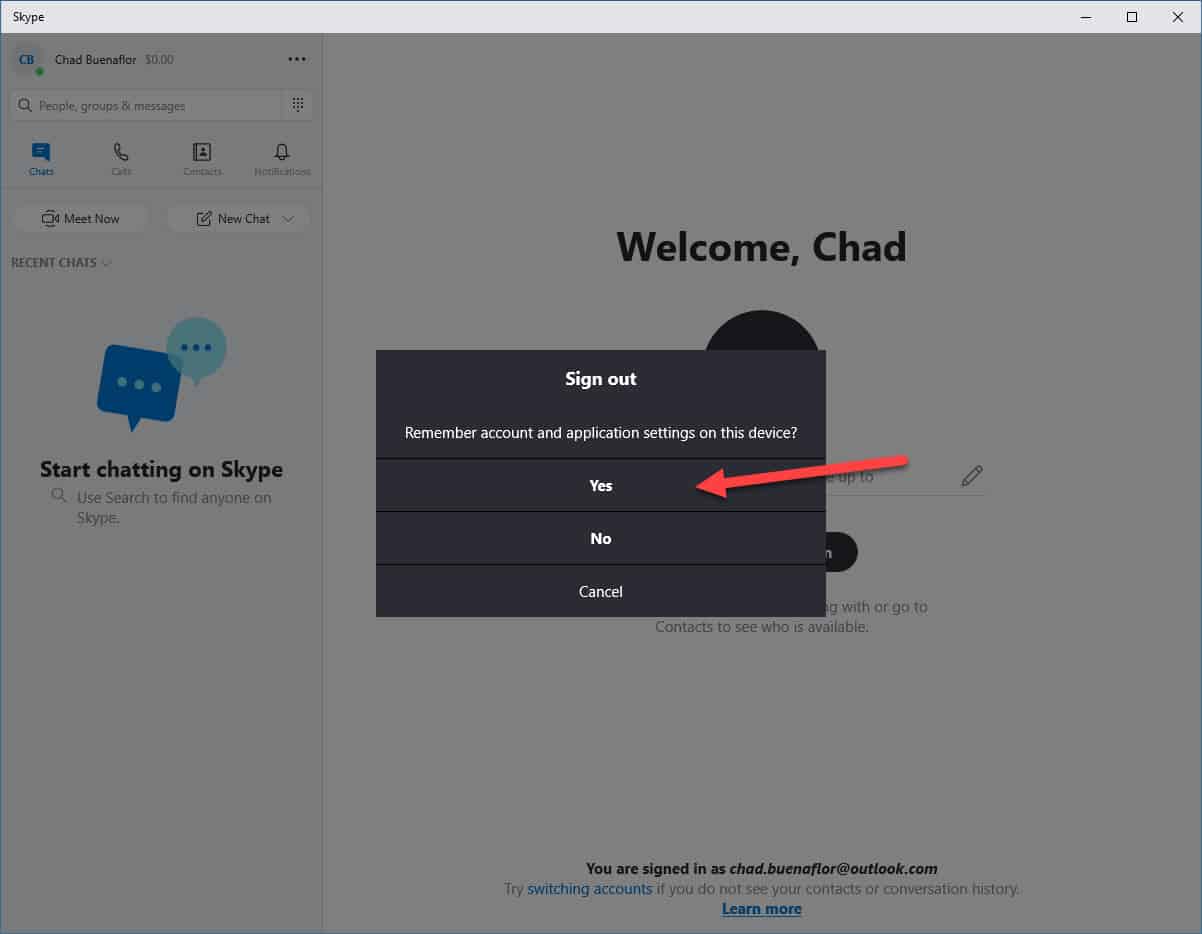
- Click on sign out.
This will allow you to sign out from the app.

- Click on yes.
This will confirm your choice.


This is the best way to stop Skype from starting automatically when booting Windows 10.
If your computer has a different version of Skype installed ( not the one that comes built-in on Windows 10) then you can easily prevent it from starting from the task manager. Take note that the steps listed below won’t work for the built-in Skype app as it will not be listed.
- Right click on the Start button.
- Click on Task Manager.
- Click on the Startup tab.
- Find the Skype application.
- Right click on this Skype application then click on disable.
- Restart your computer.
Having Issues with your computer? Feel free to contact us using this form. We’ll try to help.