Destiny 2 Crashing? 12 Proven Fixes to Get You Back in the Game (Verify, Update + More)
Destiny 2 players have likely experienced the frustration of unexpected Destiny 2 crashing while playing the popular online shooter game. These crashes can happen for various reasons, from bugs and glitches to hardware compatibility issues. Troubleshooting and identifying the cause of Destiny 2 crashes is key to resolving the problems and enjoying
1. Increase Destiny 2’s Priority in Task Manager
One common reason for Destiny 2 crashing on PC is because it’s not getting enough CPU and RAM resources. You can easily increase the game’s priority in Windows Task Manager:
Step 1: Right click on your taskbar and select Task Manager.
Step 2: Go to the Details tab and locate the Destiny2.exe process.
Step 3: Right click on Destiny2.exe and select Set Priority > Above Normal or High.
This allocates more resources to Destiny 2, which prevents crashing due to lack of CPU or RAM.
2. Run Destiny 2 as Administrator
Granting admin privileges to Destiny 2 can also prevent crashes. Here’s how to do it:
Step 1: Right click on Destiny2.exe and select Properties.
Step 2: Go to the Compatibility tab and check ‘Run this program as an administrator’.
Step 3: Click Apply and OK.
Doing the same for Battle.net launcher may also help. This allows Destiny 2 full access to system resources, fixing various crashing issues.
3. Add Destiny 2 to Windows Firewall Exceptions
Your firewall blocking Destiny 2 can cause connectivity issues leading to crashes. To add Destiny 2 as an exception:
Step 1: Open Windows Firewall settings.
Step 2: Click on Allow an app or feature through Windows Defender Firewall.
Step 3: Click Change Settings and then Allow another app.
Step 4: Browse and select Destiny 2’s executable file and click Add.
This will stop your firewall from blocking Destiny 2 and resolve crashing problems.
4. Disable CPU/GPU Overclocking
Overclocking components like CPU, GPU and RAM can sometimes cause Destiny 2 to crash. To rule this out:
Step 1: Open your BIOS settings, usually by pressing F2 or Del on startup.
Step 2: Locate CPU/memory frequency and set to default speeds.
Step 3: If you use any GPU overclocking apps, close them before launching Destiny 2.
Overclocking reduces system stability which can manifest as game crashes. Running at default speeds may fix this.
5. Update Your Graphics Drivers
Outdated or corrupted graphics drivers are a common source of Destiny 2 crashes. Here’s how to update them:
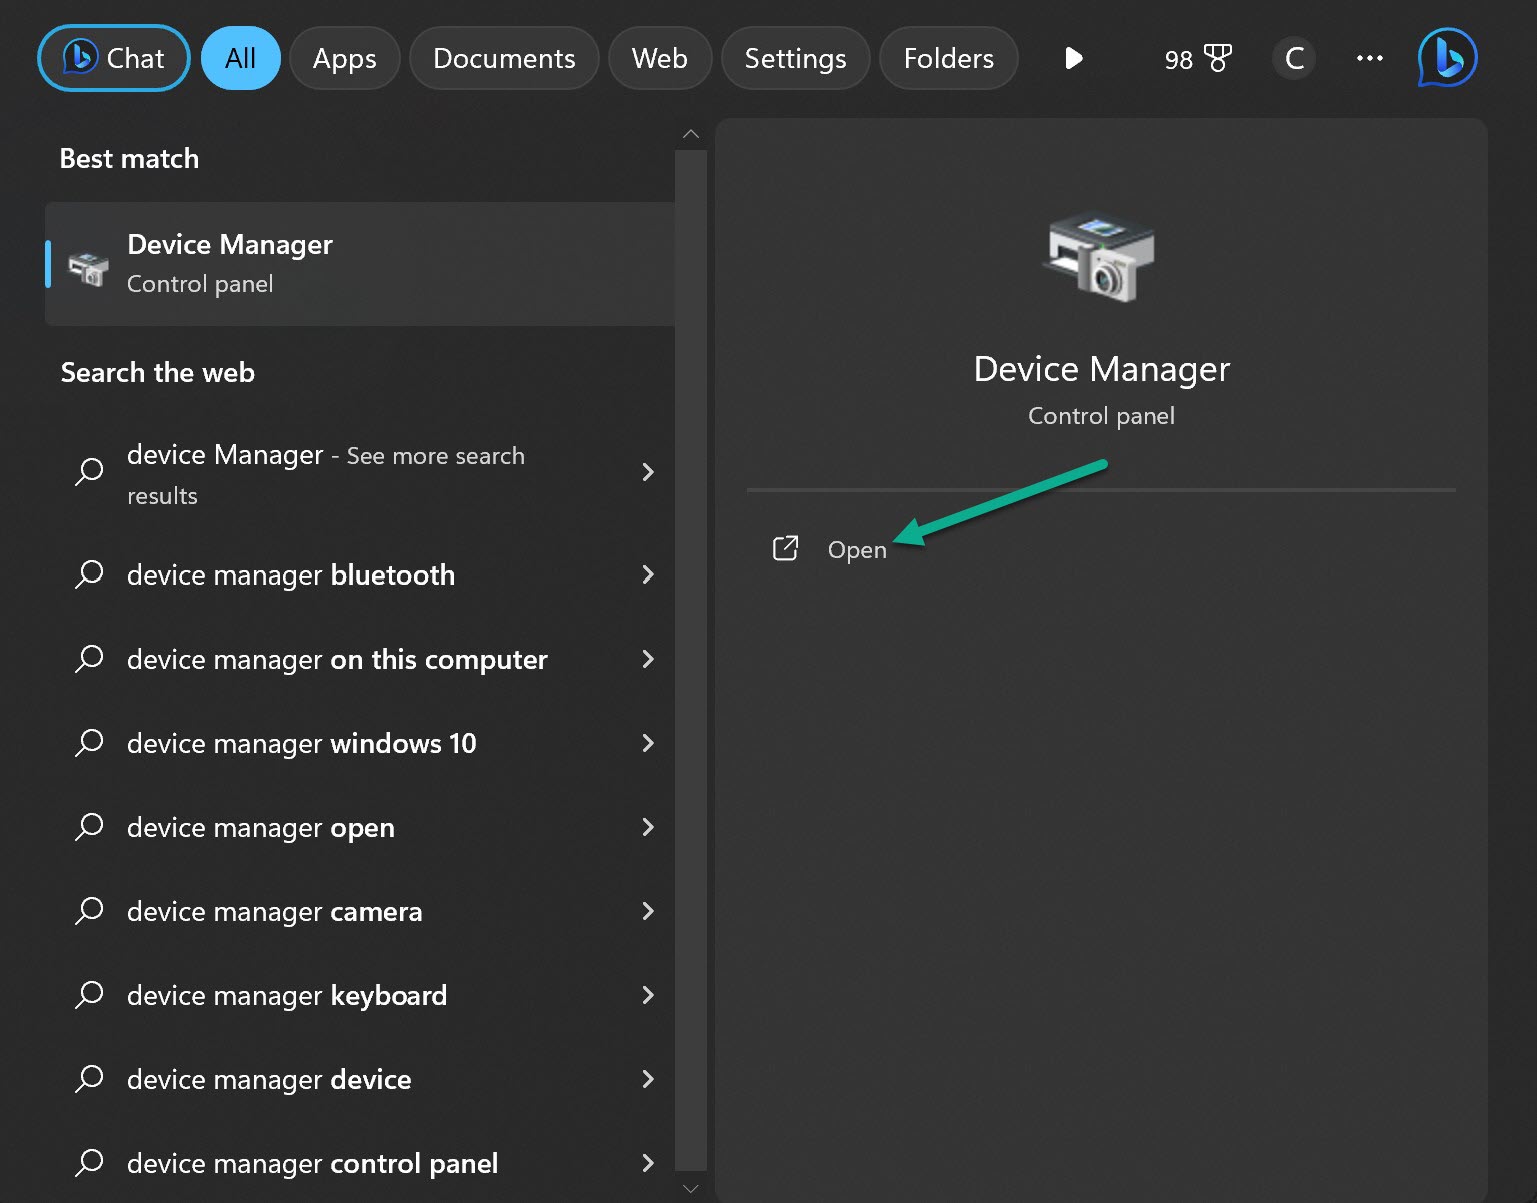
Step 1: Open Device Manager.
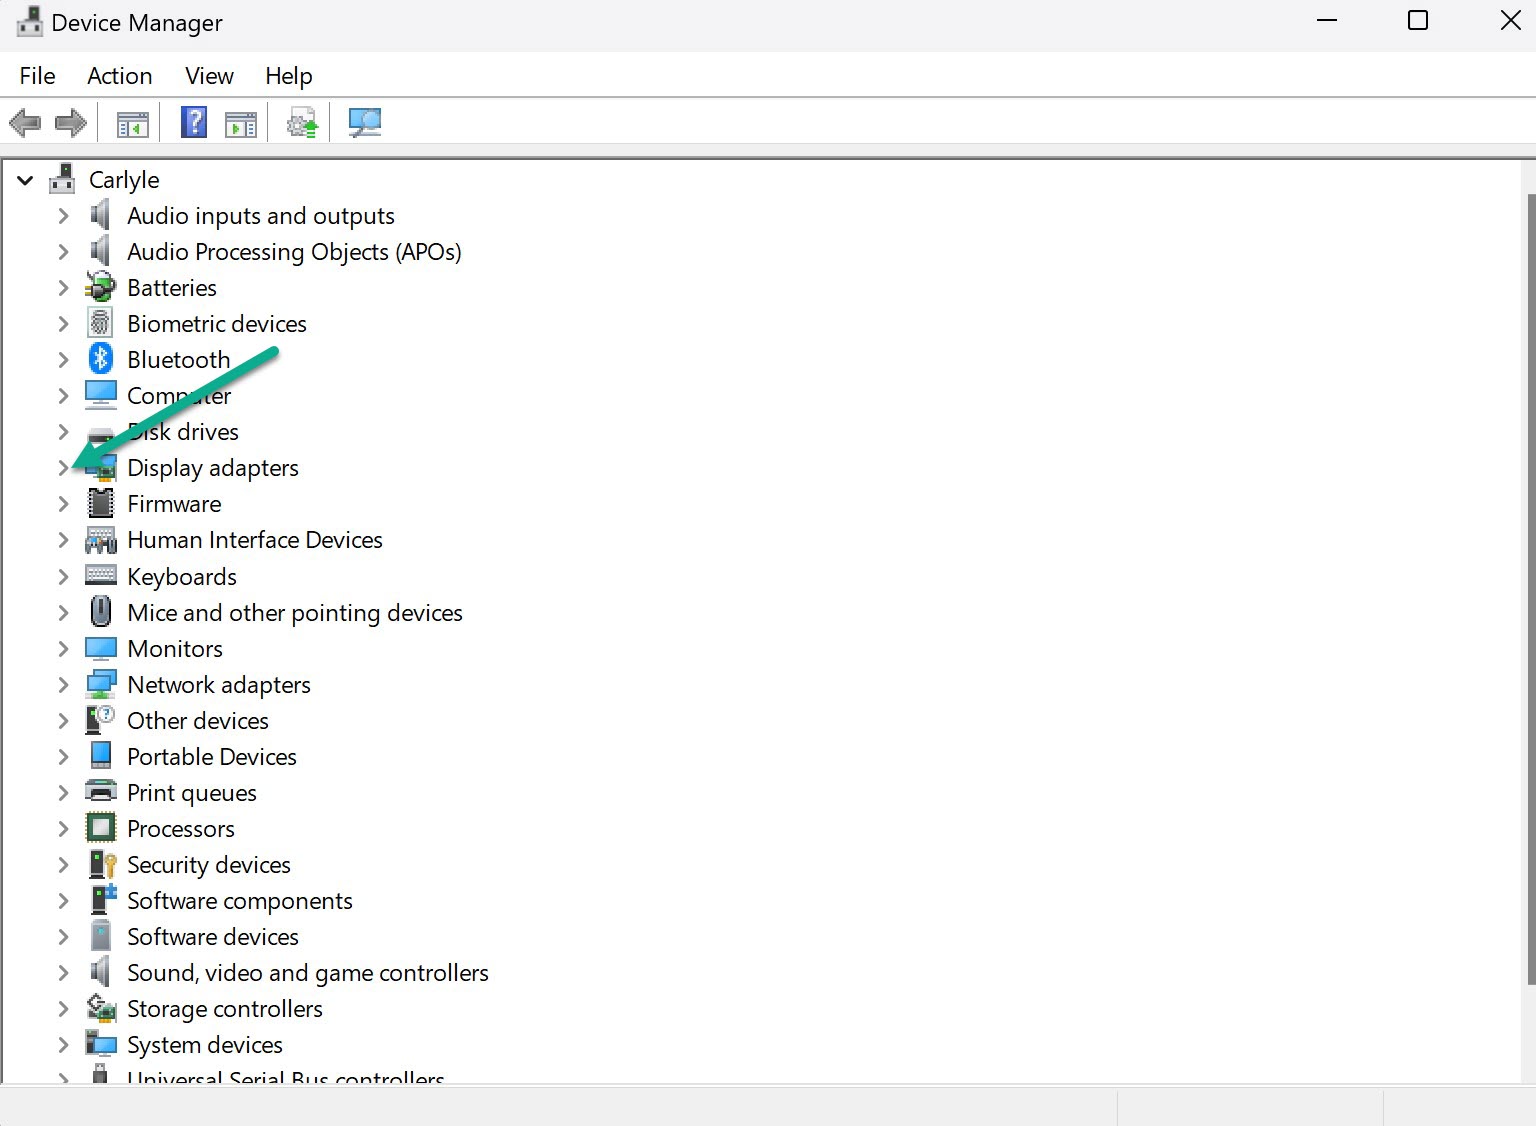
Step 2: Expand Display Adapters.
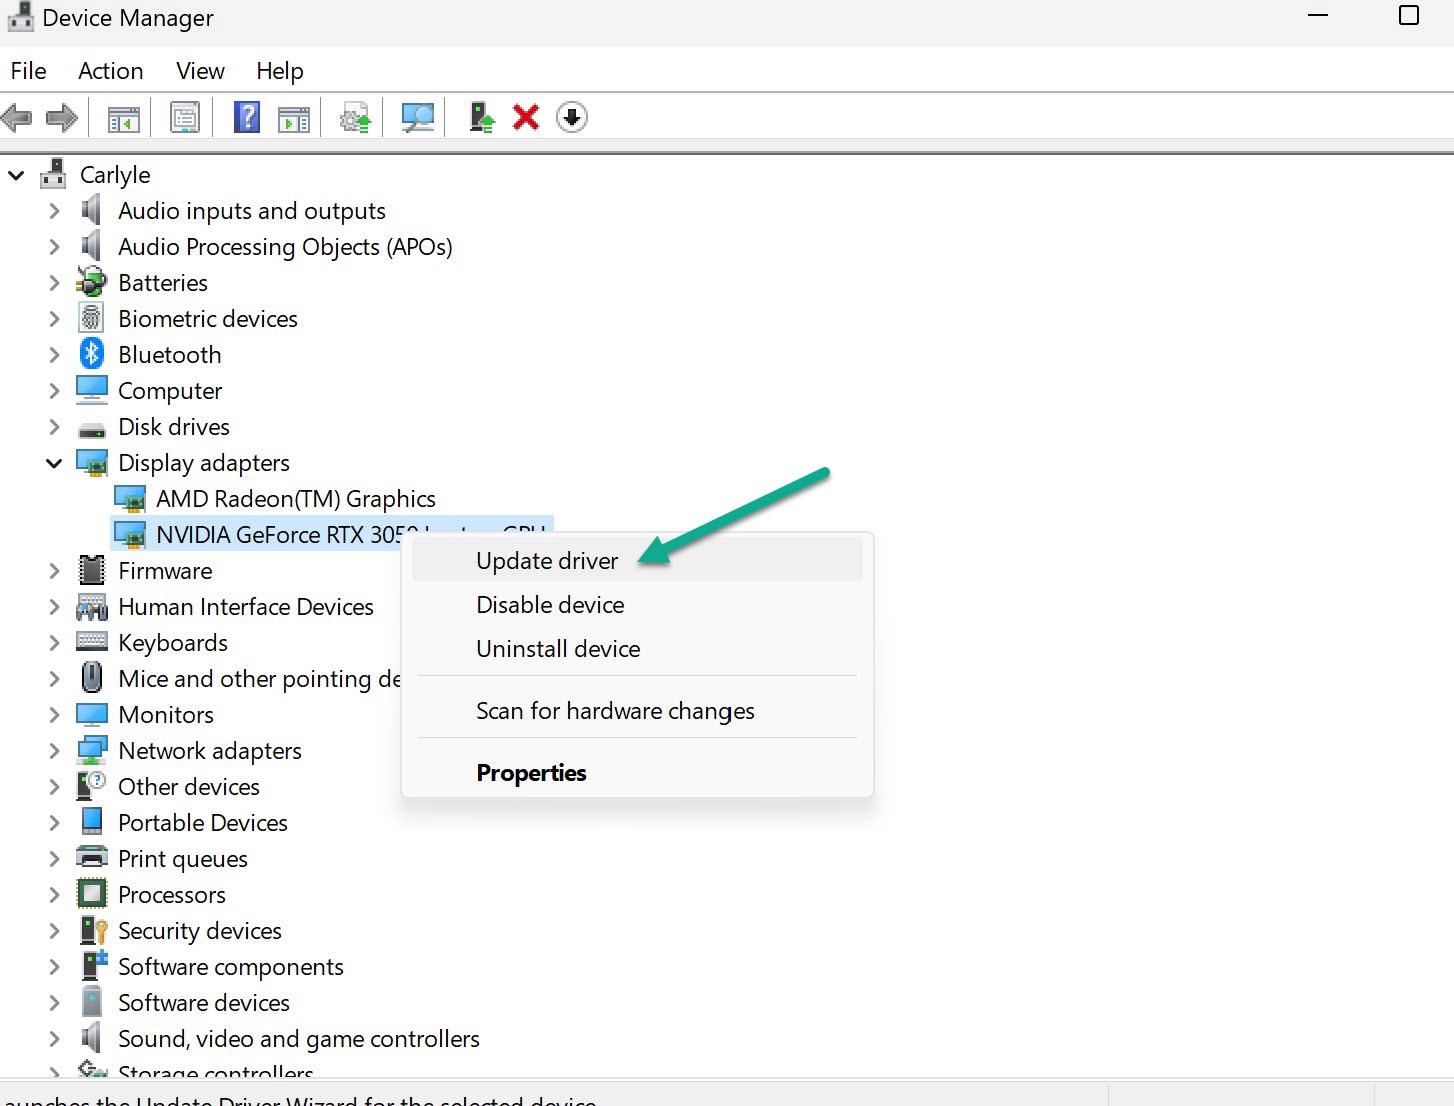
Step 3: Right click your GPU and Select Update Driver
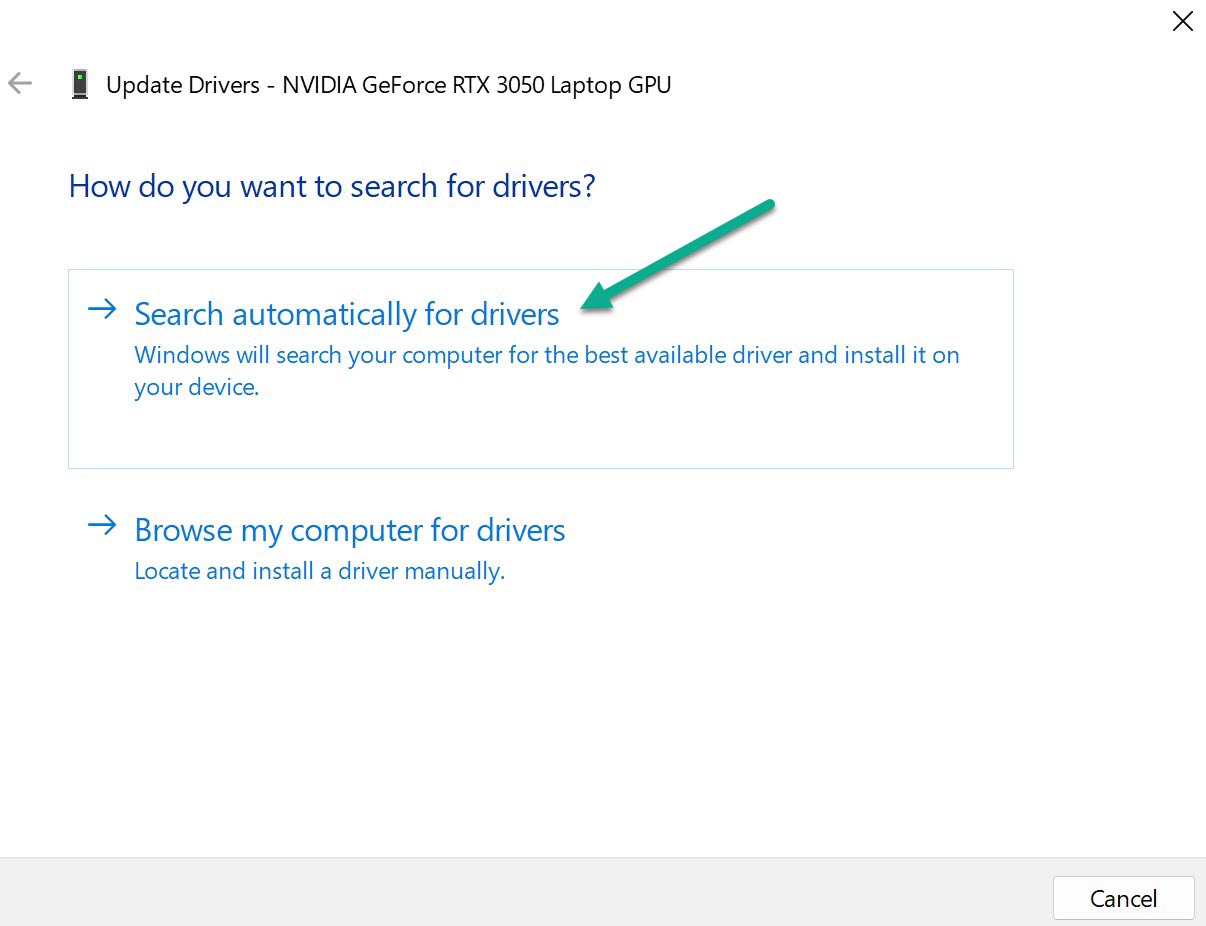
Step 4: Choose to automatically search for updates.
This installs the latest optimized graphics drivers for Destiny 2, resolving any crashing issues.
6. Verify Integrity of Game Files
Corrupted game files can lead to Destiny 2 crashing randomly. To verify file integrity:
Step 1: Go to Steam library.

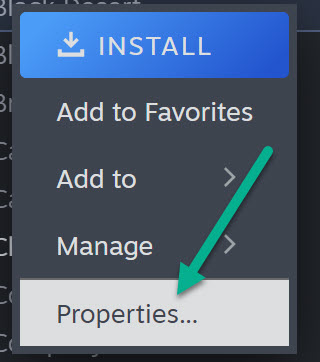
Step 2: Right Click Destiny 2 and Go to Properties.
Step 3: Installed Files > Verify Integrity of Game Files.
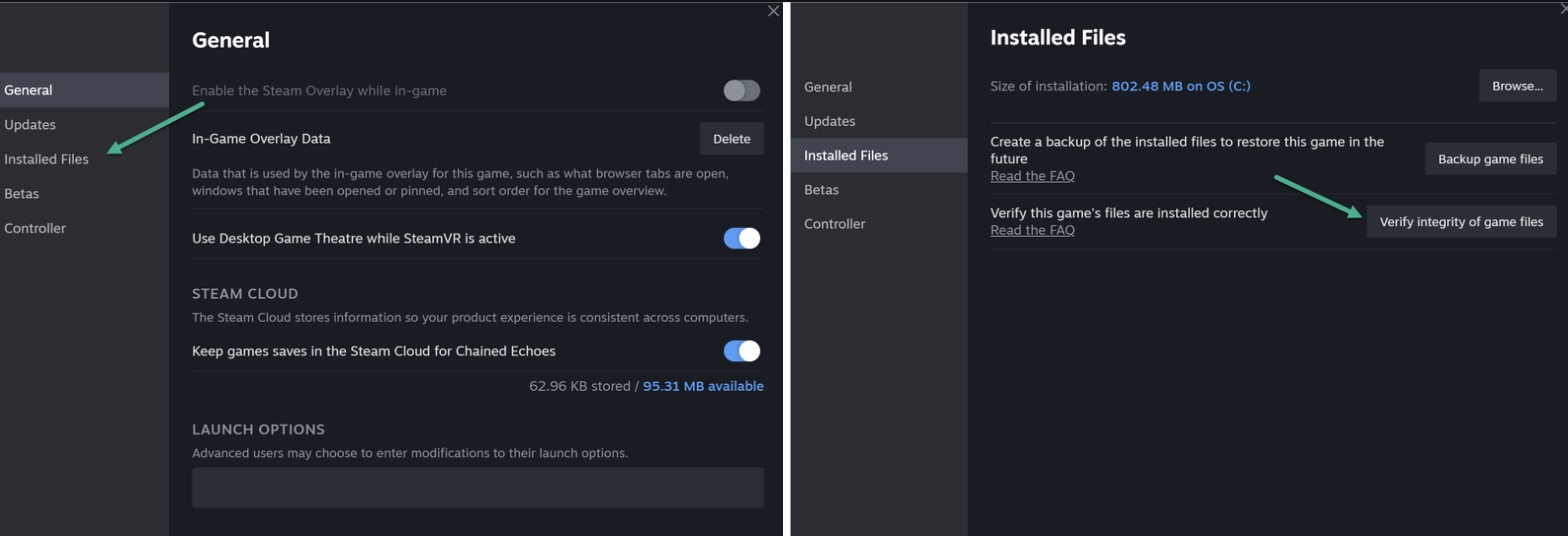
Step 4: Steam will automatically scan and restore any missing or corrupt files.
Verifying game file integrity eliminates file errors that can cause crashing.
7. Lower Graphics Settings
If your PC hardware is below Destiny 2’s system requirements, crashing can occur. Some things you can try:
- Lower resolution to 720p or 900p.
- Decrease texture quality and anti-aliasing.
- Limit frame rate to 30 FPS if needed.
- Disable advanced graphics options like ambient occlusion.
Reduced graphics settings lessens the load on your hardware, fixing crashes.
8. Close Background Apps
Too many apps running simultaneously puts load on your PC and causes Destiny 2 to crash. Be sure to close:
- Browsers, media players and other heavy apps.
- FPS counter or monitoring software like MSI Afterburner.
- Overlay apps like Discord and GeForce Experience.
Closing background processes frees up RAM and CPU cycles for Destiny 2, preventing crashes.
9. Clean Install Latest Graphics Drivers
If updating graphics drivers doesn’t work, do a clean install of the latest ones:
Step 1: Download DDU.
Step 2: Open DDU in safe mode and select Clean and Restart.
Step 3: Install latest graphics drivers after restart.
DDU does a perfect clean up before reinstalling GPU drivers. This can permanently fix Destiny 2 crashing issues.
10. Enable XMP in BIOS
For gaming PCs with high speed RAM, enabling XMP in BIOS can improve performance and stability.
Step 1: Restart your PC and press F2 or Del to access BIOS.
Step 2: Go to the memory/overclocking section and enable XMP for your RAM.
Step 3: Save changes and exit BIOS, letting the system reboot.
XMP profiles optimize RAM settings, preventing crashes due to memory issues.
11. Scan and Repair Disk Errors
File system errors on your Windows drive also lead to crashes. To scan for errors:
Step 1: Type cmd in Start menu and run Command Prompt as admin.
Step 2: Type chkdsk C: /f /r and hit Enter.
Step 3: Restart your PC so disk scan can run before Windows loads.
This detects and repairs bad sectors or file corruption that can make Destiny 2 crash.
12. Reinstall Destiny 2
If all else fails, reinstall Destiny 2 by:
Step 1: Deleting the Destiny 2 folder from Steam/ Origin/ Windows.
Step 2: Uninstalling the game via Steam or Control Panel.
Step 3: Downloading a fresh copy of Destiny 2 and installing it.
A clean reinstall eradicates existing bugs or errors responsible for the crashes.