Having issues with your Windows 10 wifi not connecting automatically to your networks? This frustrating problem prevents your device from joining remembered wireless networks when waking from sleep or restarting your computer.
Don’t worry – you can get your Windows 10 machine connecting automatically again by following these 5 methods to troubleshoot and resolve the Wi-Fi connection problem.

1. Restart Your PC and Reconnect to Wi-Fi
A simple restart can often fix minor glitches causing Wi-Fi connection issues in Windows 10. Follow these steps:
- Go to the Wi-Fi icon in your system tray and select your network. Choose “Forget” to remove it.
- Restart your Windows 10 computer.
- After rebooting, go back to the Wi-Fi menu and rejoin your network. Be sure to check “Connect automatically” before hitting connect.
- Enter the Wi-Fi password when prompted to reconnect.
Restarting your PC and rejoining the wireless network will refresh the connection and should enable automatic connectivity going forward.
2. Adjust Your Network Adapter’s Power Settings
If a recent Windows 10 update changed your network adapter’s power settings, it could be preventing automatic connectivity. Here’s how to check:

- Open Device Manager, expand Network Adapters, right-click your Wi-Fi adapter, and select Properties.
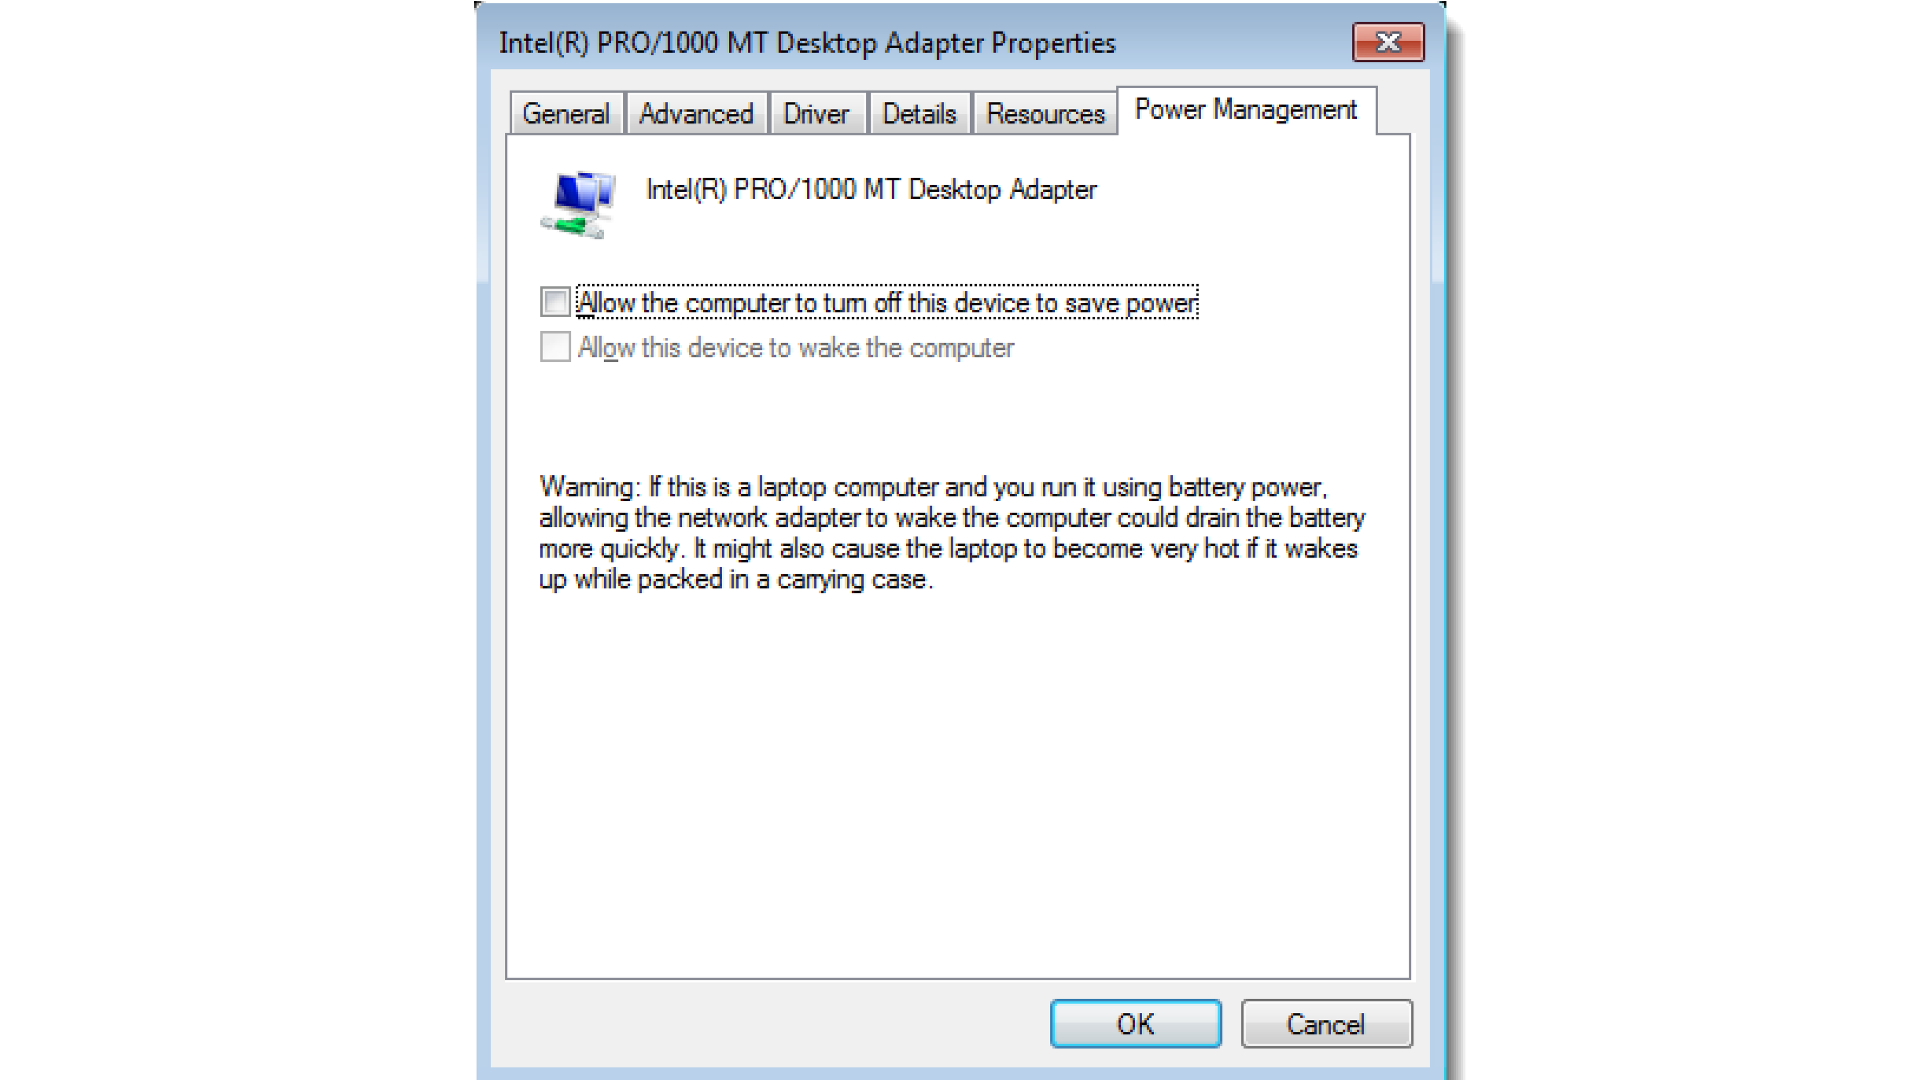
- Go to the Power Management tab.
- Uncheck “Allow the computer to turn off this device to save power.”
- Click OK to save the changes.
With your network adapter set to stay on, Windows 10 should connect to Wi-Fi automatically when resuming from sleep or restarting.
3. Run the Network Troubleshooter
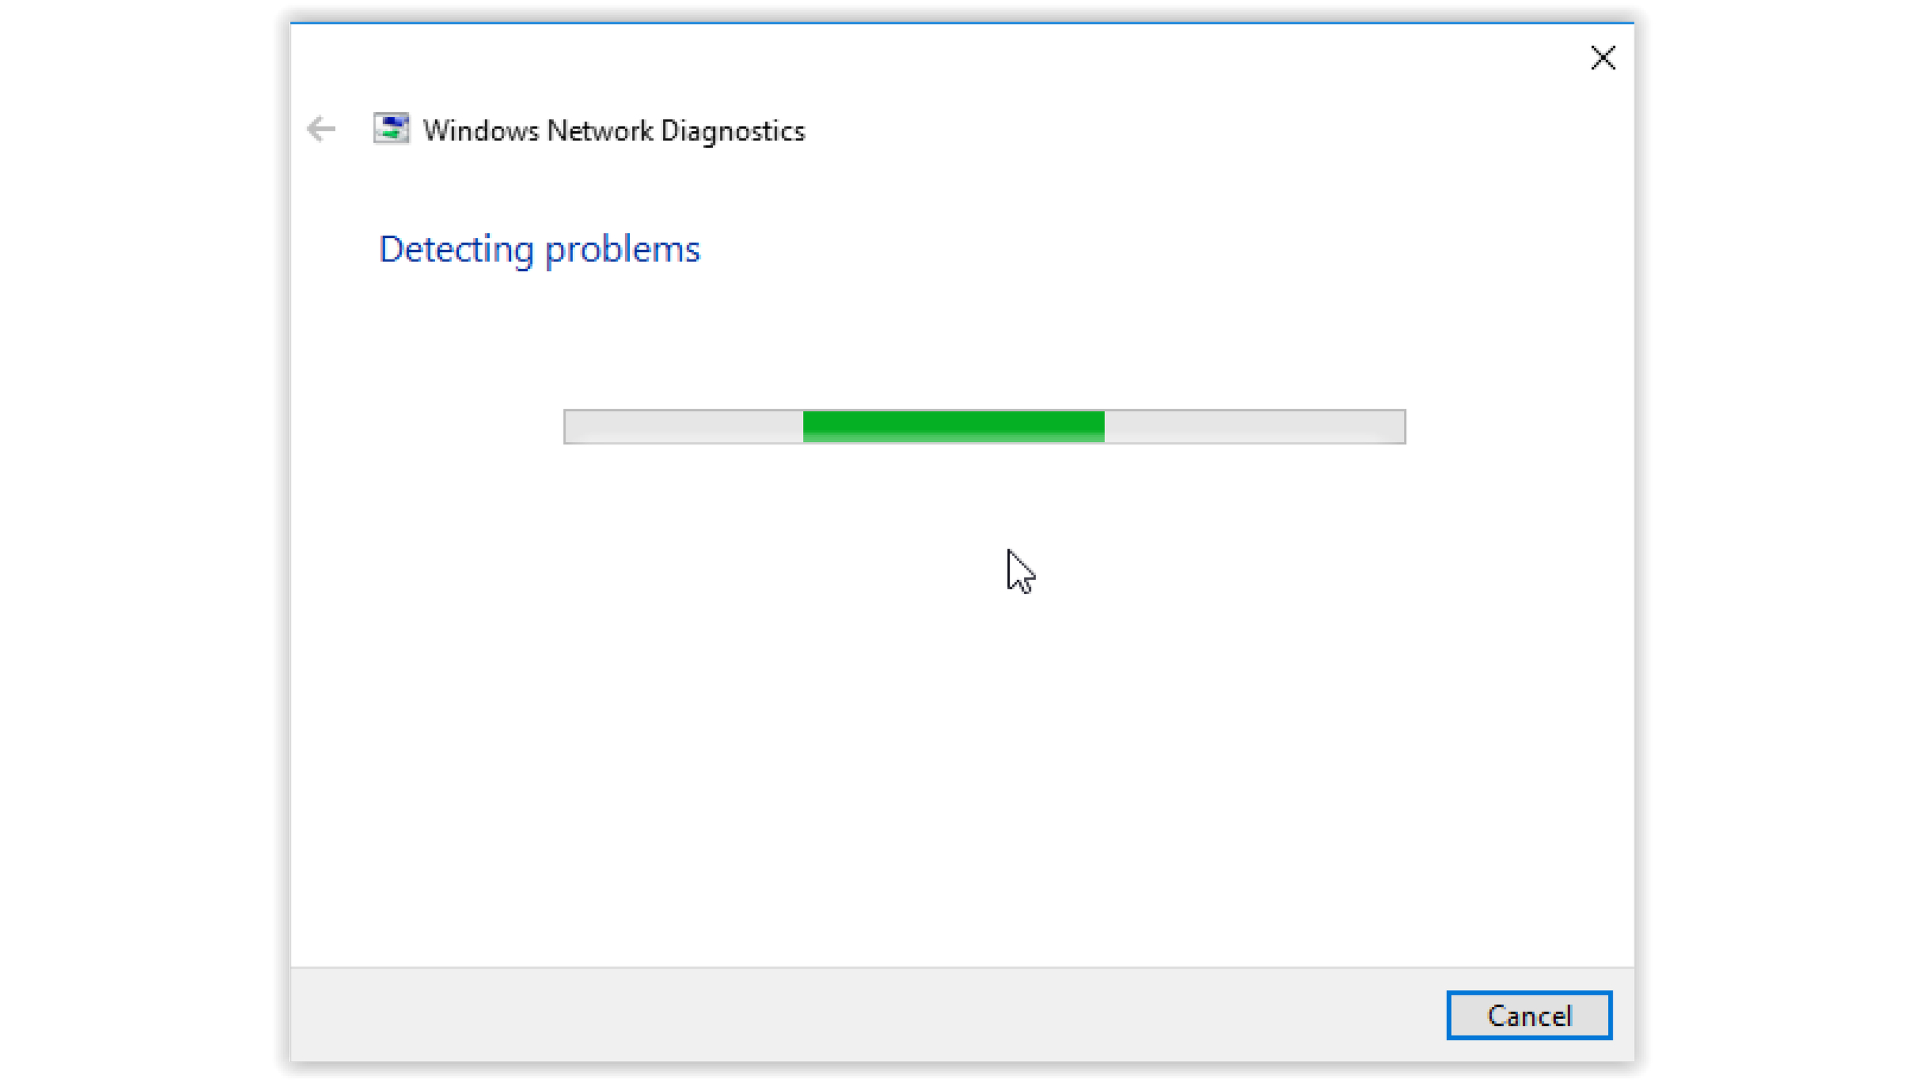
Before trying other fixes, run Windows 10’s built-in network troubleshooter. This will scan for problems and attempt to resolve any issues automatically.

- Right-click the Wi-Fi icon in your system tray and choose Troubleshoot problems.
- Select your network and click “Run the troubleshooter.”
- Allow the process to complete, then restart your computer.
The network troubleshooter may identify and fix the glitch preventing automatic Wi-Fi connectivity in Windows 10.
4. Update or Reinstall Your Network Adapter Driver
Outdated or corrupt network adapter drivers can prevent Windows 10 from connecting to Wi-Fi automatically.
- In Device Manager, right-click your Wi-Fi adapter and select Update driver. Follow the prompts to update it.
- If that doesn’t work, uninstall the adapter driver completely, restart your PC, and let Windows reinstall it automatically.
Updating or reinstalling the latest driver for your network adapter may resolve Wi-Fi auto-connect problems.
5. Disable the Wi-Fi Direct Virtual Adapter
The Wi-Fi Direct Virtual Adapter can interfere with automatic connectivity in Windows 10. Disabling it may help:

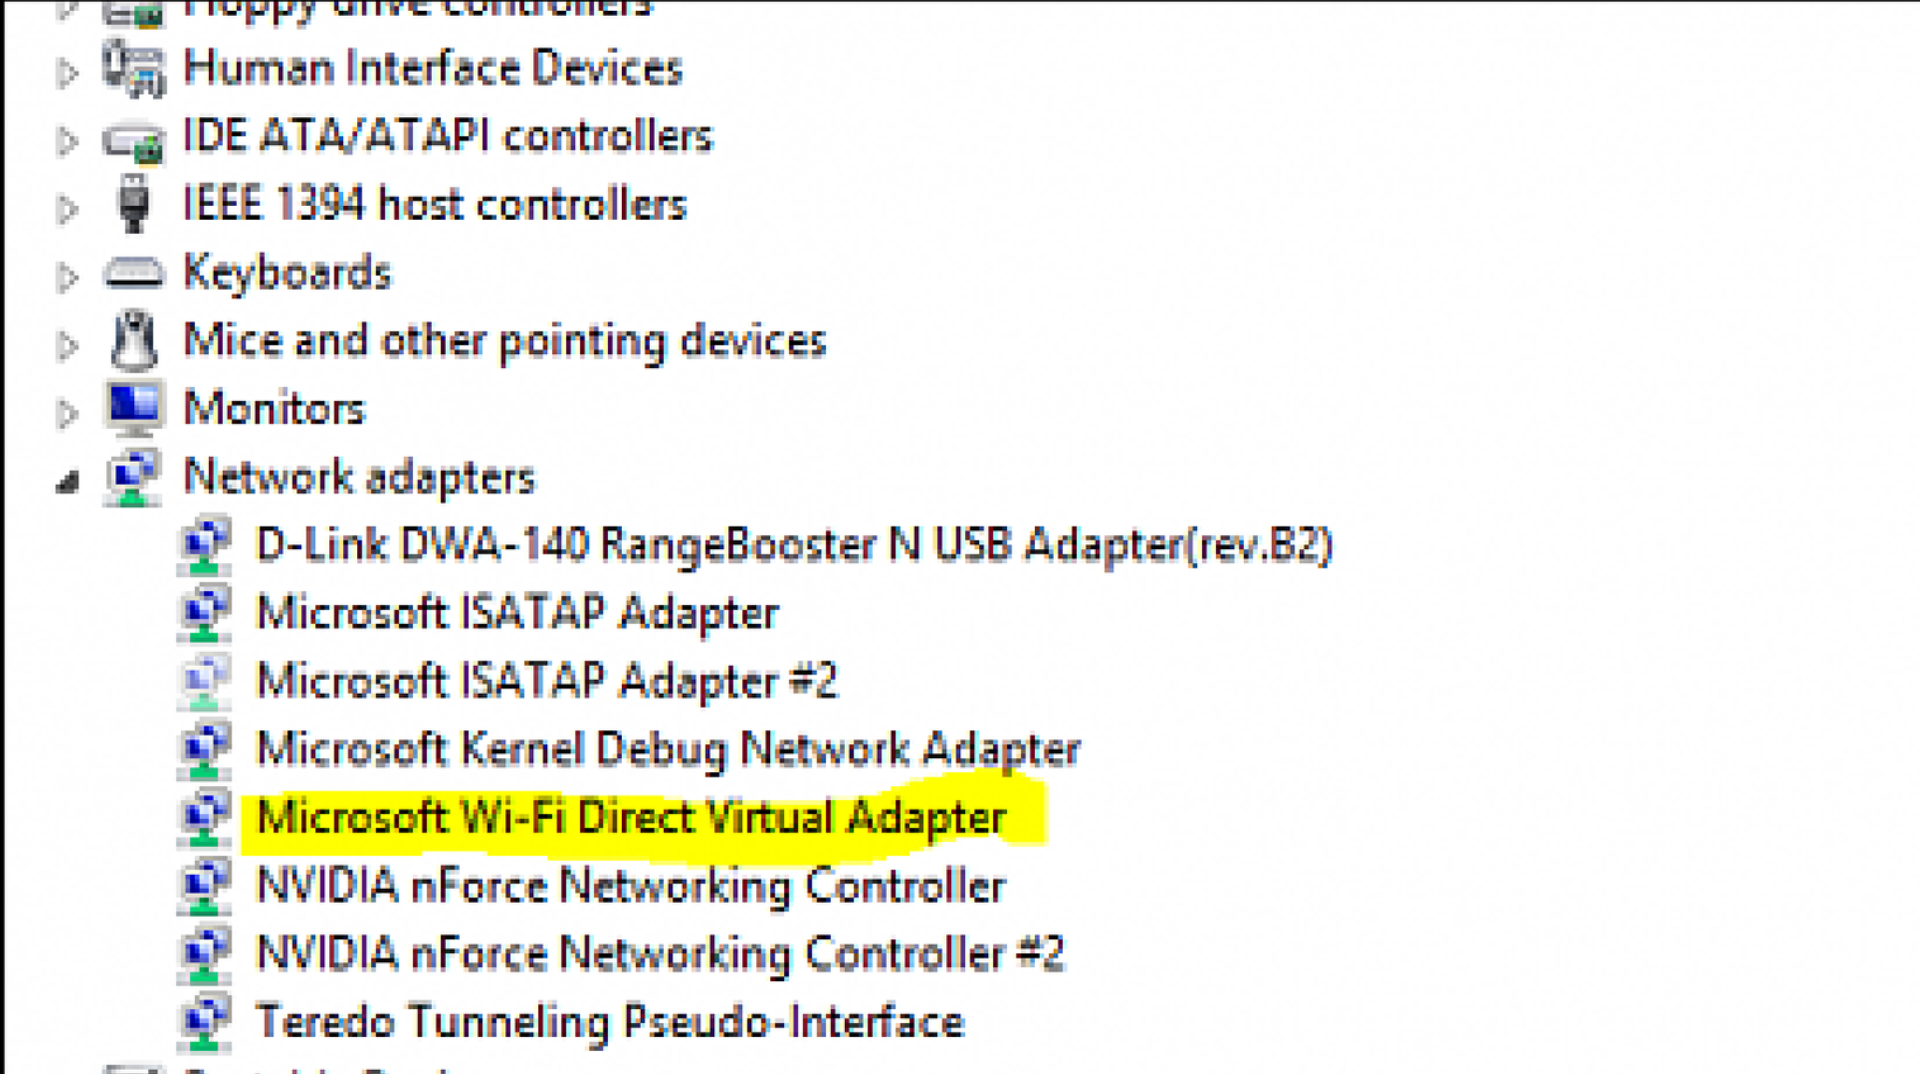
- Open Device Manager, click “View”, and check “Show hidden devices.”
- Expand Network adapters, right-click “Microsoft Wi-Fi Direct Virtual Adapter” and select Disable.
This prevents the virtual adapter from conflicting with your network adapter. Reboot your PC and see if Wi-Fi connects automatically now.
If your Windows 10 computer still won’t connect to remembered wireless networks automatically after trying these troubleshooting steps, a clean reinstall of the operating system may be required to resolve the issue.